Now that I’d decided on a game plan, I had to put my code where my mouth was.
I thought it best to begin with the one thing that could make or break my entire endeavor: integrating my backend with my new Merchant of Record, Paddle.
Paddle Billing
Paddle Billing is very obviously targeted at recurring payments (“subscriptions”) rather than one-time purchases, underlined by the fact that Paddle Classic did have direct support for creating and/or handling license keys, whereas Paddle Billing does not. I know subscriptions are all the rage these days, but I just don’t like them.
A Quick-Start guide on how to handle one-time purchases would have been nice, or at least some sort of direction on what API to look into. The documentation in general is very good and detailed, but it isn’t outright obvious how all the pieces fit and work together. It feels like each piece is described nicely on its own, but how it all fits into a whole flow of a user purchasing something is up for the developer to figure out.
I would have preferred a use-case approach. Like, for subscriptions, what does a typical, recurring payment flow look like from first billing, to recurring billing, to the eventual cancellation by the customer? What does a one-time purchase flow look like? What APIs are involved? How are refunds handled? What are the caveats, and what should I pay close attention to? That would have helped a lot here.
Being a developer myself, I understand the situation too well. When you develop an app, you know it inside and out. That’s good, but it makes you prone to omitting the very fundamentals of your product when explaining it to others, because it’s second nature and obvious to you. Like, when a 3-Michelin-star-chef explains cooking soup to you by talking about how to plate it up and make it look nice, and you’re there wondering how to tell when the water is boiling.
Anyway, I did figure it out – Paddle’s sandbox environment made it beautifully painless. And once I did, I was very positively surprised by how extensive the API is and what you can build with it. It’s based on events and webhooks, where your server endpoints get called when certain events in your checkout flow happen. For instance, when a customer completes a purchase of a product, you get a transaction.complete event, which means you can now fulfill the order – by sending a license key, for example. That transaction persists on their server, so you can use it again to implement a “re-send license” feature, when a customer loses the email you sent. Neat.
You could also use this to implement a reminder feature, where you mail potential customers with an incomplete transaction, asking them if they’d like to complete their order. (Local and international laws apply, of course. And if you go down this route, do it very sparingly. Most people nowadays hate getting nag-mail out of the blue).
I went about implementing my backend using…
PHP, the old (t)rusty
Apparently, PHP is dead. Every year anew, it seems. And yet, it’s always been there when I needed it.
It has a huge community of very helpful developers behind it, is very well documented, and there’s a vast library of frameworks and code to take inspiration from. Personally, I love it. It’s also well integrated into and supported by my web server, regularly maintained and updated, so it was a no-brainer for me to use it for this implementation.
But I am not a backend developer. I usually leave backend development to those who really know it. That being said, I didn’t want to hand off something so crucial to be implemented by someone else; I would have little control over the code, I would have had to give them access to at least my Paddle credentials, and to parts of my web server – I’d rather never eat Käseleberkäse again. And I love Käseleberkäse. When it comes to my work, I keep it all as much first-party as I possibly can.
Does that mean a task that would have taken a professional fifteen minutes takes me three hours?
…
Yes.
But I sleep so much better at night.
I second-guessed every line of PHP code I wrote to ensure it runs smoothly and safely.
Cross every ‘t’, dot every ‘i’, and htmlspecialcharacter every ‘<‘.
And PDO. Why had I never heard about PDO before? In the past, I always interfaced with databases directly using mysqli (carefully, of course), but now, with PDO (PHP Data Objects), it’s way better – and allegedly safer.
To sell ScreenFloat and, in time, my other apps directly from my website (in addition to the Mac App Store), I had to implement the following:
The Backend
– Get a webhook callback from Paddle when a successful purchase occurs
– – Validate the callback, create the license(s) from the information in the transaction and send them to the customer
– – Save minimum information in a database for the license activation, deactivation, resetting, and recovery mechanisms
– Get a webhook callback from Paddle for refunds, to disable licenses created from that purchase transaction
The Website
– Integrate Paddle’s overlay into my website for checkout
– – Have a checkout “preflight”, where customers enter their name, email, and the type of license they want to purchase, to set up the transaction used in the Paddle checkout overlay
The App
– Make ScreenFloat accept licenses to be registered with
– – Have a license reset and lost-license-retrieval mechanism in-app
What was important to me here was that (a) I could easily include other apps for purchase later, (b) the license creation and all associated functions were independent of Paddle, so I could use it with other platforms (for bundles, mostly) and subsequently (c), if ever need be, switch from Paddle to a different Merchant of Record without having to re-implement everything.
Setting up the webhook on Paddle is straight forward. Select the events you’re interested in getting, supply your server endpoint for them, and it’s done.
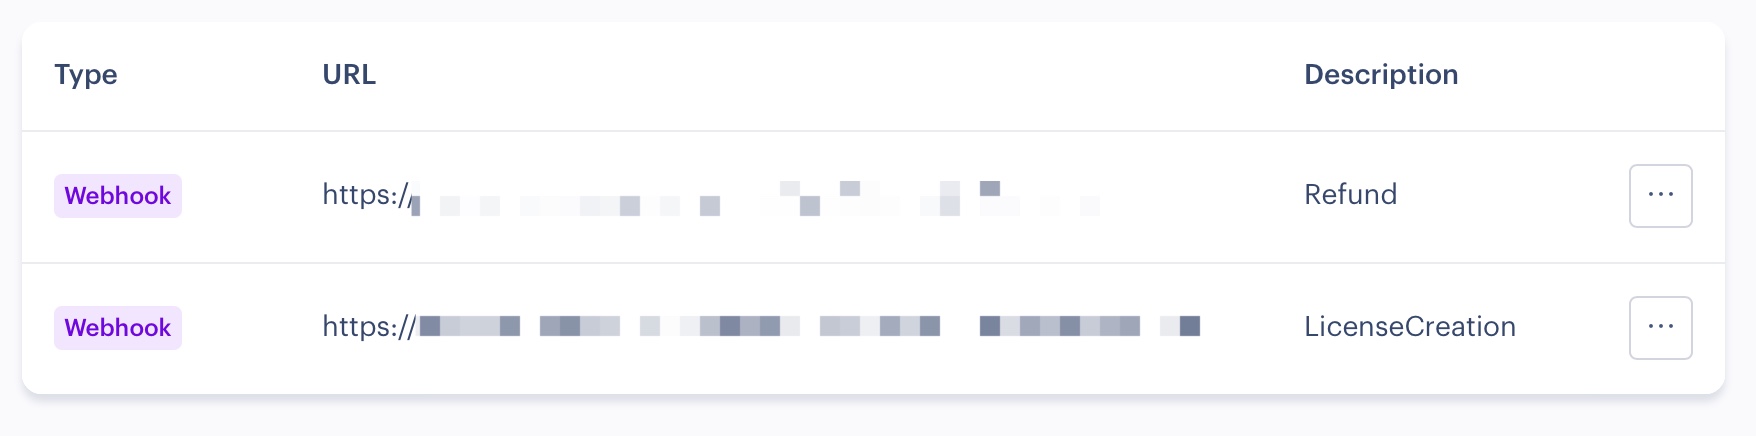
After I verify the call is actually coming from Paddle and contains a valid transaction payload, I create the cryptographically signed license(s) from the customer’s information in that transaction, along with app-related information. After I verify it is signed correctly, I send it off to the customer in a nicely formatted plain-text and html-text multi-part email.
Initially I played around with encrypting the entire license and decrypting it in the app for validation and unlocking, but in the end settled on just signing a more-or-less plaintext payload to keep it simple.
Like I said in the first part of this blog post series, personal licenses can be used to register two copies of my app (on accounts on the same Mac, or on different Macs), whereas commercial licenses can be used to register one copy, but used by any account on that Mac.
There’s quite a bit of overhead in the implementation here. If you want to keep track of activations, you need a way to do that (a database and an “API” to manage all the necessary info), and will have to have a way to reset individual or all activations of a license: if a customer gets a new Mac, they might want to move their registration over from the old one, for example.
When it comes to commercial licenses, I figured administrators wouldn’t want employees to be able to mess with a copy’s registration, so those require a “key” to be reset, which is individually created and sent alongside the license keys.
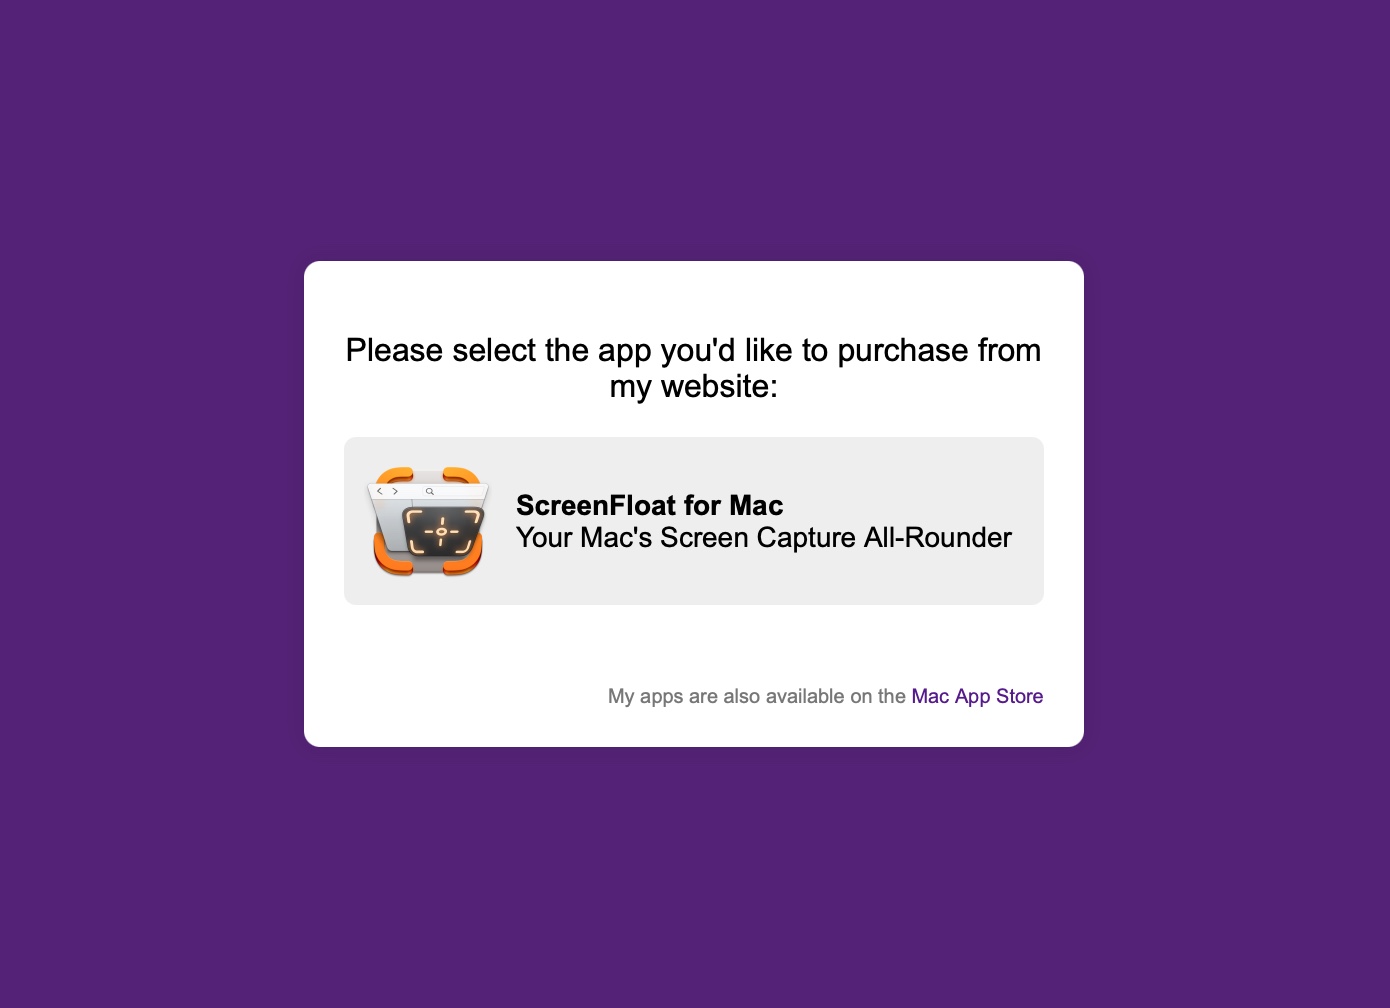
For the customer to get to that part, I first needed some sort of checkout on my website. Paddle provides a drop-in storefront, which handles it all. Sweet. I wanted to precede that with a simple form where the customer can select what type of license they want (personal; personal as a gift for someone else; commercial), and enter their name and email, to make sure a name is supplied for the license to be personalized with.
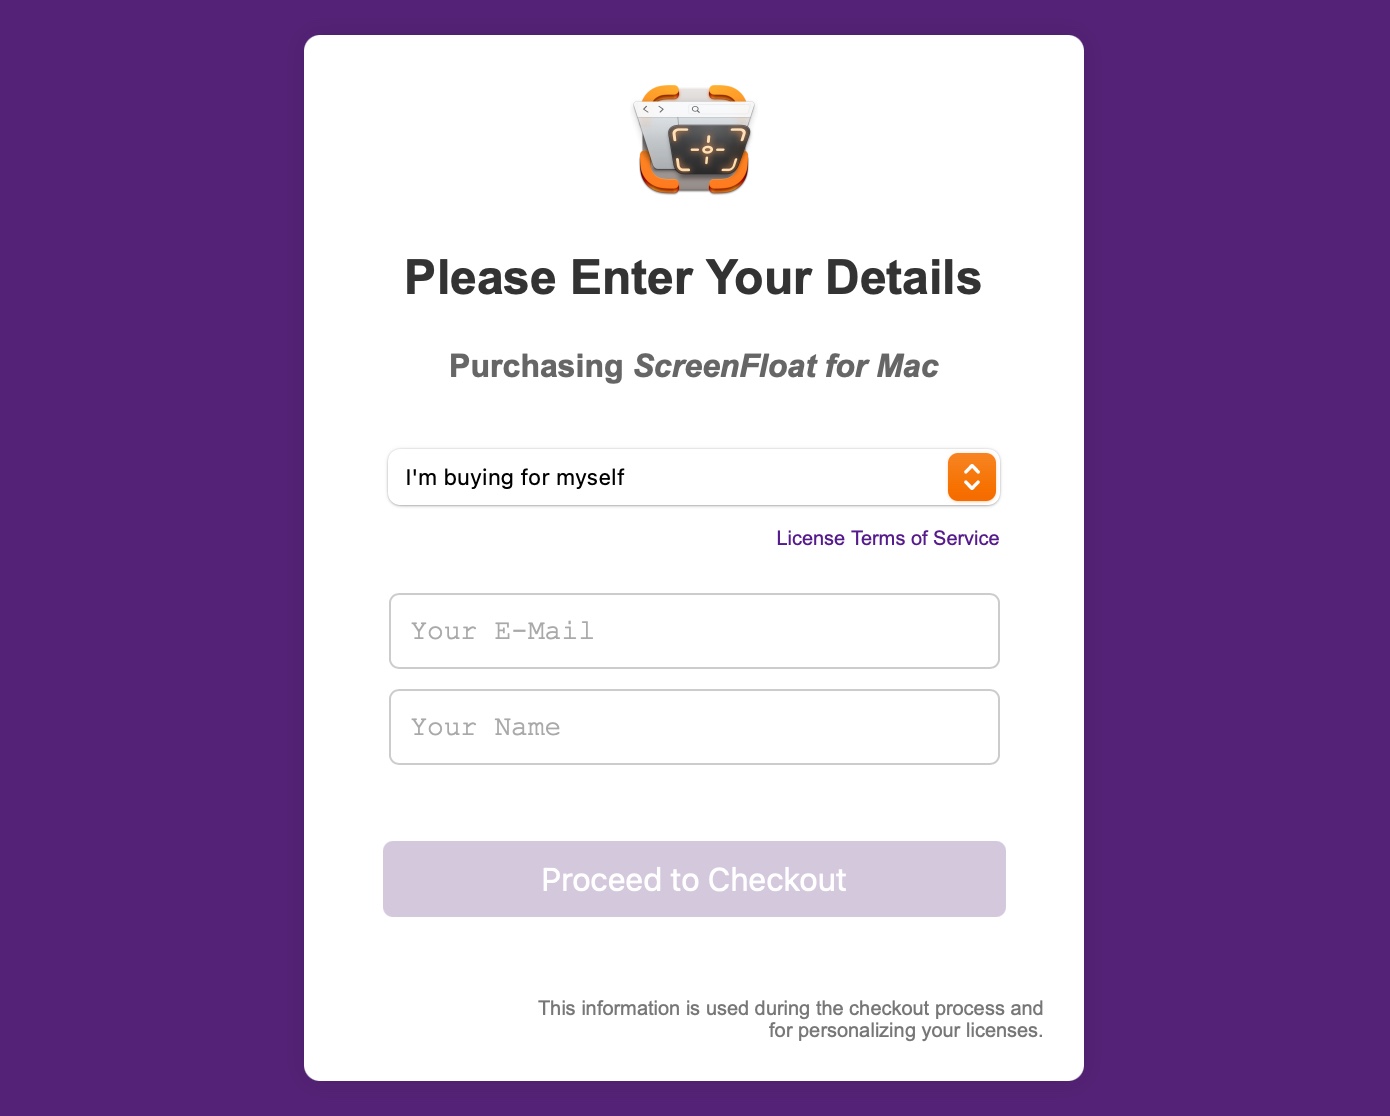
Here comes Paddle’s API into play – I create a new transaction from the supplied information and pass it on to the Paddle storefront, with all information already set. All that’s left then is for the customer to enter their payment details, and they’re done.
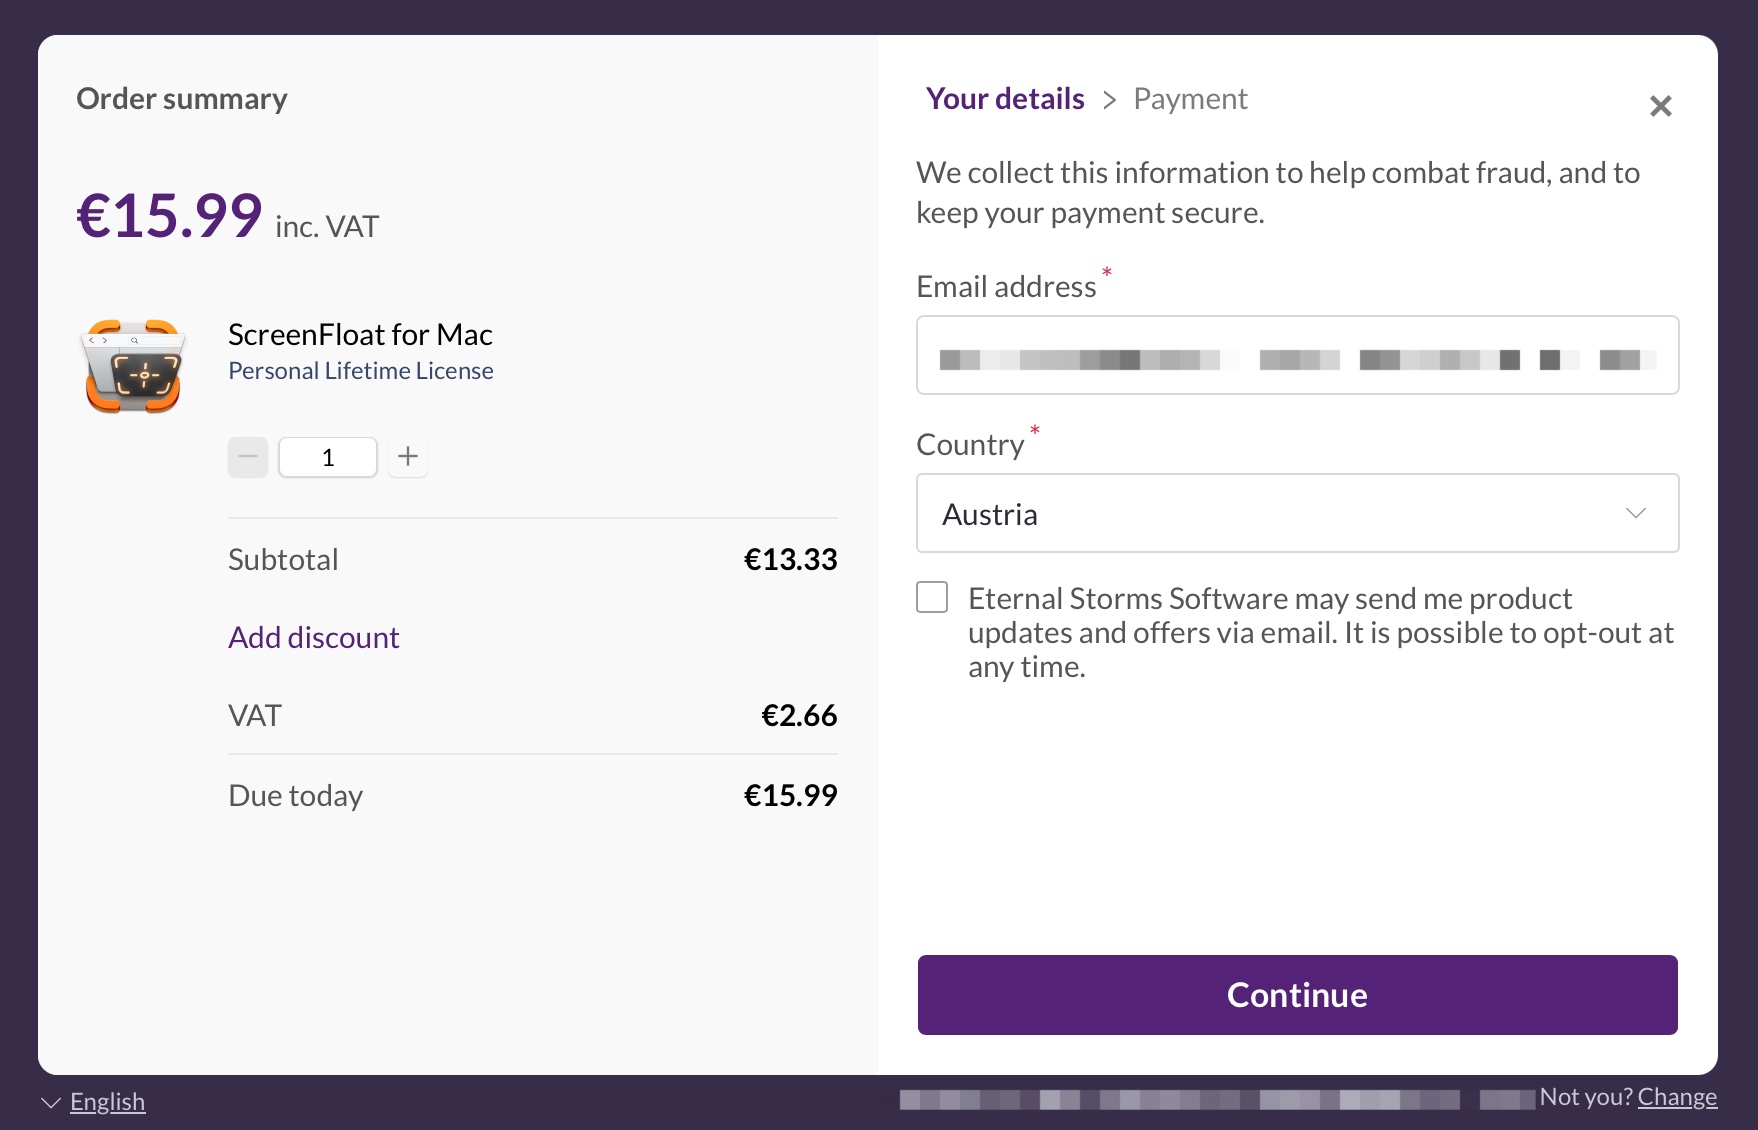
This “preflight” also allows me to provide special discounts for Apple employees, like I’ve already been doing for Yoink for Mac, (although in a very different way). I do plan to transition that over to Paddle and licenses as well, just to have it all in one place, handled by the same mechanic in the background.
I thought about implementing Paddle’s storefront in-app directly, too, but I decided against that – I believe users feel safer and more comfortable entering payment details when they’re in the browser of their choice.
All that work is useless if users can’t use a license in my app to unlock it. I already offer trial versions for most of my Mac apps as downloads from my website, with ScreenFloat being no exception, so I already had a head start in creating an out-of-app-store branch. All that was missing from it was the license validation and app-registration that removes the trial limitations.
The license a user receives by mail is a custom app-url-scheme link which, when clicked, automatically launches my app and fills out the required license key field, for the user to be confirmed for registration. Alternatively, I also include a download link for a license file. I figured some people might like a backup copy of it somewhere, and it can make it easier to share a gifted license.
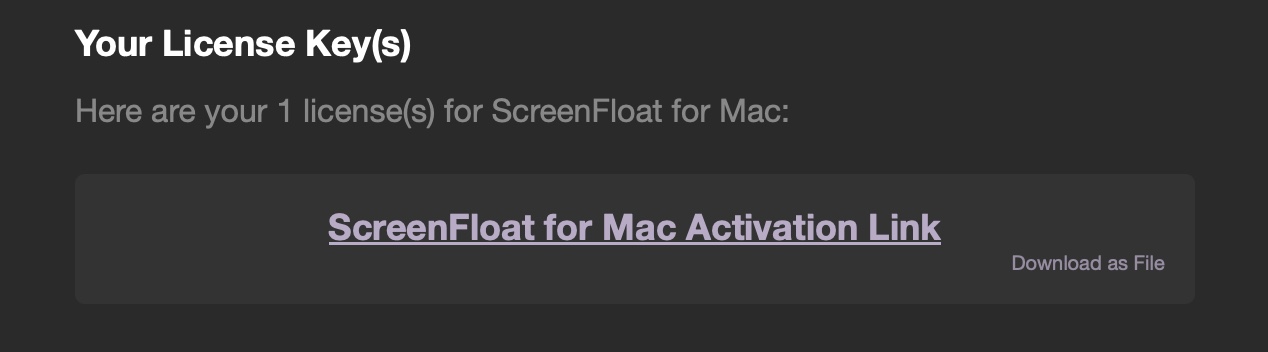
Since licenses aren’t stored anywhere, that download link is basically the same as the custom app-url-scheme link that has the payload as a url query parameter, but instead of pointing to my app, it’s pointing to an endpoint on my server – a PHP script that turns that query parameter into a file download. I found that to be a neat workaround.
Naturally, that file can be double-clicked to register the app, if it’s already installed.
The app itself then verifies the payload locally and with the server and, if everything checks out, unlocks itself.
Next Time
There’s still the matter of self-updating the app, displaying release notes, and verifying app update downloads, so that’s what we’ll go over next time. I hope to see you then!