Yoink for iPhone and iPad is your files and snippet shelf for anything you can drag, copy, share, or download. Version 2.5.4 improves its Files app integration, cleans up the UI a bit and makes a bunch of improvements and fixes.
What is Yoink?
Yoink for iPhone and iPad stores anything you can throw at it: file drags, content like images or text, eMails, downloads, and more.
It syncs across your iOS devices.
It can automatically store anything you copy – even if Yoink is in the background – with its Picture-in-Picture Clipboard Monitor.
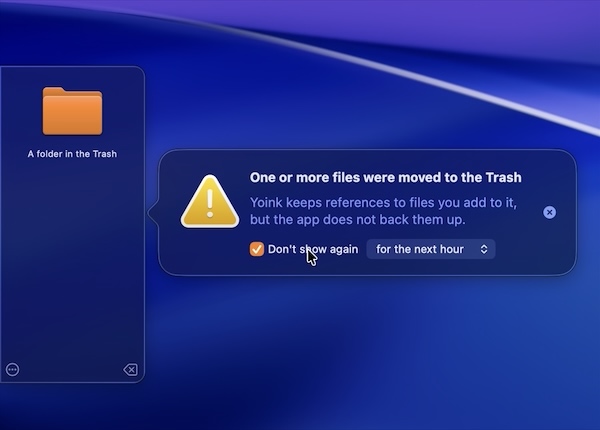
It lets you “pin” PDFs, eMails, Websites, Images, and more in Picture-in-Picture for reference in any app.
It integrates with your Files app.
It lets you build powerful Shortcuts.
It’s there when you need it.
What’s New in Yoink v2.5.4?
- In the Files app, Yoink now only shows the highest-fidelity representation of a file instead of all of them1, making it easier to navigate and select files
- New contextual menu items in the Files app allow you to copy the contents of a file (as opposed to the file path), or a plain text representation of rich text formats
- The stability and performance of the app have been improved, while fixing a few bugs and UI issues
🔗 For the full release notes, please click here.
Links and Availability
➡️ Website
📱 App Store (one-time lifetime purchase)
Yoink for iPhone and iPad is currently localized into English, German, Japanese, Simplified Chinese and Korean
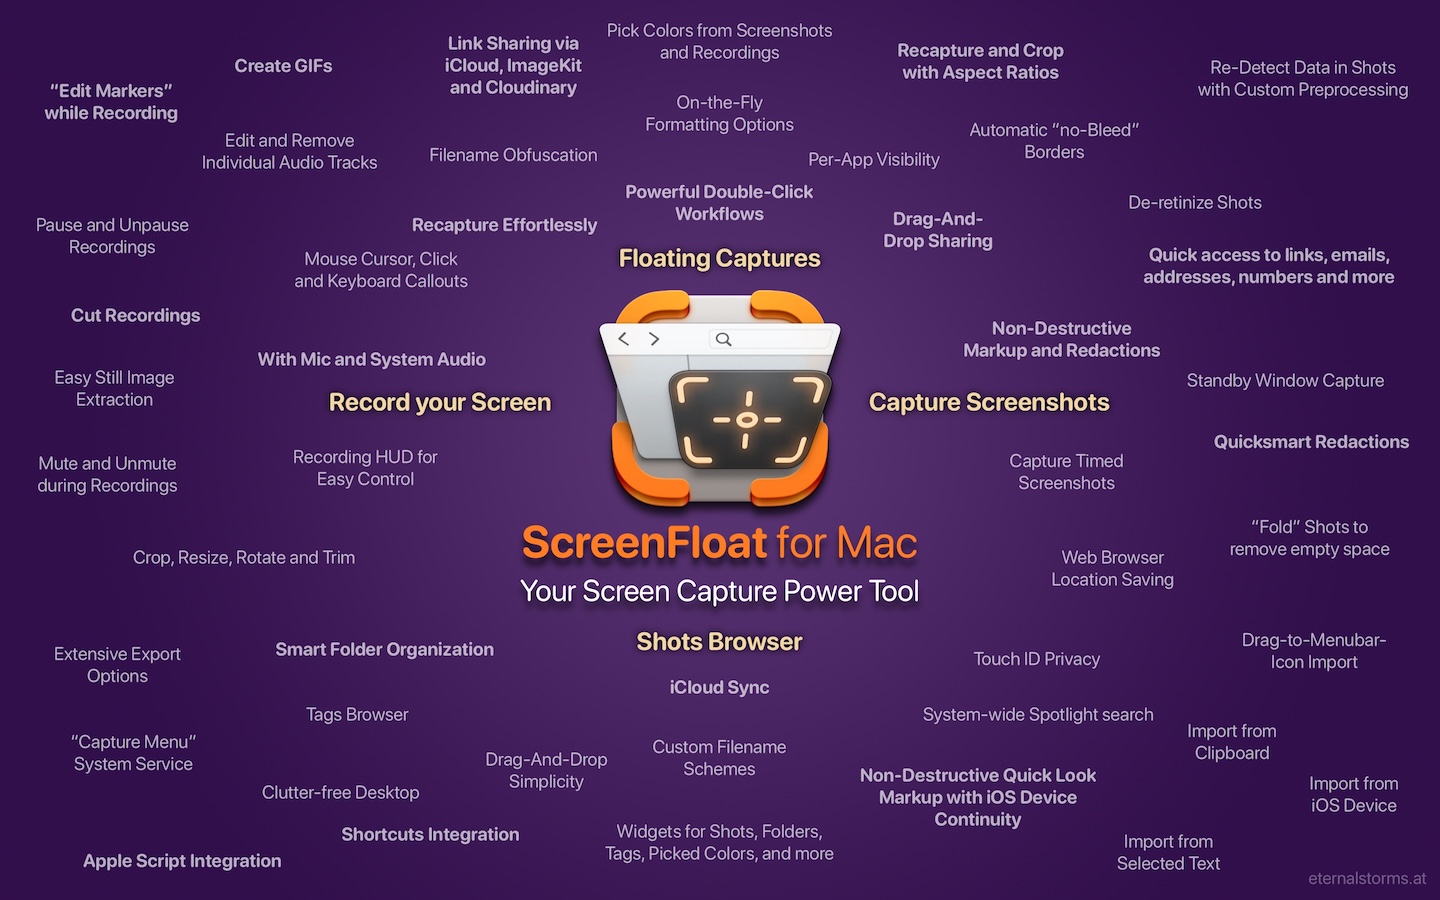
💻 Yoink is also available for Mac (separate one-time lifetime purchase)
If you have any feedback or questions, please don’t hesitate to use the contact link above, or below : )
Have a great day.
- For instance, a rtf “rich text” file in Yoink has its rich text data representation, as well as a plain text one. Previously, Yoink would show this file as two files inside a container folder in Files.app, now it’s one file: the rtf. ↩︎