With Transloader 3 finally publicly available, I’d like to invite you on a tour through the app and its functionality.
Table of Contents
Part I – Starting Downloads Remotely on Macs
Let’s begin this series with why Transloader exists in the first place: to be able to download files on your Mac, especially if you’re not in front of it.
Prerequisites
In order for a Mac to receive links to download, you need, well, at least one Mac.
With macOS 10.14 or newer, and an iCloud account, you’re ready to install and launch Transloader on it.
Installation and Setup
With your iCloud account set up (I’ll let Apple explain how to set it up), launch Transloader on your Mac(s).
Each Mac you launch Transloader on will be registered in the app’s iCloud container, and will thus become available to send links to for download.
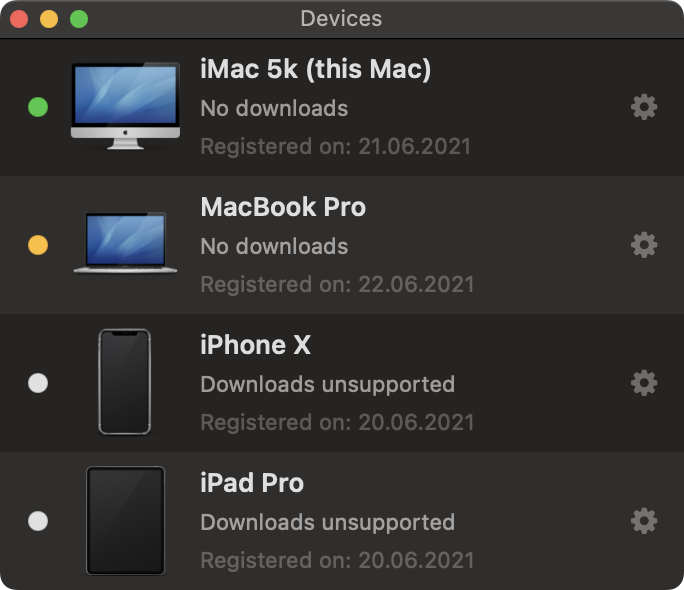
As you can see in the screenshot above, all devices I use Transloader with are registered in iCloud.
In this case, I have an iMac, where Transloader is running, and the Mac is on (indicated by the green status icon).
I also have a MacBook Pro, where Transloader is running as well, but the Mac is sleeping (indicated by the orange status icon).
Lastly, I have an iPhone and and iPad. And because they aren’t valid targets for downloads, they get a gray status icon.
Should you no longer wish to use a particular device with Transloader, you can delete it at anytime from this window, or from the iOS app.
Anyway, apart from launching Transloader on your devices once, there’s really no setup, so now you’re all set up and ready to get downloading.
Assigning Downloads to a Mac
Imagine: you’re sitting on your sofa (with a sister or two), surfing on your MacBook, and feeling as relaxed as can be. Feet up, head in the clouds. Then suddenly – BOOM – you get a news alert. Apple has just released a new Xcode beta.
Now, do you really want to break this blissful state of serenity you’re in, get up and go to your iMac in the other room, just so you can start the download? Well, of course you don’t! And why on earth would you? You’ve got Transloader.
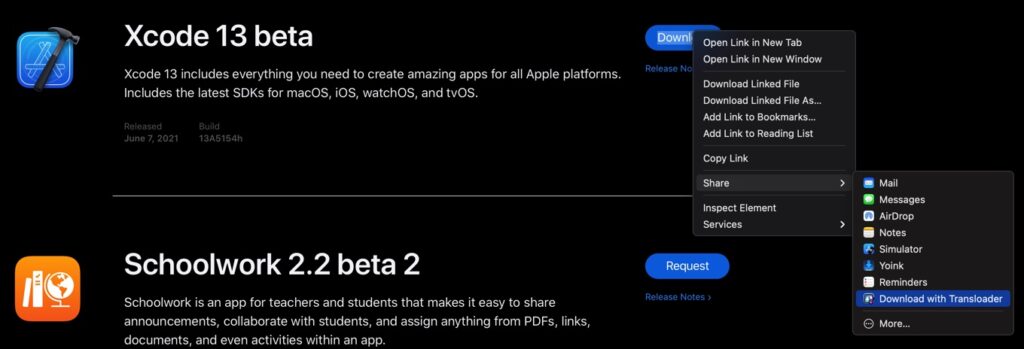
So instead of having to put your MacBook away, getting out of your comfy, sofa-surfing position, you assign the link to your iMac in the other room for download with Transloader.
Right-click the download link in Safari, select Share, and Download with Transloader. You’ll see this:
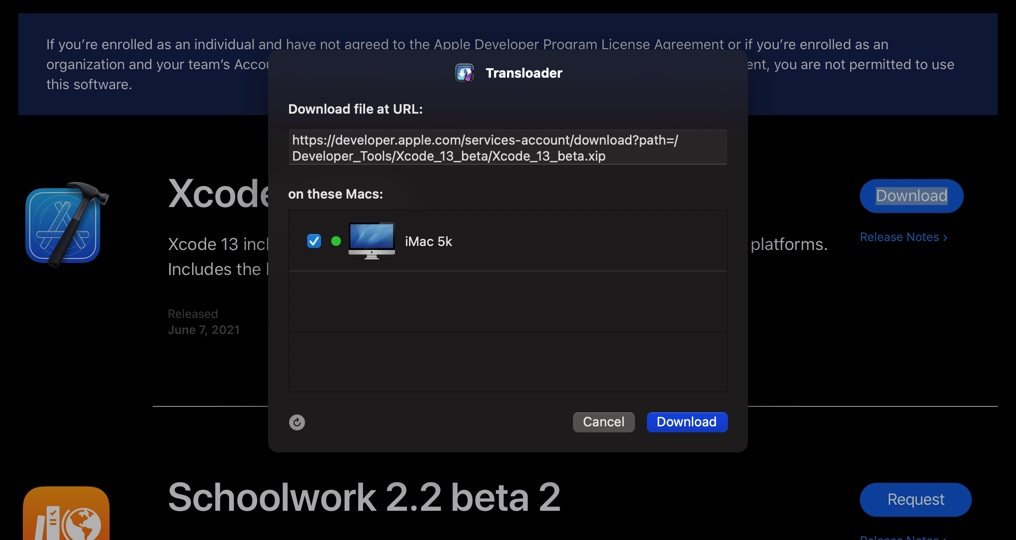
The Share extension allows you to select one or more Macs on which the file should be downloaded. Click Download, and you’re done. The iMac receives the link and will download it right away:
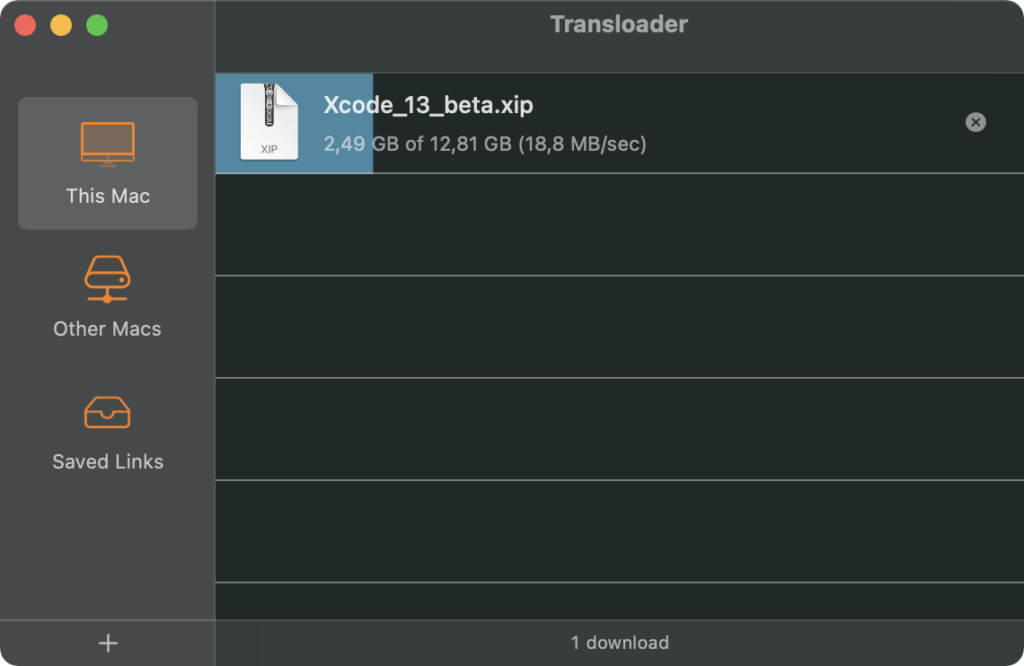
And when the download finishes, you’ll be notified about it on all your devices:
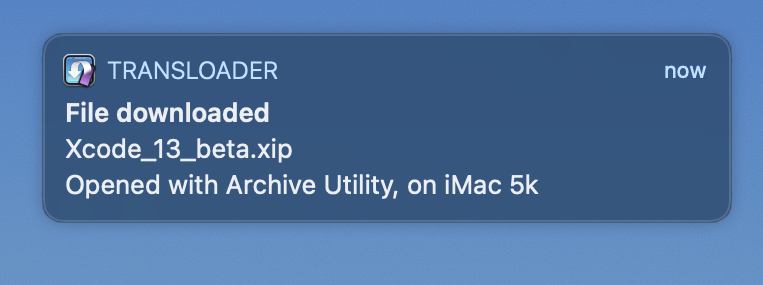
With the proper File Action set up, the iMac also unarchives the .xip after the download, saving you even more time. But that’s something we’ll look into in Part VII.
For now, let’s imagine again.
Your friend texts you on your iPhone: “Hey, check out this Mac app – here’s the download link”. But you’re out grocery shopping. Sure, you could wait until you’re back home and remember to download it then. But you already need to remember all the things you wanted to get from the grocery store, so that’s out of the question. And what if the demo is a big file? There’s too much uncertainty here.
Just send that link to your Mac right from the produce-section and you’re worry-free.
Long press the link and select Share:
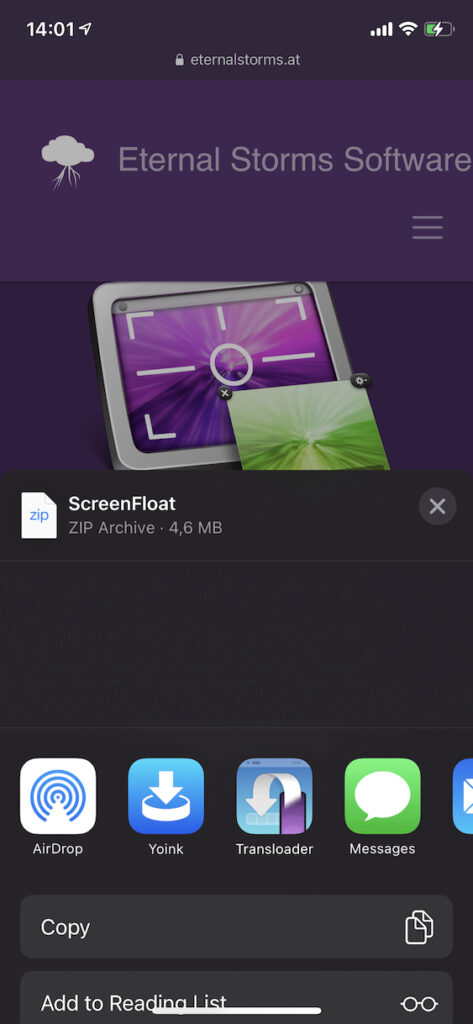
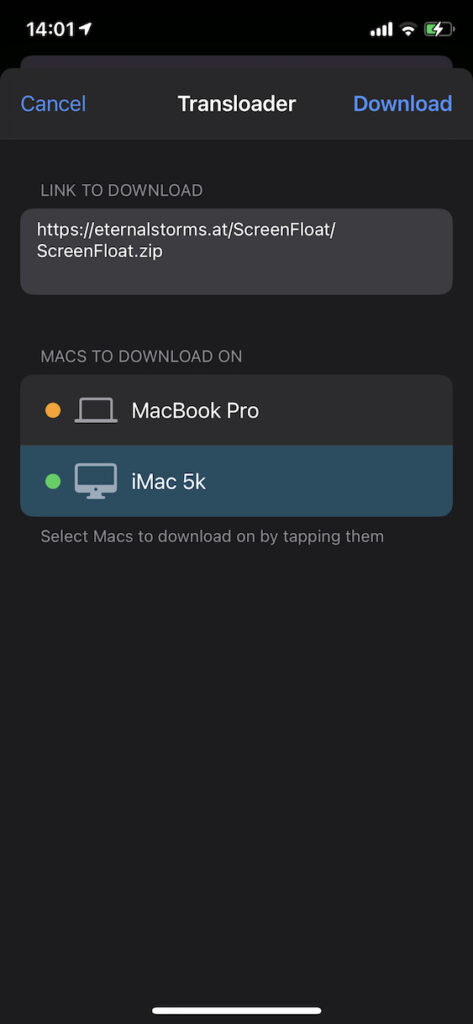
Select Transloader, and you’ll be presented with the familiar options of choosing the Mac(s) you’d like to download the file on:
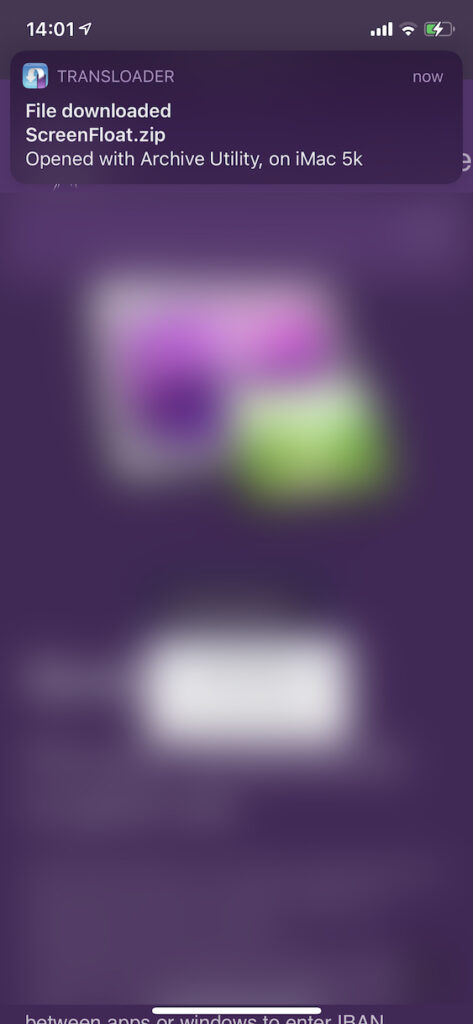
And like before, as you move out of the produce- and into the refrigerated section, you’ll be notified of a successful download:
Summary
Now you know everything there is to know about the basics of getting a download started on your Macs – from your iPhones, iPads, and other Macs, wherever you are.
I hope you’ll also join me next time, when we’ll dive in to the details of the iOS app for iPhone and iPad.
I’ll see you then!
Links
Transloader Website (with a free, 15-day trial for Mac)
Transloader on the Mac App Store ($4.99 / €5.49 for a limited time)
Transloader on the iOS App Store (free)
Transloader Usage Tips
[…] You can find the blog post here. […]
[…] Part I […]
[…] Part I […]
[…] Part I […]
[…] Part I […]
[…] Part I […]
[…] Part I […]
[…] Get to know Transloader 3 – Blog Post SeriesTransloader WebsiteTransloader Usage Tips […]
[…] TipsGet to know Transloader 3 Blog SeriesApp Store (free)Mac App […]
[…] EUR 11.99 -> EUR 7.99) on the Mac App Store.Website (+free, 30-day trial)Transloader Usage TipsGet To Know Transloader 3 Blog SeriesTransloader on the Mac App Store (>30% off)Free iOS counterpart appTransloader on […]
[…] Get to Know Transloader Blog Post SeriesTransloader Usage Tips […]