 First concept of ZEN
After last week’s guest blog post by my cousin Sebastian about how he came up with the idea of the iOS game ZEN, the design and conception process behind it and the soundtrack, today it’s my turn to talk about putting it in code and making it all come to life.
The Premise
Like a lot of developers I know, I became intrigued with programming because of games. As a kid, I always wanted to develop games for a living, make the next Diablo. So of course I jumped at the idea of creating a game when my cousin asked me if I was interested.
I had never actually programmed a game before, so when Sebastian approached me about developing a game with him, I was already seeing myself having to learn OpenGL and everything that comes with it.
Luckily, it soon became clear that it would be a 2D game, almost 8-bit-ish, like an old Super Mario Bros game. So my fears of having to learn something new* were put to rest and the more he told me about the game, the more I realized that Core Animation would be the perfect fit for this project.
The game is about a cube with random numbers on it. Your goal is to reach ten with these numbers by turning the cube and selecting the appropriate sides within ten seconds.
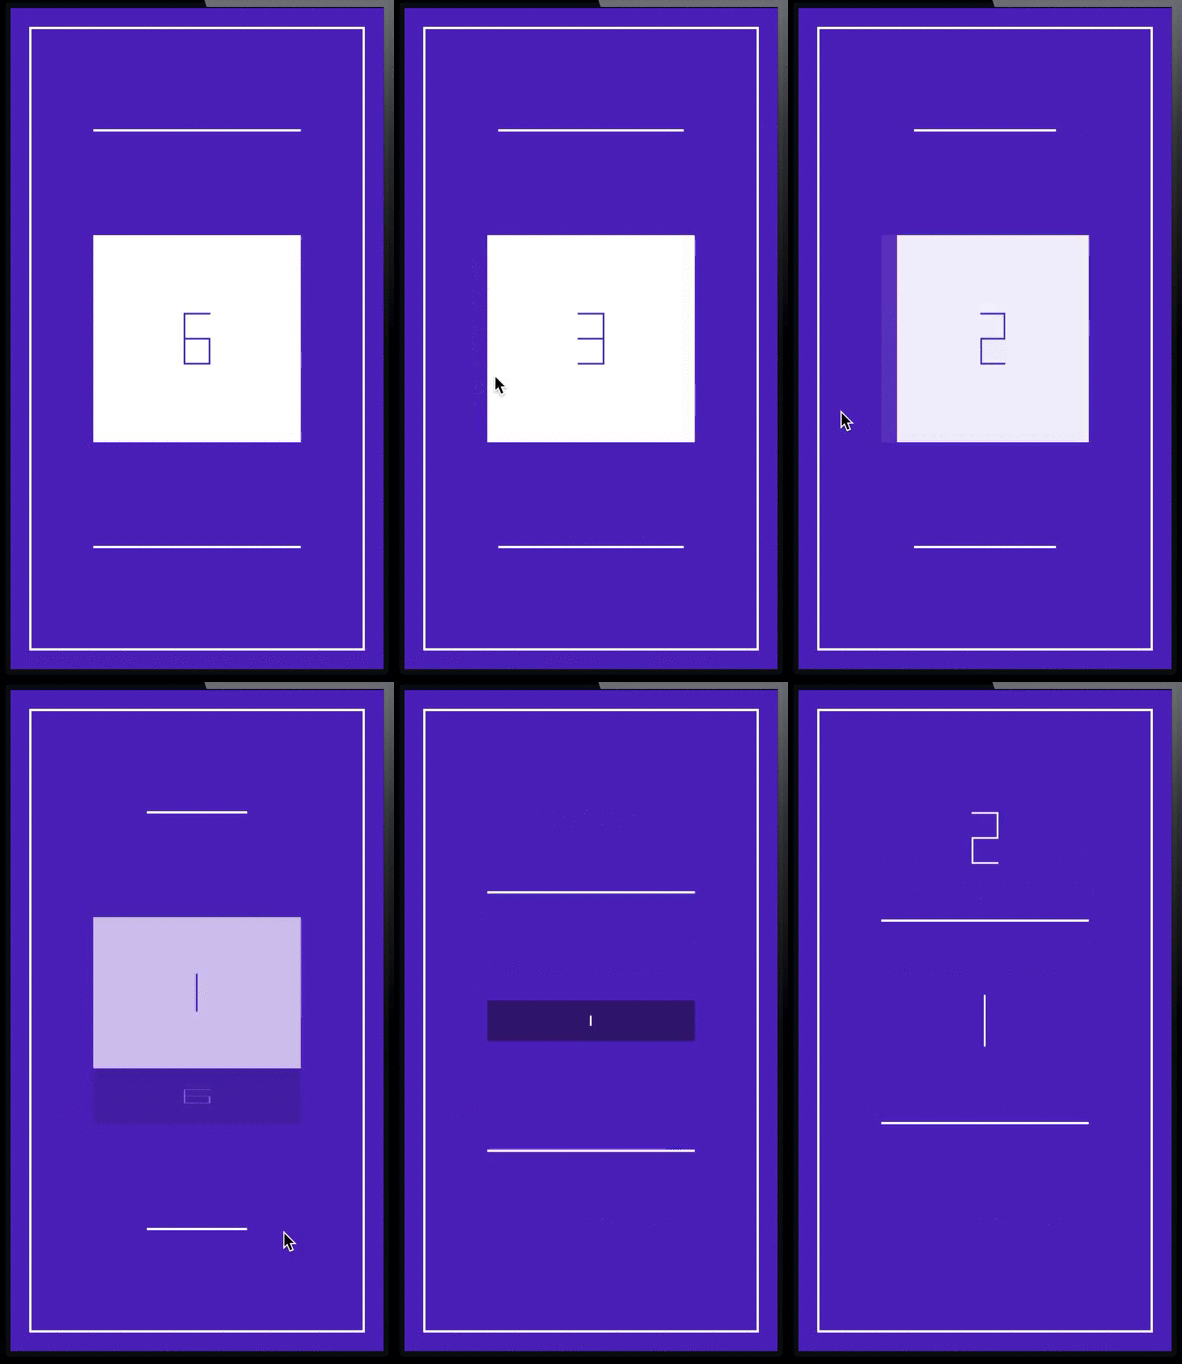
*just kidding, I love learning new stuff, but for a side-project having to learn OpenGL would have been a little much, especially with all my other apps that need constant attention
Core Animation actually was pretty much made for this kind of stuff. Even if the game had had some 3D effects (for example, some sort of perspective distortion when turning the cube, etc), it would have been fairly easy to implement.
First Blood
The first thing I did in the process of developing ZEN was to prototype the cube itself. I began by mapping out the cube because a) I didn’t have one handy and b) to get a visual on each side:
 Mapping out the cube
Because I was using Core Animation and it was all in 2D space, I had to figure out what side would go where when the cube was turned from left to right, right to left, from the top or the bottom, so that the numbers would stay on the same side and not end up any place they shouldn’t be. I went so far to write down which side would go where once the cube was turned in any direction
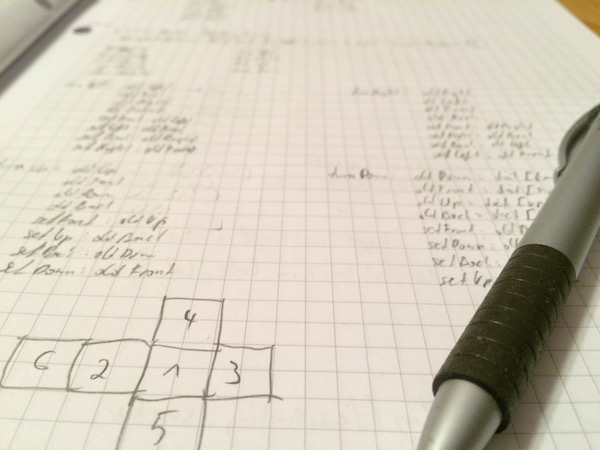 Which side goes where when turning the cube?
To make the animation possible, I would have to use at least two CALayers that changed in shape and color, and would have to be kept up to date in terms of data (which side holds which number).
One layer would always be hidden, the layer to turn to, so to speak, the other layer would always be visible. They would alternate in doing that.
For example:
Layer 1 is visible with the front number of the cube.
You turn the cube right and layer 2 (still hidden) gets the number of the left side of the cube.
Layer 1 is animated to fold to the right
Layer 2 shows and animates to the full size of the front cube side.
Layer 1 is hidden
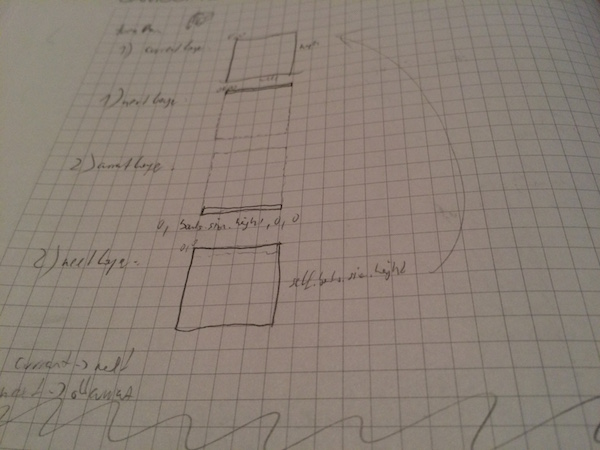 Turning the cube from the top on paper
With that done, I had the cube – of course, there were some kinks to be worked out (for example, sometimes the hidden layer would suddenly be visible with a completely wrong size), but basically, the cube was working.
In code, turning the cube upwards looks like this:
- (void)turnUp
{
ESSCubeSide *oldUp = self.topSide;
ESSCubeSide *oldFront = self.frontSide;
ESSCubeSide *oldDown = self.bottomSide;
ESSCubeSide *oldBack = self.backSide;
self._cubeDict[ESSCUBE_FRONT] = oldDown;
self._cubeDict[ESSCUBE_TOP] = oldFront;
self._cubeDict[ESSCUBE_BACK] = oldUp;
self._cubeDict[ESSCUBE_BOTTOM] = oldBack;
}
This is only the data model, of course. The view code just the two layers – resizing them in unison, hiding one layer and showing the other, etc.
Random Numbers
The next thing that had to be done was to fill the cube with random numbers, some of which would add up to ten.
I chose to do the following:
- Decide how many sides it takes to solve the current cube (a number between 2 and 6); let’s say it’s 3 – 3 sides to solve the cube.
- Loop while we create 3 random numbers between 1 and 9 that add up to ten.
- Fill the rest of the cube (3 more sides) with random numbers between 1 and 9.
- Shuffle the resulting array of six numbers so the solving sides aren’t always on the same sides
The same principle works for the minus mode, where there are positive and negative integers that you need to select to add up to ten.
Interface
The first interface concept, as you can see in the first screenshot of this blog post, was pretty simple. The title and three buttons. There was no mention of animations!
As it always happens, things change during the development process, you iterate on everything, and the interface gets overhauled as well. This new one was, in my opinion, much nicer as it demonstrates the “cube-y” nature of the game very nicely.
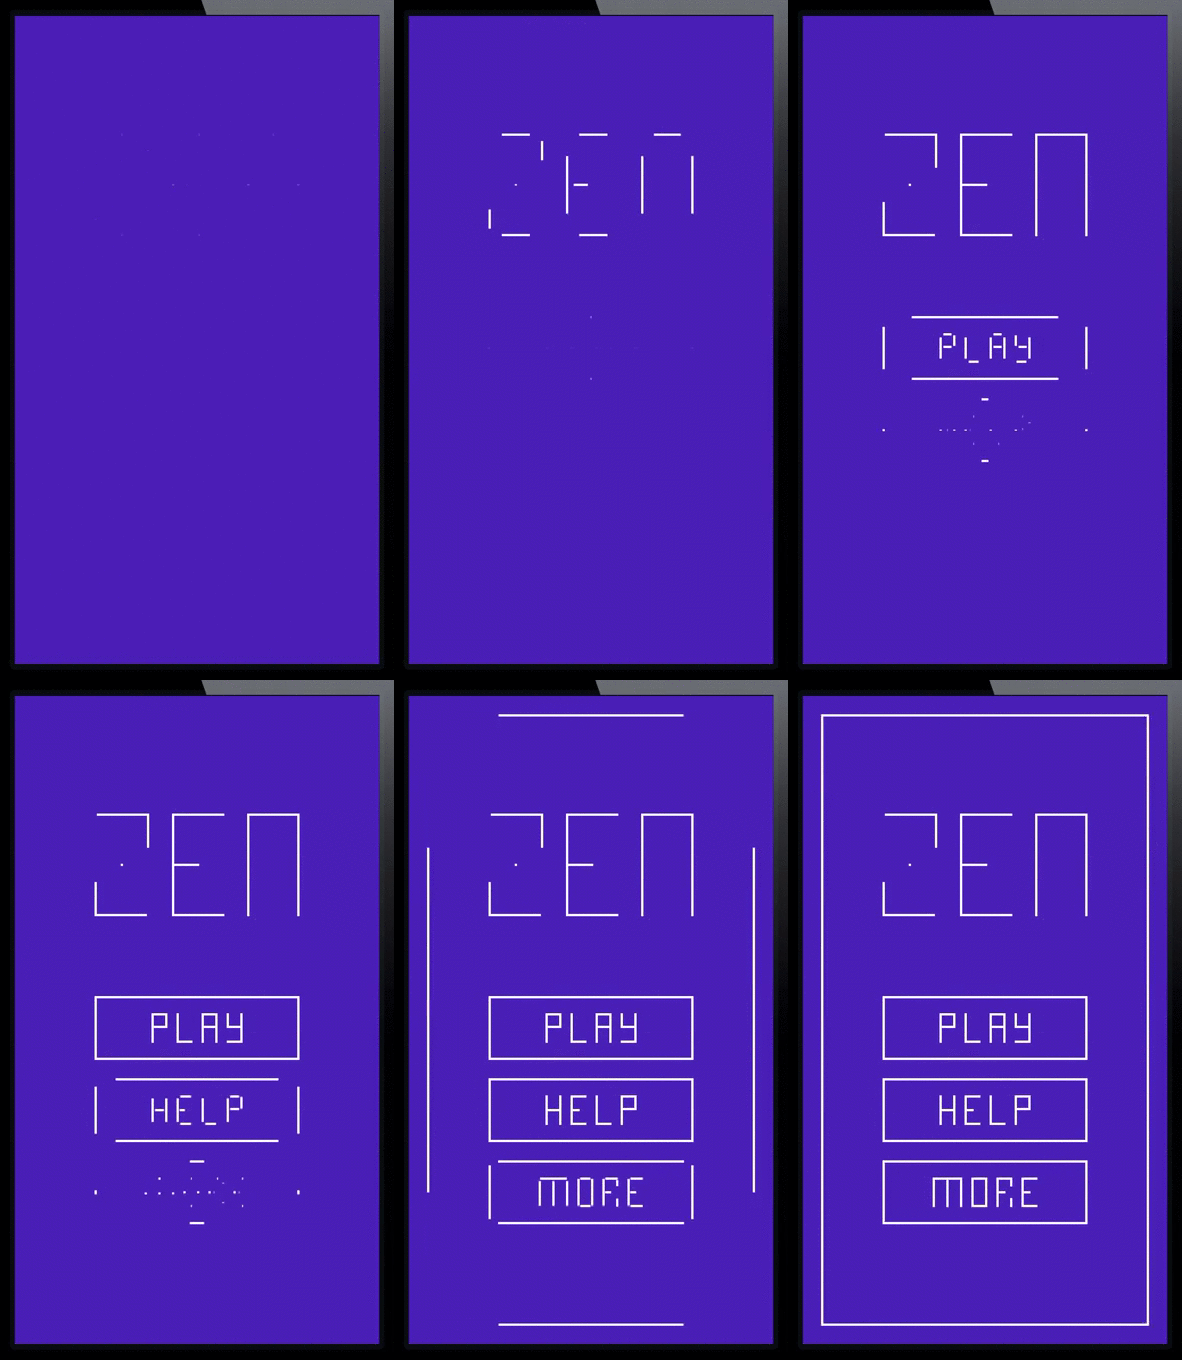
But it took me some time to get there. I was hoping that Sebastian could define the animations in svg or gif or something like that and I could just load them in and display them.
However, I could not do that – apparently iOS doesn’t support svgs or gifs out of the box (and I didn’t want to rely on 3rd party libraries to do the job). After googling around for a couple of days (because, you know, you want to be thorough), I tried doing it in a web view, because these animations would work in the browser. However, I wouldn’t have that amount of control over them as I did with the final approach I took – code it in Core Animation as well.
So I have one view class that, depending on the width and height of the bounds of the view either expands horizontally or vertically. That was the easy part.
The hard part was creating all the views in Xcode’s Interface Builder with the proper dimensions and positioning them so they would define the buttons and letters. I’m just glad the Help – view is not animated 😉 :
 The Help View – thankfully for me, not animated
Creating ZEN was a very exciting experience and I learned a lot during the process. As I usually work alone, working within a team on this project (even if it’s just two people) was a breath of fresh air and is a lot of fun, bouncing ideas off of each other, inspiring each other – there’s a whole lot of energy there.
While I do have a few dear friends with whom I can exchange ideas over the internet for my own projects, it’s quite different when you’re one on one, face to face.
It’s been a lot of fun.
—-
My name is Matt, I’m the developer of Eternal Storms Software. If you’d like to comment, you can catch me on twitter here: [twitter-follow screen_name=’eternalstorms’ show_count=’yes’] or by eMail.
