I am impulsive sometimes.
Like recently, when I came across this reddit post by chance and thought to myself: I could write this. And so I did; and before I knew it, I had a new app on my hands.
This is a little behind-the-scenes recap of the app’s inception.
Researching existing apps
I didn’t do any research of other apps – I never do when I set out to write a new app.
Why? I’m not sure. I feel like I’d get put off creating my own thing when I know there’s already a few options out there. Or that my idea might get diluted by what other apps are doing, swerving me off my original “vision” for the app.
And in the time it takes to research existing apps and their functionality, I could whip up my own tech demo – time much better spent.
So I skipped all that boring business and market research stuff and just did what I love doing most: code.
The market’s huge, and it will take care of the rest by itself – people either like the app, or they don’t. And that’s the case even if I spend a day researching existing solutions.
Proof of Concept
I knew what I wanted: an app that covers your desktop with the click of a button with your current desktop wallpaper.
Now, there’s this “neat” API on macOS that, on first glance, appears to be made for this: NSWorkspace.shared.desktopImageURL(for: ).
But it’s completely useless.
Maybe it actually worked for a short while after its introduction with macOS 10.6, but it’s obvious nobody at Apple ever took another glance at it again after that, ever.
Instead of returning the URL to the currently used wallpaper image file, it sometimes returns the wrong image file, or a URL to the folder containing the image file… I just couldn’t get it to work reliably – especially when a dynamic wallpaper, or a shuffling wallpaper is set, it just straight out poops its pants.
But that didn’t bother me. In fact, I approached the entire thing from a different angle, that’s much better suited to the needs of the app.
With my experience in ScreenCaptureKit and general screen capturing and window mechanisms in macOS (because of the work on my app ScreenFloat), I immediately had some pseudo-code in my head, so when I sat down to write the app, I knew how I was going to approach it.
If you’re wondering what ScreenCaptureKit has to do with your desktop’s wallpaper: absolutely nothing. But it’s a means to an end in my case.
Basically everything on your screen is a window: your menu bar, each icon in the right portion of your menu bar, the desktop wallpaper image, the files and folders on your Desktop, the widgets on your Desktop, your actual windows…
And if it’s a window, it can usually be screenshotted. That’s where ScreenCaptureKit comes in.
All I had to do is find the correct window (the one that displays the wallpaper) to take a screenshot of, then find out the window levels of the Desktop and the Desktop’s files and widgets, and then create a new window with my screenshot of the wallpaper as its content and place it delicately over the Desktop, Desktop files and Desktop widgets, below any app’s windows, and I’m set.
Luckily – and to my genuine surprise – that’s exactly how it worked out. The proof of concept took maybe half a day. Now came the actual work.
The Actual Work
… by which I mean putting it all together into a nice app.
Obviously, I wanted users to be able to select a custom wallpaper, or a solid color, or just blur the background, in addition to their currently set wallpaper – that’s just a given for such an app.
I also wanted users with multiple screens to be able to cover Desktops individually. Maybe they want to keep one Desktop accessible for files, while covering up the other one they screen-share, for instance.
With that I had to make sure that DeskMat reacts correctly when screens are disconnected or connected to the Mac.
I also had the idea of Auto-Triggers, where DeskMat would automatically cover the desktop when user-specified apps are launched, or come to the foreground. One gotcha here was that I did not want Auto-Triggers to interfere with a cover the user activated manually on for a Desktop, so I added an activationSource to my cover windows to know what triggered it – a user, or an auto-trigger (or, in v1.1, a Focus mode).
There’s also a lot of busy-work involved with a new app.
For my apps, that involves setting up a release notes database to display what’s new, update checking, update-installing for the website-bought version, license creation on the server and handling in the app for the website-bought version, setting up the app in the Mac App Store, having a nice About window, creating a website…
All this took longer than developing the actual functionality of the app, which ultimately spawned an internal project I call ESSLibrary – a Swift Package which, going forward, will make it so much easier to implement all that stuff with just a few static variables in a plug-and-play system. But that’s another story.
So, after maybe 3 days of creating the core app came another three-and-a-half days (!) of setting up the app’s infrastructure. What a pain (and, hopefully, with ESSLibrary, a thing of the past).
I wish I could have supported versions of macOS older than Sequoia 15.0, but due to certain API only available on 15+, it would have been too much work to have it support older versions, for such a small app.
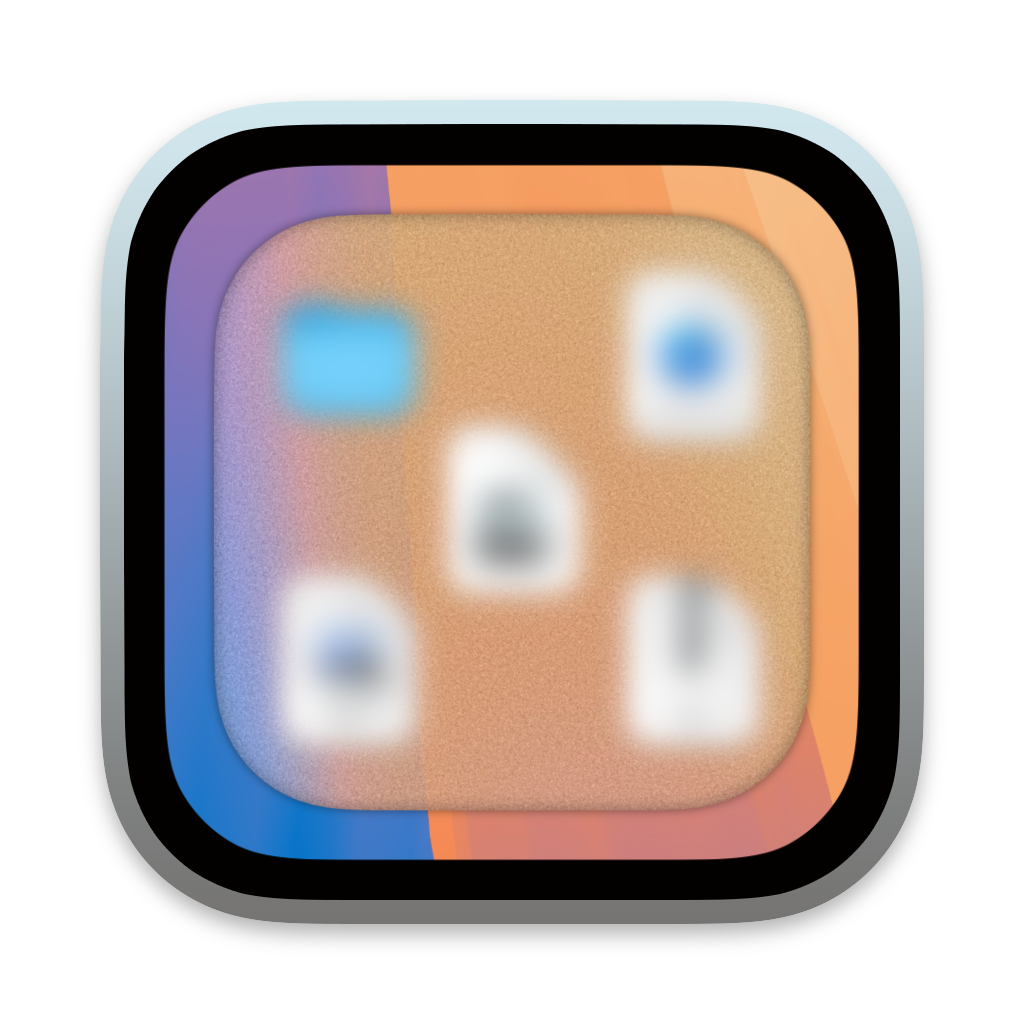
The Icon
I didn’t want to spend, to be frank, any money on a professionally designed icon, so I “designed” it myself.
It’s a Terminal.app-like frame, with Sequoia’s standard desktop wallpaper with file and folder icons, and a “protective cover” on top of it – the kind you’d put underneath your desk chair so it doesn’t ruin your hardwood floors – which was the actual inspiration for this. I know, it’s a floor mat, then, not a desk mat, but I figured… what the heck.
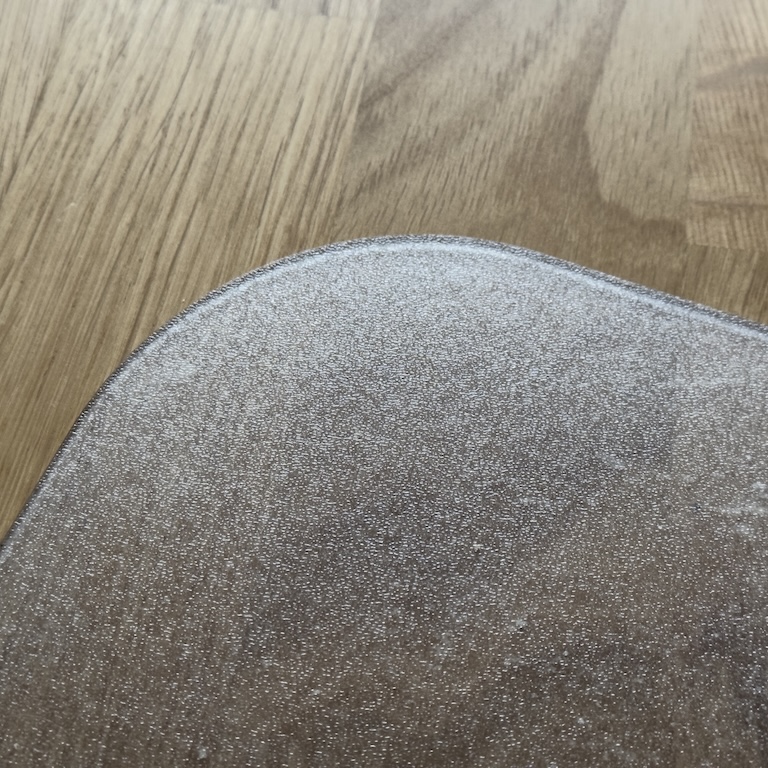
For comparison’s sake, here’s my IKEA floor mat:
I think it turned out okay. I do like the grainy / noisy texture of the cover in the icon and I feel it conveys what the app does nicely.
A small tidbit: Blurring your Desktop with DeskMat (in addition to having a wallpaper image cover) wasn’t originally planned. But because the cover in the icon does blur it, I thought it could be conceived as misleading if the app didn’t actually offer a way to do that, so I went back in before release and added that option.
Trial Limitations
I like to be lenient with my apps’ trials. I do have a 28-days time limit, that’s true, but I also grant an additional week of trial time every couple of months (and for every update) so that people who tried the app before but didn’t like it (or had an issue with it) can try it again after a while and see if it works for them now.
I’m torn on doing a freemium app on the Mac App Store (my apps are paid up-front, with a notice that there’s a free trial on my website). I just dislike the look of “free with in-app purchases”. It feels like I’ve got something to hide.

Instead of “Get”, it should say something like “Free trial, then x,xx €”.

Ah, much better. This immediately tells me that when I pay for the app, I get to use it (or at least that version) indefinitely, without limitations.
Pricing
My apps are one-time-for-life purchases (with optional tipping for those who feel so inclined), and I didn’t want to change that with DeskMat. I had originally planned to sell the app at a discount for EUR 3.99 and then, two weeks later, raise it to EUR 5.99, but because it was so well-received at that discount, I decided to keep it for the time being.
Publicity
Like I usually do with new apps and bigger updates, I sent out press releases to all the major Mac news publications and posted here and there. Being a small kind of niche app, I did not expect a lot of coverage, but it did fairly well, especially in German publications.
Here’s a little selection:
Macwelt (de), MacGadget (de), Techgedöns (de), ifun (de), iTopNews (de), MacSources (en), MacGeneration (fr)
All in all very favorably reviewed.
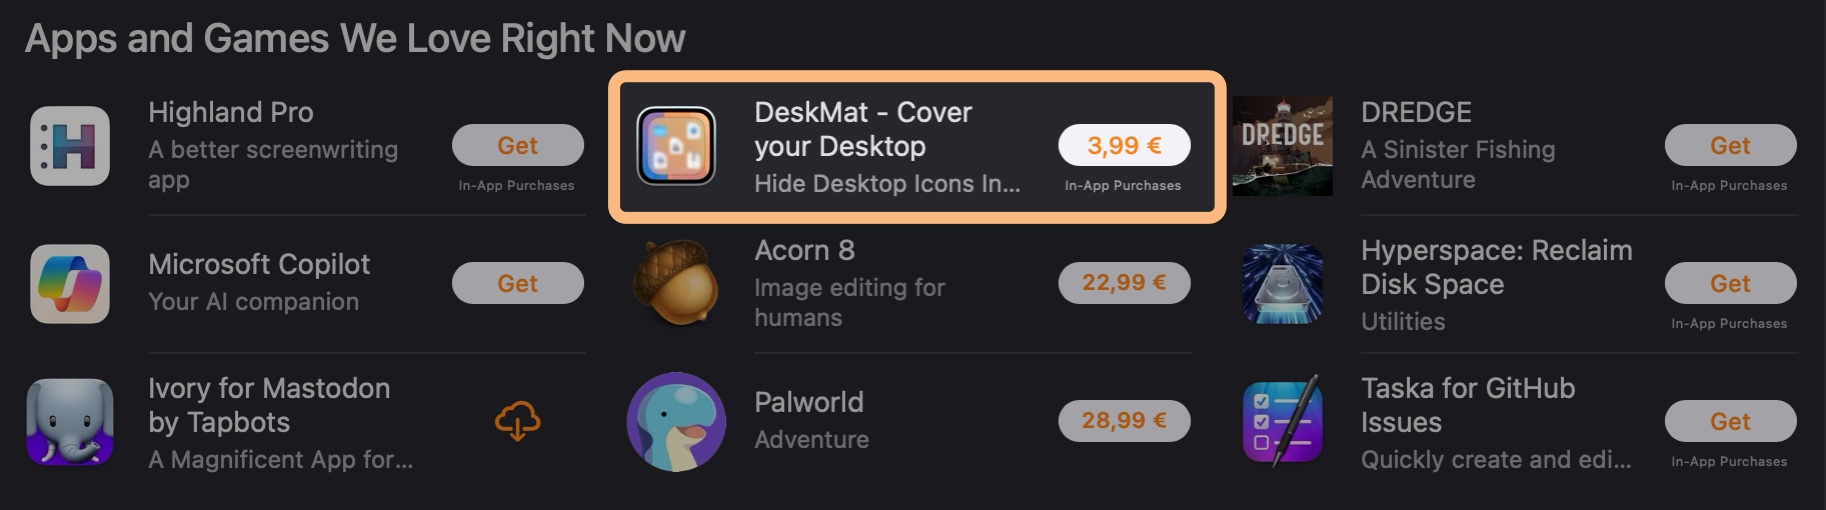
It also got featured on the Mac App Store in “Apps and Games We Love Right Now”…
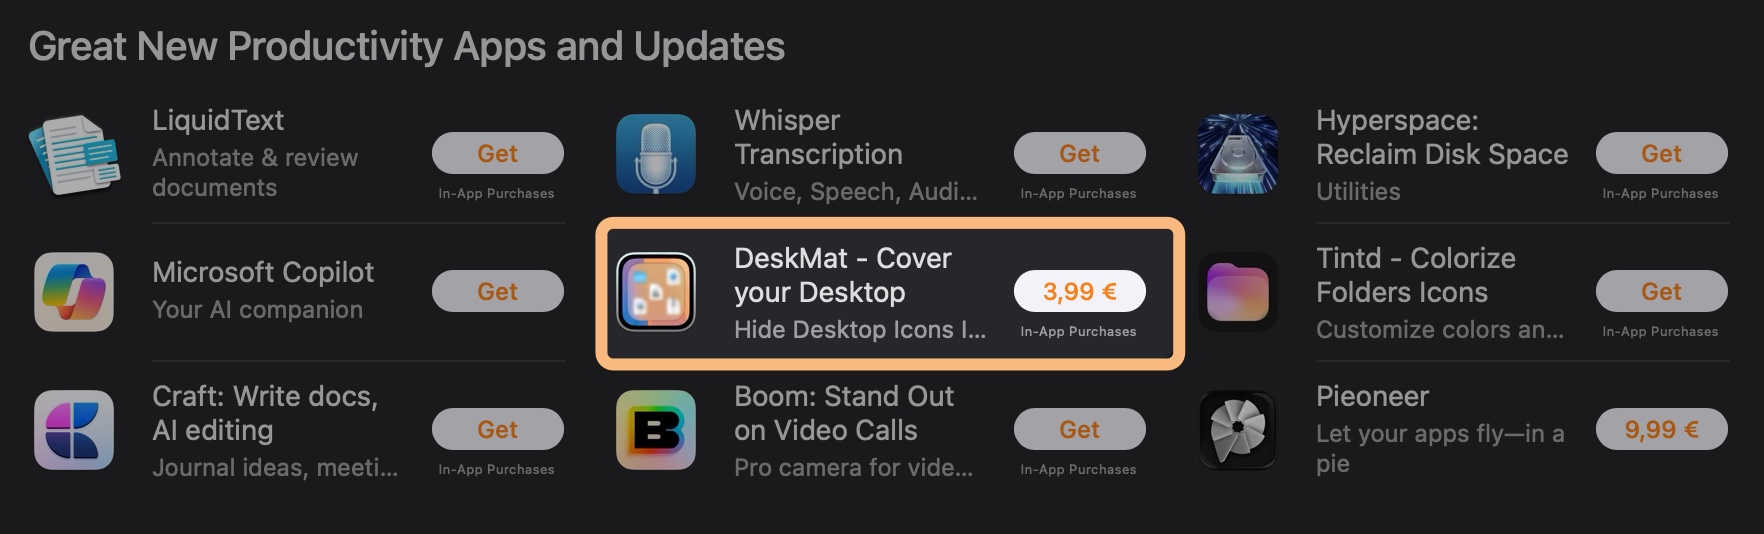
… and in “Great New Productivity Apps and Updates”
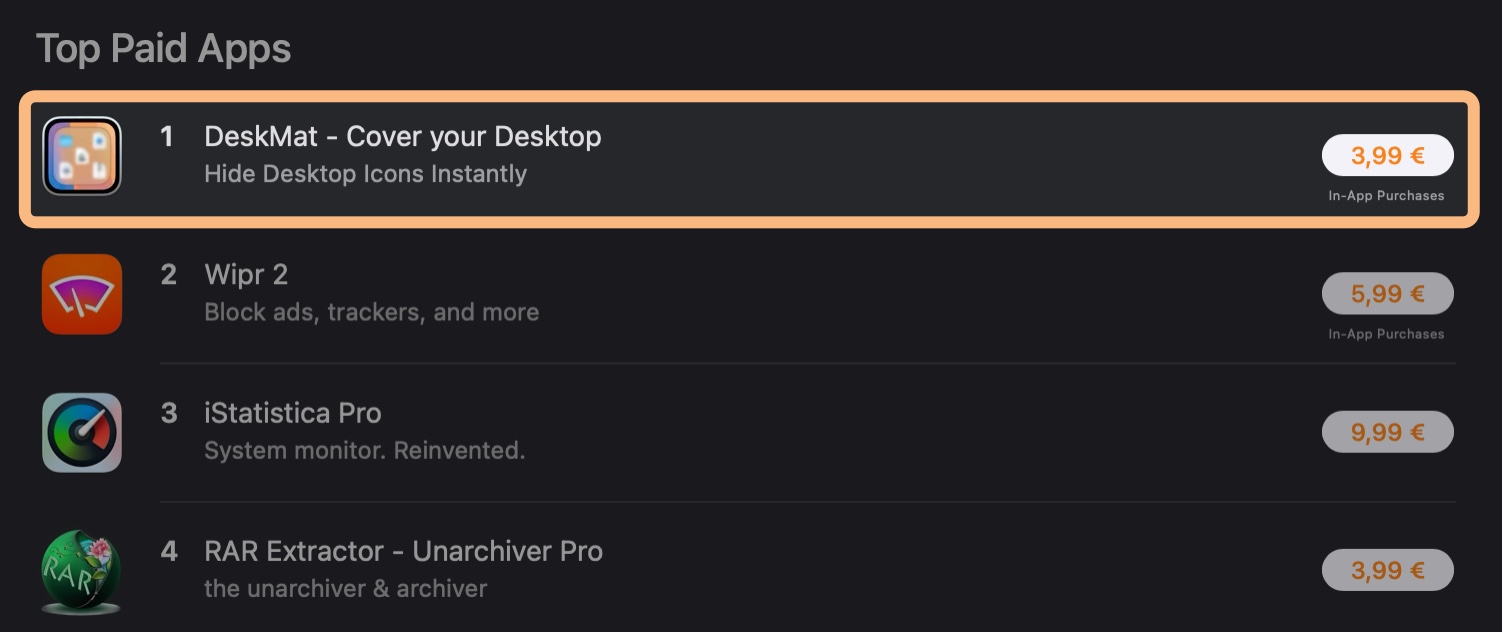
And, in Austria 🇦🇹, it even reached the #1 spot in Top Paid Apps! (which means about one person bought it here 😛)
Customer Reception
Like I wrote above, reviews by publications have been very favorable. As was the feedback I received by mail from customers. Commercially, the app has done well so far – I didn’t expect too much from it, but it exceeded my expectations quite a bit.
Comments on articles and on reddit, however, have been quite the opposite, interestingly:
From “who needs this”, to “who uses their Desktop anymore”, to “this is a scam” (somebody gift this person a dictionary) and “AI can write this in five minutes” (I’d *love* to see them try, ’cause … AI … lol) and “app x can do this and more” (fair enough, a valid point for once), comments have been generally negative.
I attribute some of this to the times we live in. Seems like people love to tear down other peoples’ efforts while not producing much – or anything – themselves.
And hating is just so much cooler (and faster) than giving constructive feedback.
To vent a little bit: I don’t get it. Personally, I’ve never felt inclined to leave a “who needs this” (or any plain negative) comment on anybody’s work. Okay, so you don’t need this app. Fine. But there are others who might, and the app wasn’t written with only you in mind. Who needs this “who needs this”-comment, is what I’m saying.
And don’t get me started on the “this is a scam” comment. If you use a five-dollar word like “scam”, you damn well better know what it means.
But let’s not end on a negative note.
I like how the app turned out and that people who actually tried and even purchased it seem to enjoy it – and I want to thank you all for it. I love little side projects (i.e. distractions) like these : ), especially when they turn out useful.
Links and Availability
DeskMat is available as a one-time purchase directly from my website, and on the Mac App Store.
It is currently available in English and German and requires macOS Sequoia 15 or newer.
It costs €3,99 / USD 3.99 / GBP 3.99
A free, 28-day trial is available on the website.
DeskMat Website + Trial + Direct Purchase
DeskMat on the Mac App Store
DeskMat Trial Download
Get to Know DeskMat (User Guide)
If you’d like to get in touch, you can reach me by mail (or by using the Contact & Connect link above).