Today’s my 39th birthday. Yes, I’m that old. It’s the last time my age will have a leading 3.
Unless I live to be 300. But I’ll cross that bridge once I get there.

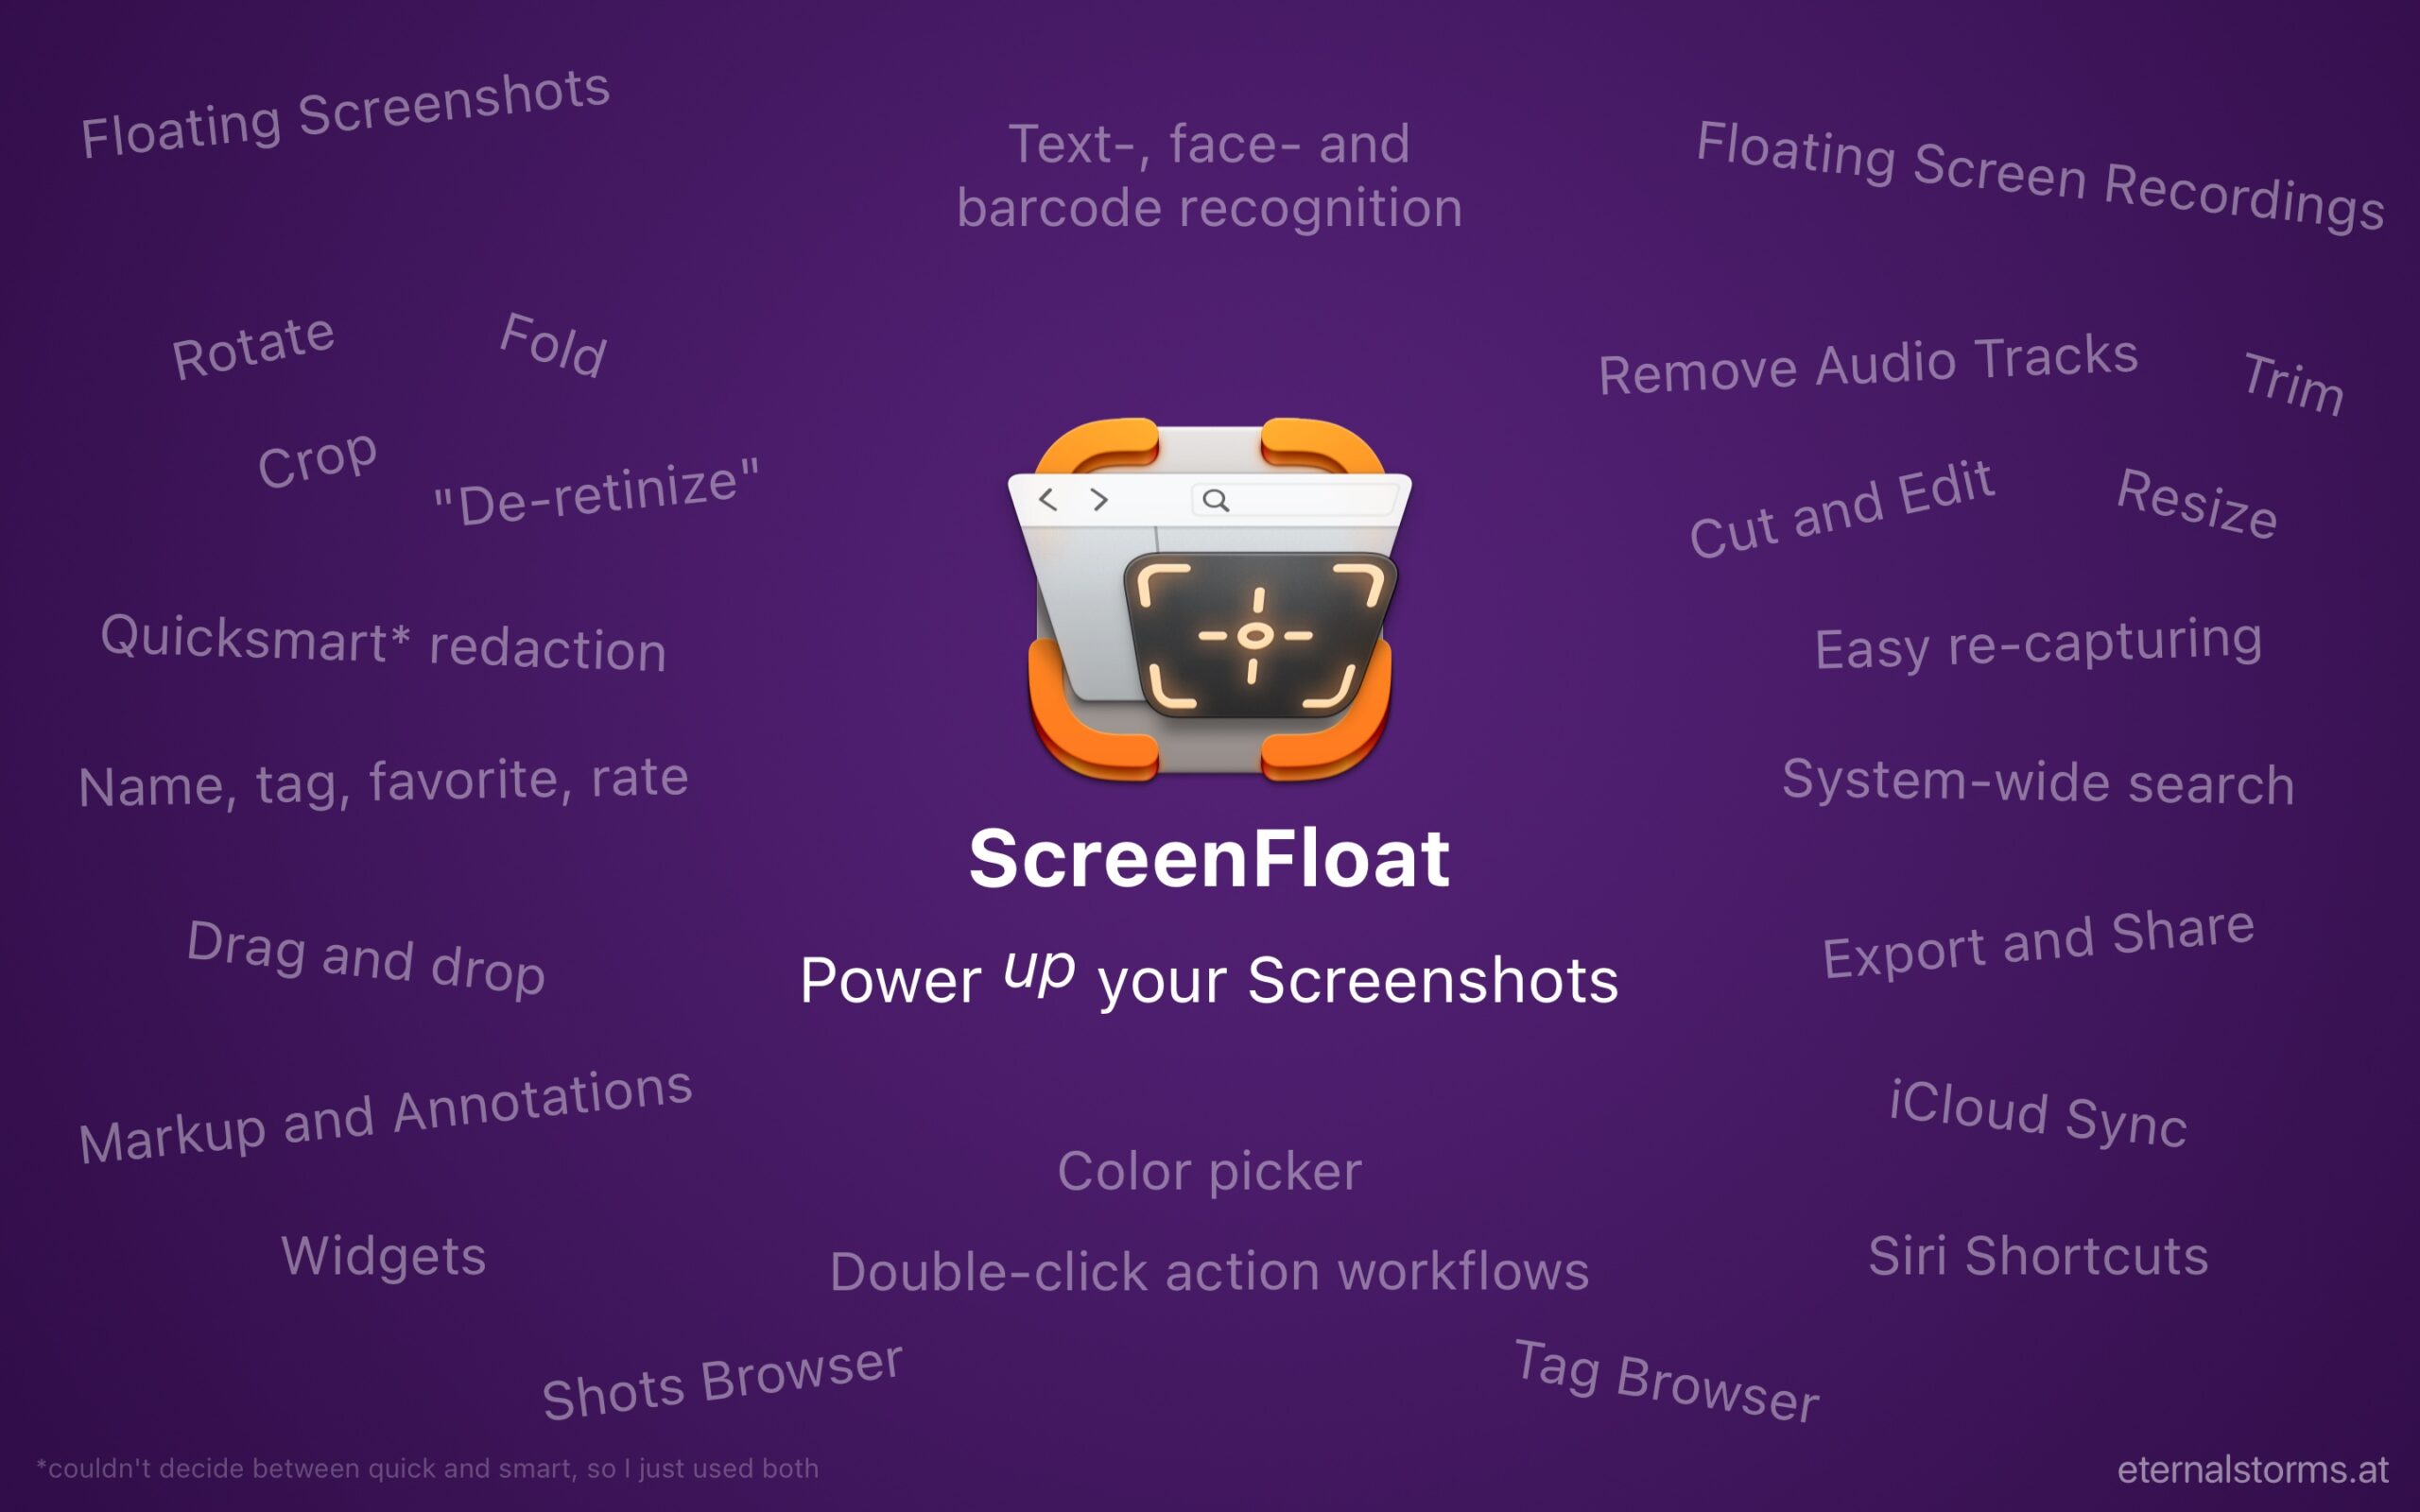
To mark this random occasion, I thought I’d do a little giveaway of my apps Yoink for Mac, Yoink for iPhone and iPad, ScreenFloat for Mac, Transloader for Mac, iPhone and iPad, and Tameno for Apple Watch, iPhone, iPad, Mac, and Apple TV.
Because I don’t have a fancier way of doing it, I’ll just list the promo codes to be used on the App Store here.
Please be so kind as to add a comment with the one you used so I can update this post and cross them off – thank you!
Here’s how it works:
- Copy the desired code to your clipboard
- Go to this page on the App Store
- Paste the code and press Redeem
- Enjoy!
Promo Codes for Yoink for Mac on the Mac App Store
XX3TXX67ALR4
4P373636K34M
X6FHRY7FY3KF
767AJW4F4YNY
L3KATFWLWH3LTXYRA6LPMLP9
K9EWK94H9J6N
MPLNWHNYATX69PMPMXX7TF3W
MPNPALMEHXK7
K9ML44WE4MHL
Promo Codes for Yoink for iPhone and iPad on the App Store
47WA4ALXXFPH
7LYE364EYNXE
FT4Y6FW437WP
YMRLWX7FXRKP
ENT3YRKLXLK7PRHPTKRXWR67
EM9797TMHJAW
LKJ4PTRRXE7RMYEPT6M7KF7W
KLA7NYHM6XNX
K373F7HRT43W
Promo Codes for ScreenFloat for Mac on the Mac App Store
4WTMMFE74676
R4NYA4RLPFKA
AMWKN3KTR3M7
WAAKH9T4EAHW
6F3HALHXPJJXANY4YFX3KYJW
4K3LKL6HYEWN
LFK6WJ99FEXMHYPJ6EMMNNAW
E93X6MP4L7LY
6TFXLKNTT4TF
Promo Codes for Transloader for Mac on the Mac App Store
(the iOS app is a free download)
67YTX3LPM9PA
LFP39RWNMALH
3L4NTHFKWPHE
49KE4394K7YT
F777AWHHEAF4TR9P697MN9X6
J4XA4XMH49KM
MY43ALHHHK4K64LWNJNKPH3A
HH6KYJYK7L9E
WA46MLT6ARYE
Promo Codes for Tameno on the Mac App Store
(universal, so the code will give you access to all versions)
PT4XY76W9NHT
A6T3RPTX7JFK
AMXF964T9FYA
XEFY747RR9AN
R4PXMNH3RTRMKY434FTAHHET
MPNMM9947MAM
Y9WLA6TMMNNRL3NY6RXR7YYN
63HL76JJHK69
J74WFP94TRTT
Have a good one, and thank you for stopping by!