With Yoink for Mac‘s clipboard history working again on macOS Big Sur and newer, I’ve seen, in forums and such, some questions about how the clipboard history operates and what it stores, in regards to privacy. I’ve answered those questions, but figured I’d let everyone know about it as well here on my blog, since this *should* be publicly available info:
General Notes about Yoink’s Clipboard History
- By default, the clipboard history feature is disabled.
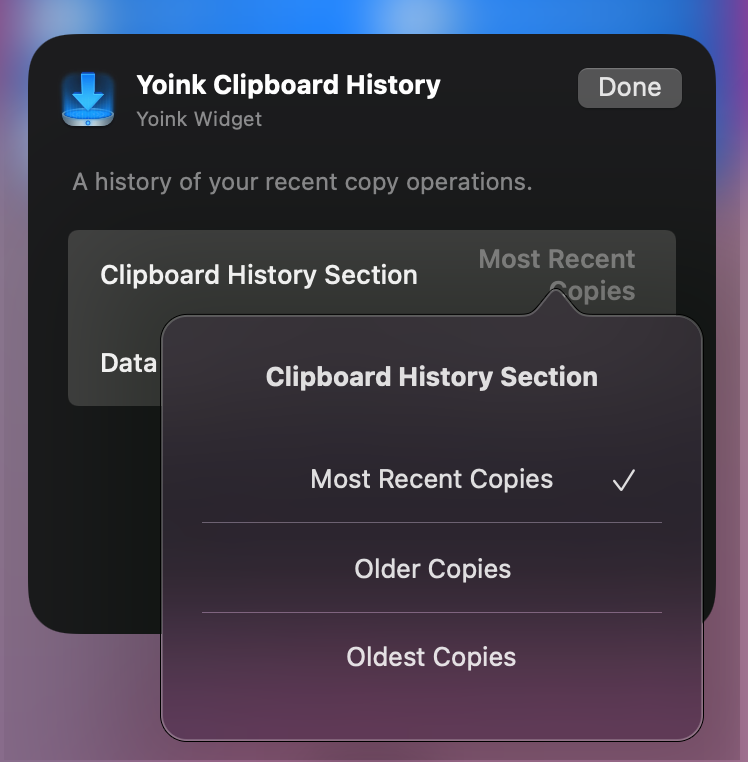
It has to be manually enabled by either clicking onto the widget in Notification Center, or in Yoink’s preferences, under Extensions. - The clipboard history feature can be disabled at any time (and will clear any stored items at that point) in Yoink’s preferences, under Extensions.
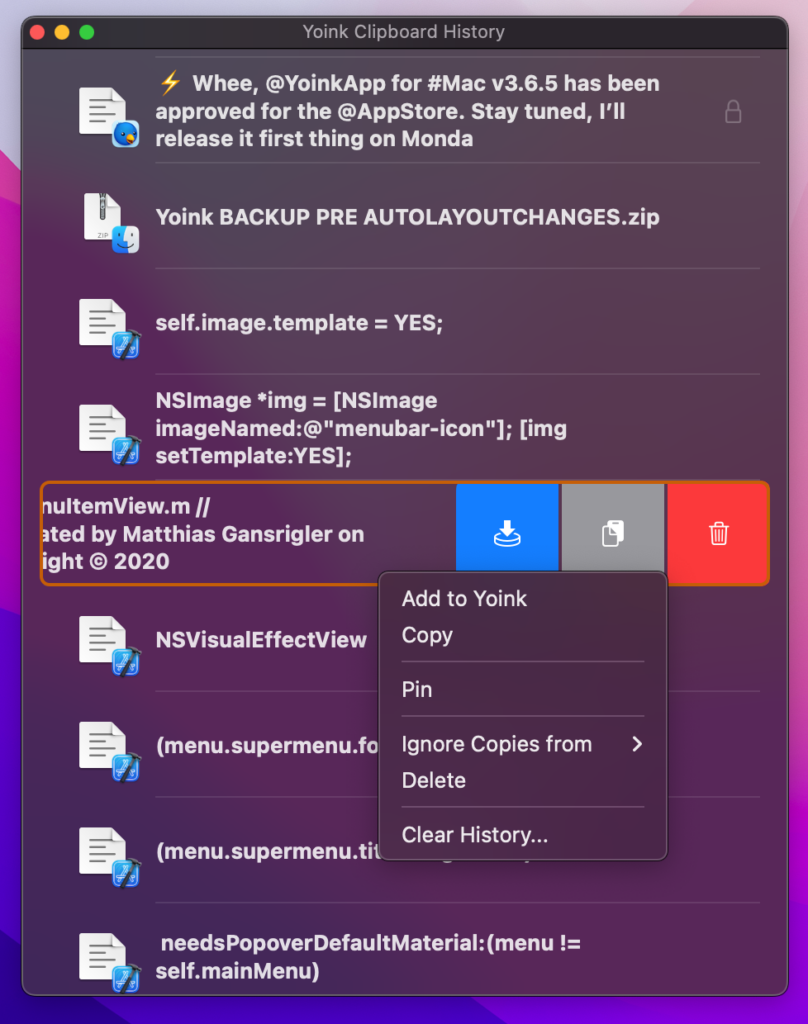
- Individual items can be deleted in the Clipboard History browser, accessible by command-clicking onto an item in the widget, by selecting Clipboard History > Organize… in Yoink’s contextual menu, or by clicking Organize… in Yoink’s preferences under Extensions.

What the Clipboard History stores
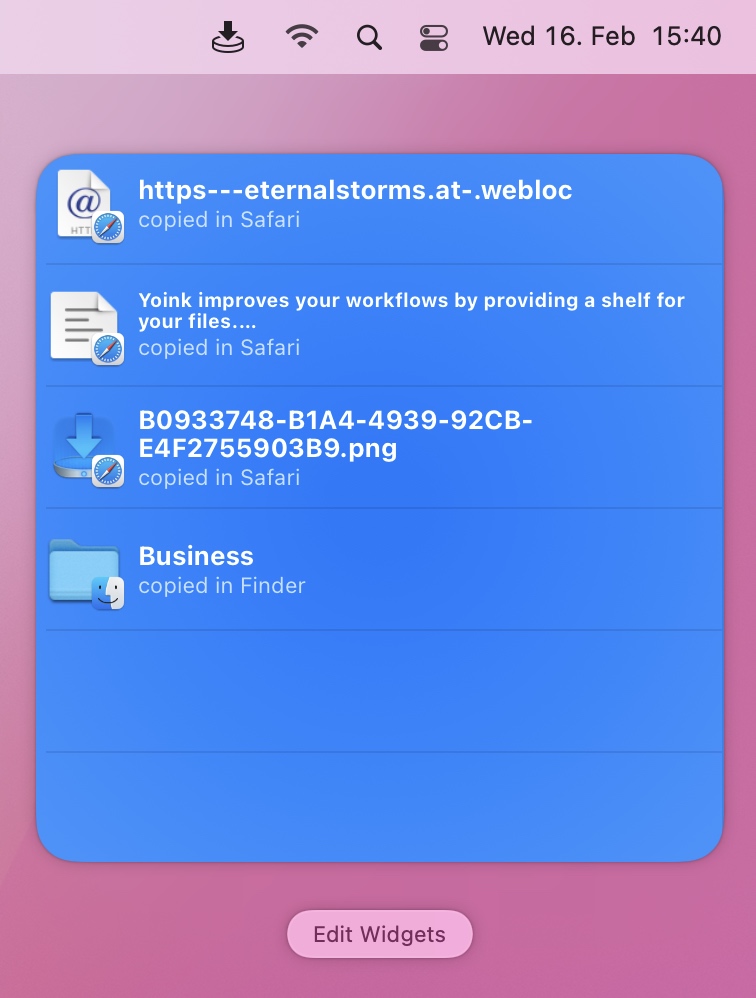
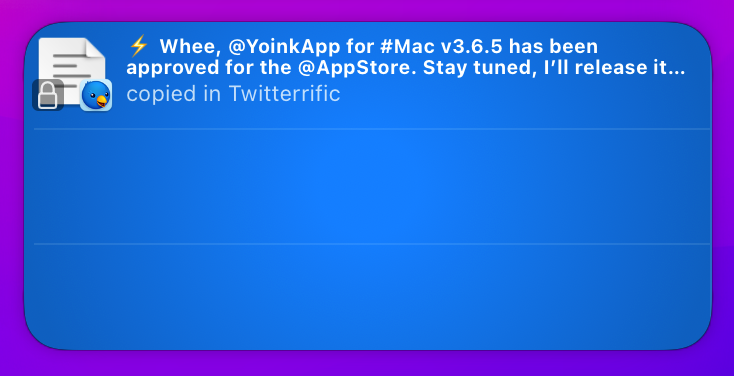
By default, Yoink stores anything you copy or cut, be it some text from a document, an image on a website, or a file in Finder, for example. Please read “What the Clipboard History does not store” below for important exceptions to this.
The clipboard history can be configured by you to completely ignore copy/cut operations in certain apps. This can be done in Yoink’s preferences, under Extensions, by pressing “Ignored Applications: Edit…”
The clipboard history is stored locally on your Mac and does not leave your Mac, unless you do it manually.
What the Clipboard History does *not* store
Yoink completely ignores cut/copy operations from any app or process that has one of the following in its name:
Keychain, Enpass, 1Password, KeePass, LastPass, Password, Kaspersky, mSecure, AppLocker, Keeper Password, Passwort, oneSafe, Secrets, Strongbox, RememBear, Dashlane and Bitwarden.
Anything copied from an app whose name contains one of the above (case insensitive) does not get stored in Yoink’s clipboard history.
In addition to that, Yoink also ignores copied content from any app, if the resulting clipboard content contains any of the following data types (as suggested by developers, for developers, on nspasteboard.org):
com.agilebits.onepassword, org.nspasteboard.TransientType, org.nspasteboard.ConcealedType and org.nspasteboard.AutoGeneratedType.
If you copy something from an app, and that app writes, say, a string to the pasteboard, and also specifies one of the data types above, the clipboard history will not pick it up.
If you have any suggestions, possible additions, questions or feedback regarding this, please do mail me.
I’ve also updated my privacy policy to clarify all of this.
Long story short: I’m not interested in anybody’s data. I don’t do any tracking, no usage statistics, and, if my apps use your internet connection, it’s exclusively for a specific feature that it offers to you, the user.
Take care : )
– Matthias