
alternate clickbaity title: the update I learned Swift and SwiftUI for.
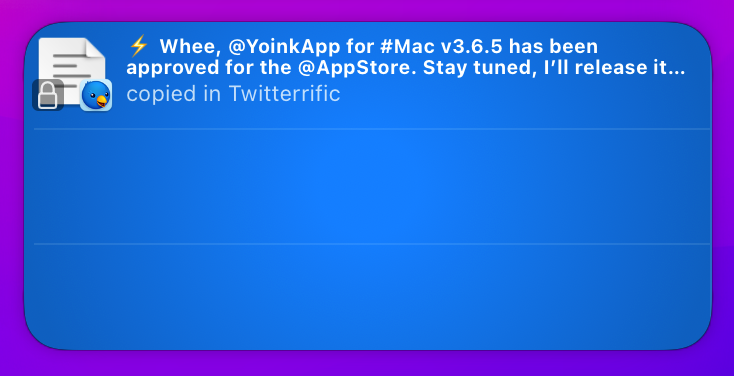
I’m happy to announce Yoink for Mac v3.6.5’s immediate availability.
In addition to numerous quality-of-life improvements and adjustments, this update re-introduces the (judging from the inquiries I received about it) beloved Clipboard History feature, and its widget.
What’s Yoink?
Yoink offers you a temporary place (a “shelf”) for files you drag from Finder, or app-content like images from websites. It frees your hand and mouse cursor to let you more easily and quickly navigate to the destination of your files.
Yoink automatically appears at the edge of your screen when you start a drag a file, allowing you to place it there.
What’s New in Yoink v3.6.5?
Let’s talk about the most important thing first – the resurrected clipboard history and its widget.
Up until earlier this year, I had virtually no experience with Swift, let alone SwiftUI, and I was pretty happy to continue with my Objective-anCient ways.
But I realized it held me back. Things are clearly moving away from Objective-C and towards Swift, so at the beginning of this year (2022), I made a point of learning the basics of Swift as quickly as possible to have the option of using everything Apple’s platforms and APIs have to offer.
With macOS Big Sur, Apple got rid of its old-style Today Widgets (which could be written in Objective-C and a nice .xib-interface file) and brought over the new SwiftUI-style widgets from iOS. That’s why Yoink’s widget had been defunct for so long – I didn’t have the skills to replace it.
But enough chit-chat, here’s the nitty-gritty!
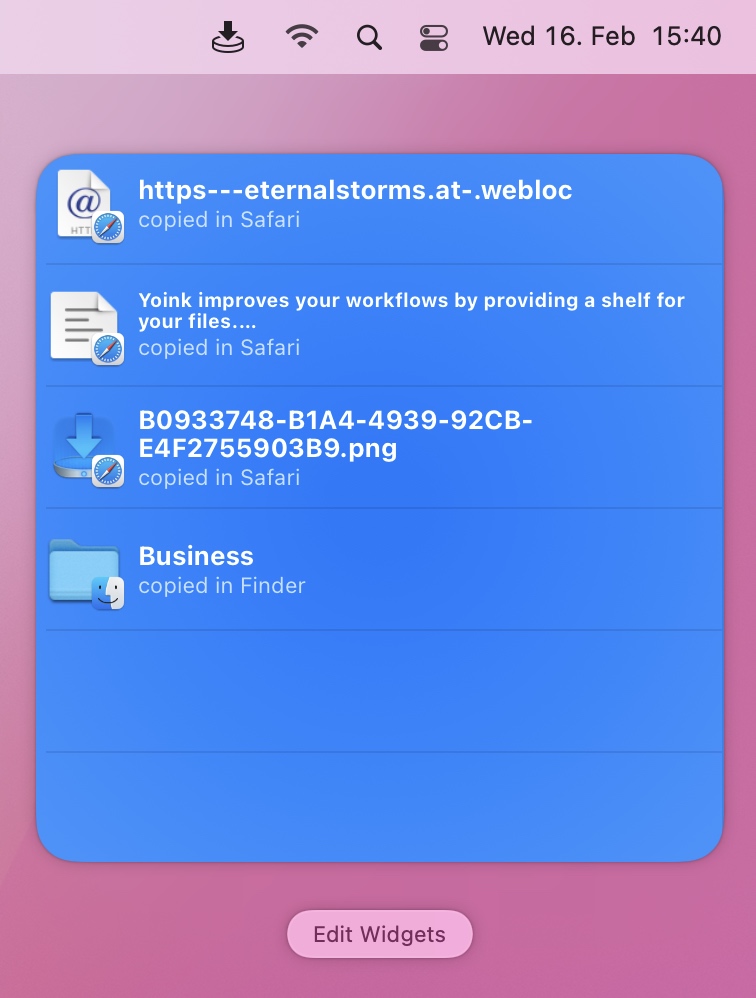
While the clipboard history recording still happens in Yoink itself in the background, the widget provides quick access to previous copies.
It comes in two sizes: medium and large.
The medium widget shows up to 6 copied objects, the large one up to 12.
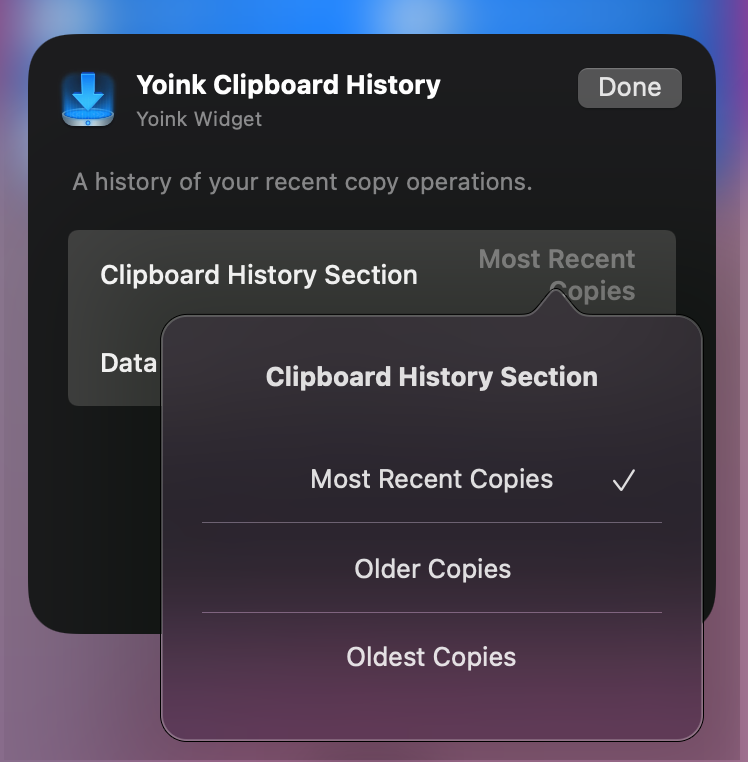
Widget Configurability
That doesn’t sound like a lot, but you can have multiple widgets, and they can be configured to show
1) the most recent copies (medium: 1-6, large: 1-12)
2) older copies (medium: 7-12, large: 13-24)
3) oldest copies (medium: 13-18, large: 25-36)
So you can, for example, have one large and one medium widget to show the last 18 copied items, or three large widgets to show the last 36 copied items.
Apart from that, you can have the widget show only particular data types:
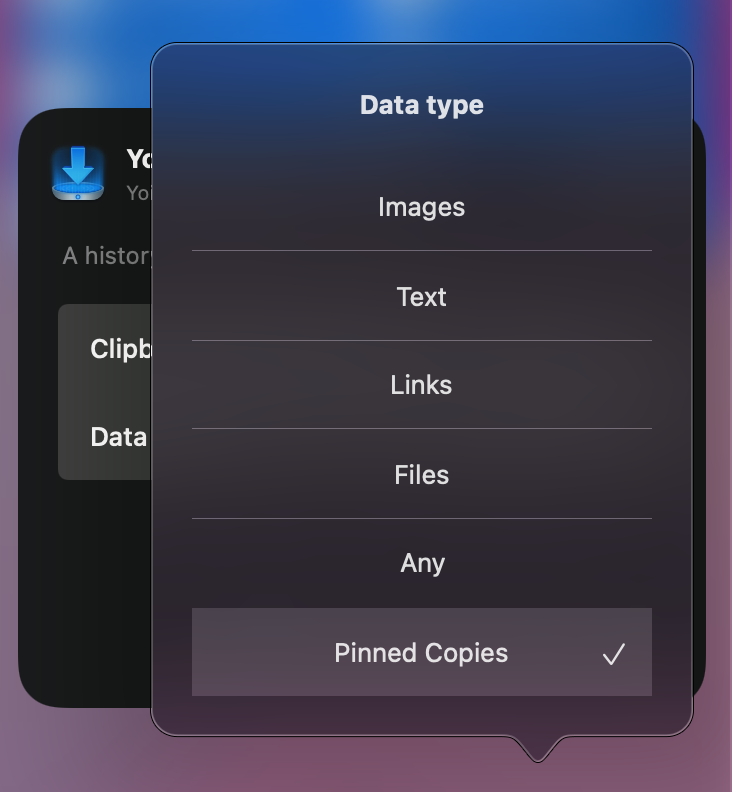
1) Only copied images
2) Only copied text
3) Only copied links
4) Only copied files
5) All copied items
6) Only pinned copies (pinning copied items is new in Yoink v3.6.5)
That allows the widget to be very flexible and useful.
How to use the Widget (Widget Clicks and Tricks)
– Click on an item in the widget, and it is copied to your clipboard
– Option(⌥)-click on an item, and it gets sent to Yoink so you can drag it out at a later time
– Shift(⇧)-click on an item, and it gets pinned (new in v3.6.5)
– Command(⌘)-click on an item, and it is revealed in the Clipboard History Browser (new in v3.6.5)
Pinning Items (new in v3.6.5)
When the Clipboard History reaches its threshold (up to 36 items), it will begin clearing out the oldest copies to make place for new ones.
In some cases, you might want to hold on to items indefinitely. That’s why you can now pin them. A pinned item will not be cleared out, unless you unpin it or delete it manually.
Clipboard History Browser (new in v3.6.5)
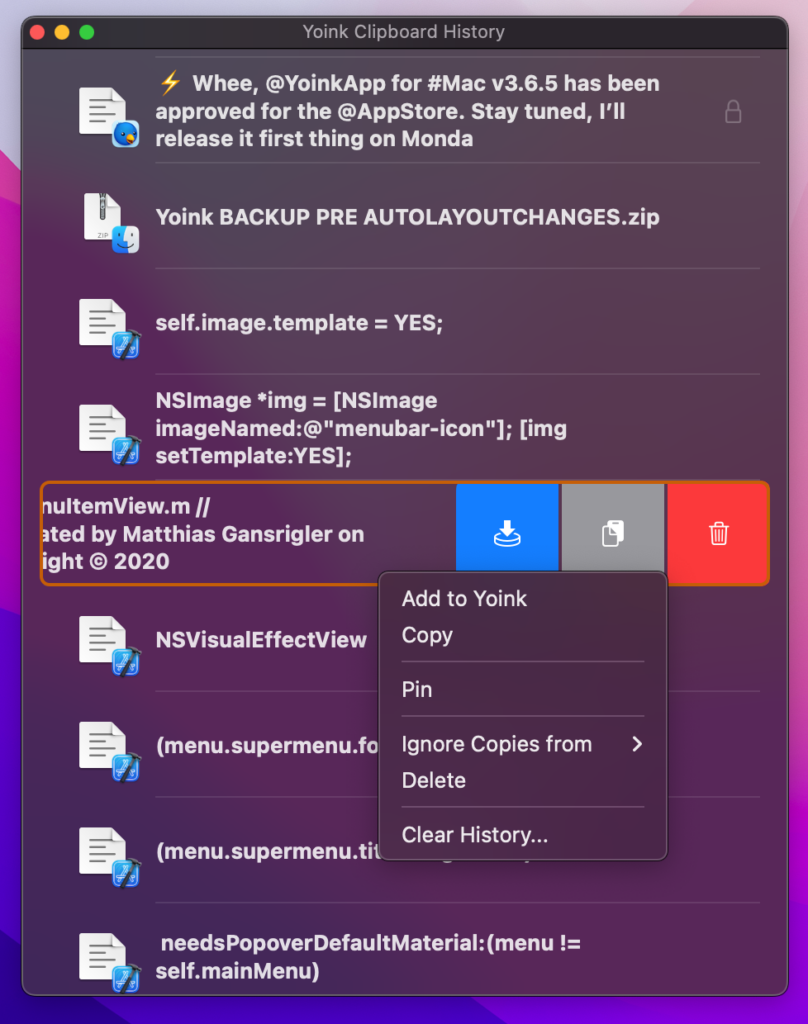
The history browser gives you a simple way to organize your copied items. Pin, unpin, delete, send to Yoink, copy, or clear out the entire history.
If you’d like to learn more about some of the implementation details behind this new widget, here’s a blog post for you.
What else is new in Yoink v3.6.5?
– It raises the minimum system requirements from macOS 10.10 Yosemite to macOS 10.12 Sierra.
– Instead of a TIFF file, a PNG file is created when pasting image data into Yoink.
In that vain, Yoink also transparently provides PNG and JPEG data when dragging out images of the types HEIC, HEIF or TIFF to broaden compatibility with other apps.
– It also fixes a couple of bugs and improves compatibility with, among other apps, DEVONthink, where items dragged from DEVONthink to Yoink and then out of Yoink are no longer moved, but copied, to ensure the integrity of DEVONthink’s files database.
What do I need to use Yoink for Mac?
Yoink runs natively on Apple Silicon and Intel Macs, and requires macOS Sierra 10.12 or newer.
It’s localized in English, German, French, Italian, Simplified Chinese, Japanese, Korean and Portuguese.
Where can I get Yoink?
Free Demo (direct download, ~28 MB, 30 days, notarized by Apple)
Mac App Store ($7.99, one-time purchase, no in-app purchases, update free for existing customers, as it’s been the case since v1.0)
Mac Productivity Bundle (Mac App Store, 25% off Yoink, Transloader and ScreenFloat)
Setapp (subscription service with over 200 Mac apps)
Yoink is also available for iPad and iPhone
For members of the press or anyone else who is interested, here’s a press kit.
I hope you like the update. If you have any feedback or questions, please do not hesitate to write me – I’m looking forward to hearing from you.
Enjoy 😊
[…] You can find the blog post here. […]
[…] ドラッグ&ドロップを強化する人気のMac用ユーティリティ「Yoink」の最新版v 3.6.5がリリースされました(公式ブログ、MacRumors)。 […]
[…] Yoink for Mac‘s clipboard history working again on macOS Big Sur and newer, I’ve seen, in forums and such, some questions about how the […]
[…] You can also Command-Click an item to access the Clipboard History Browser where you can organize stuff you might use more often. The developer has a great explanation here. […]