This year’s OS updates (v26) will be released by Apple later today, so here’s an update on my apps as well!
Yoink for Mac v3.6.102 🔗
Yoink looks and runs beautifully on macOS 26 Tahoe and continues to be there for all your drag and drop needs!
Yoink for iPhone and iPad v2.5.2 🔗
The same goes for Yoink for iPhone and iPad – it shines on iOS 26 and will continue to be your file and snippet companion, and versatile clipboard monitor!
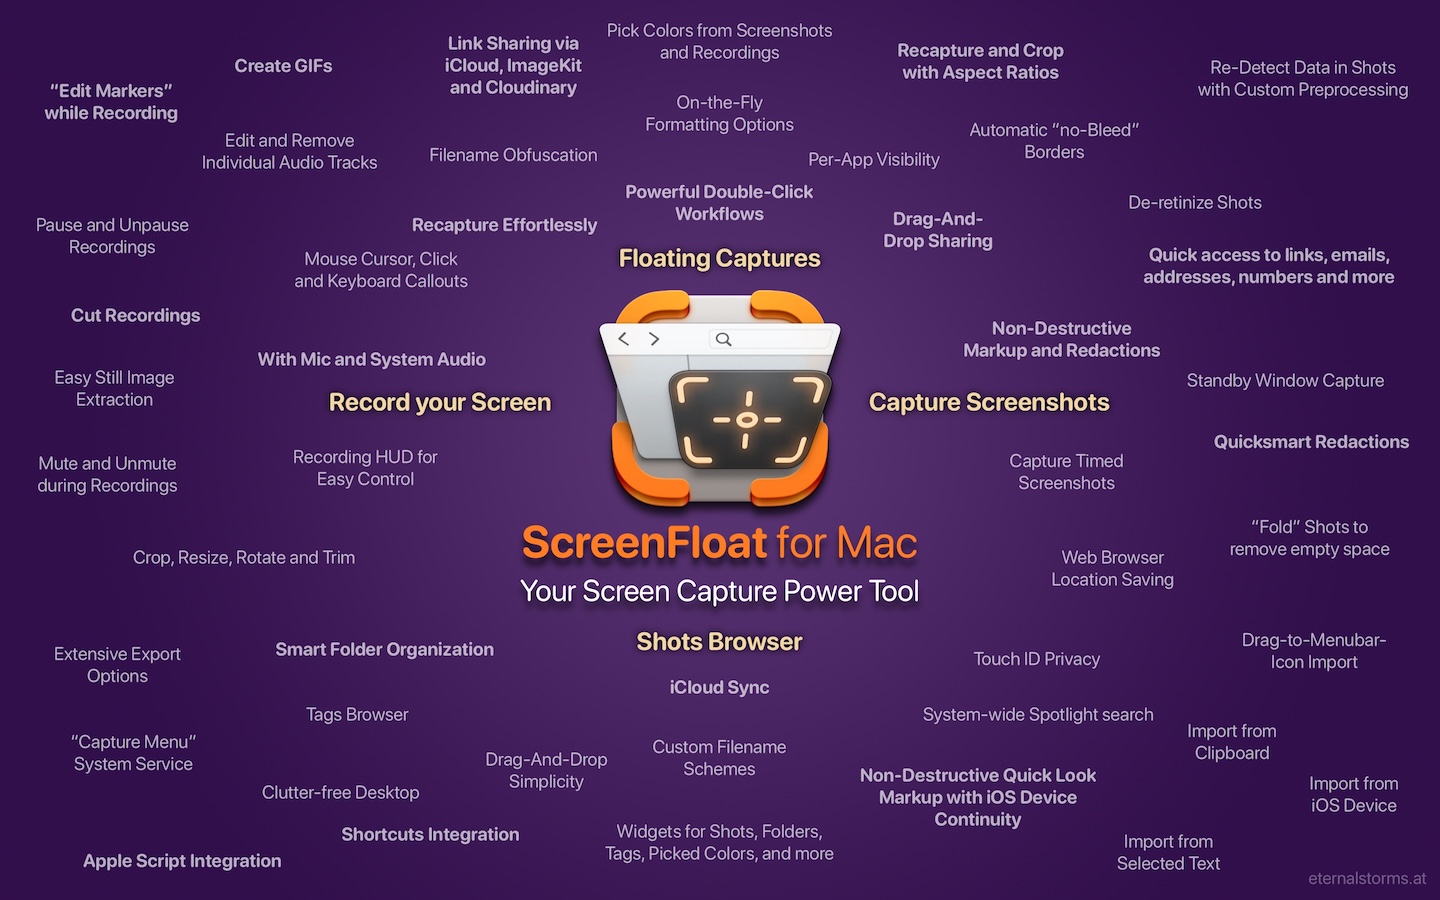
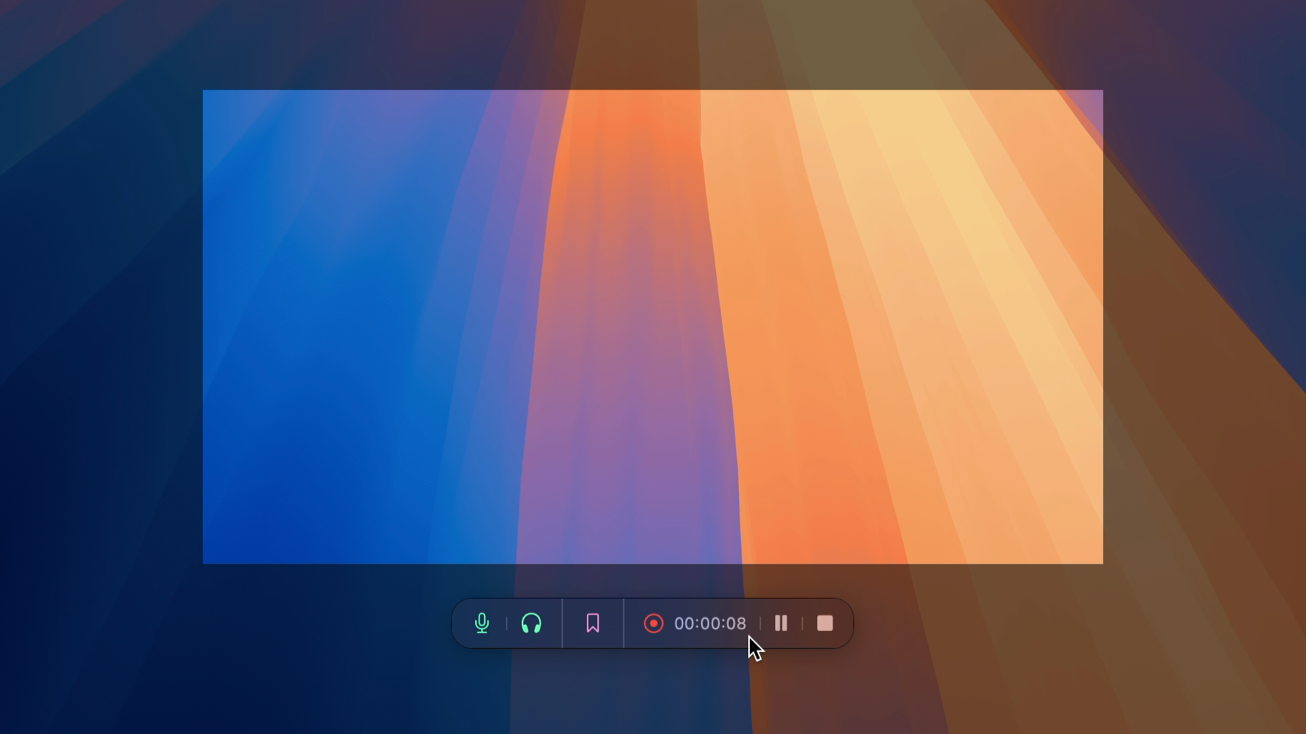
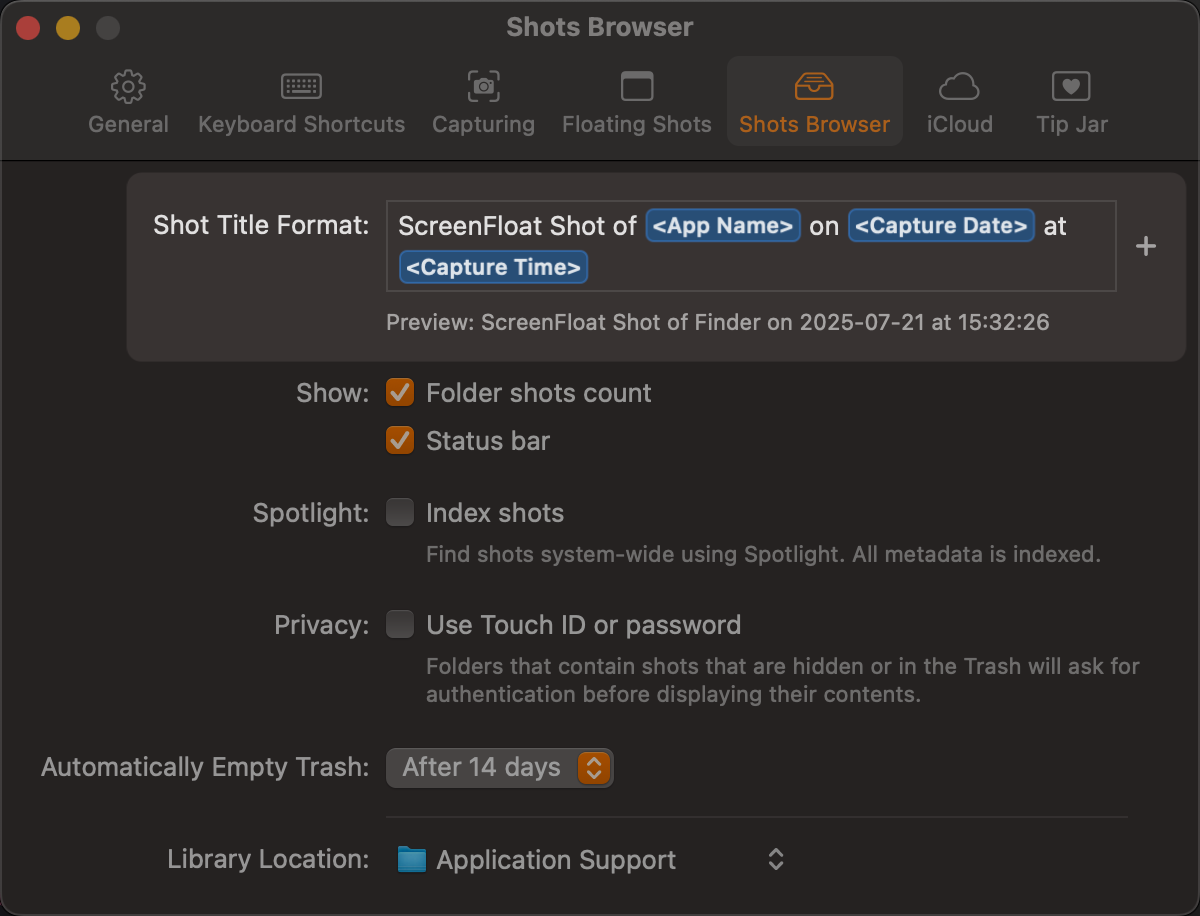
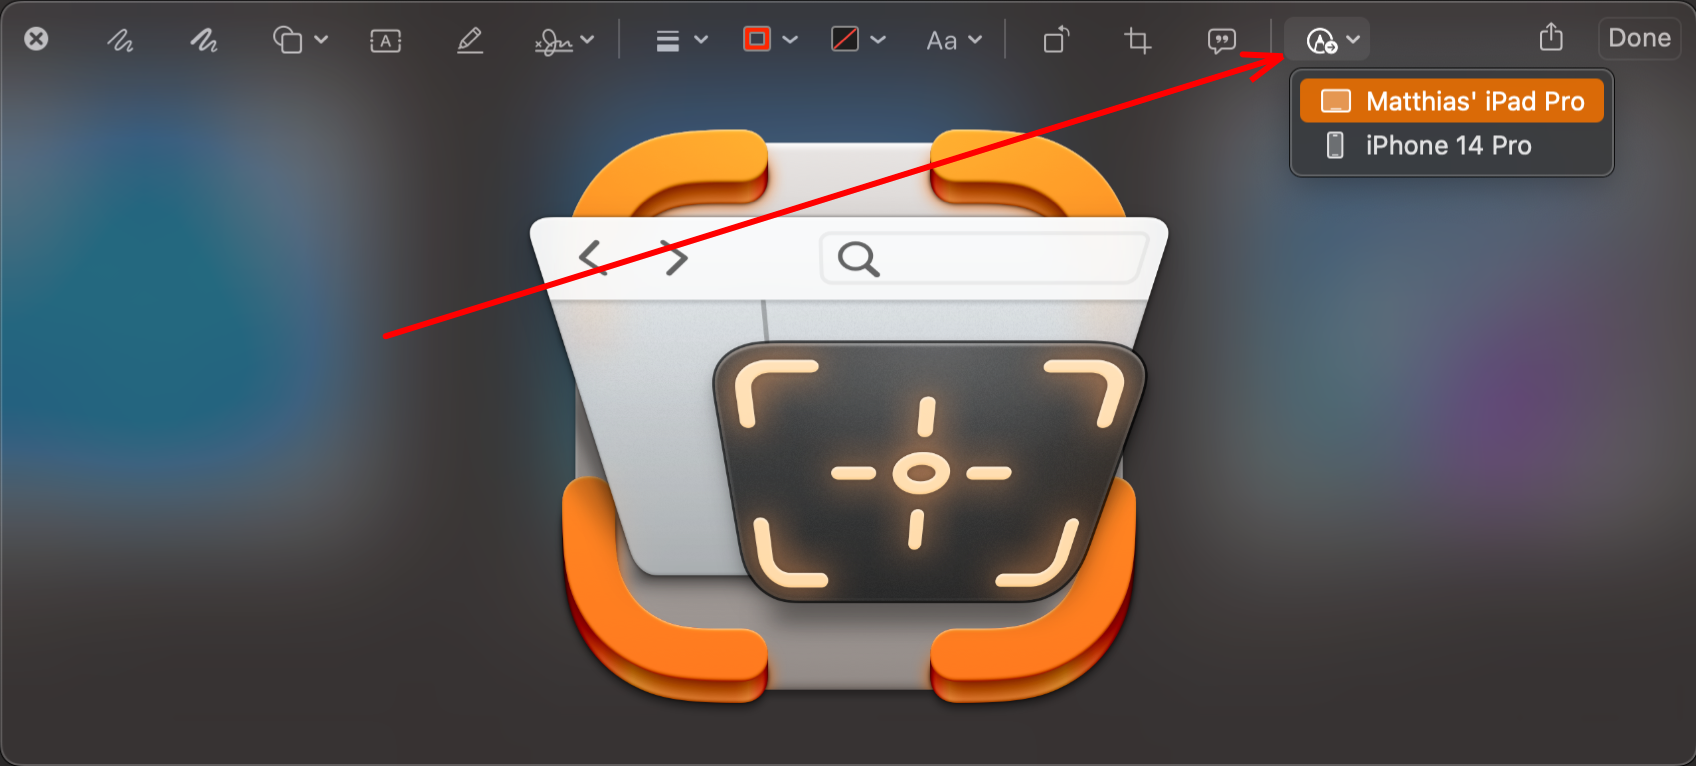
ScreenFloat for Mac v2.3.3 🔗
ScreenFloat brings its screen capture all-rounder companion powers to macOS Tahoe. From a new Shots Browser design for Liquid Glass to useful Control Widgets that give you quick access to ScreenFloat’s capture functionality, the app is ready for the new OS.
DeskMat v1.2 🔗

DeskMat covers your messy Desktop instantly. On macOS Tahoe, now also from the comfort of your Control Center.
In addition, there’s a new setting to keep Desktop Widgets visible and only hide file icons (available on macOS 14 and newer).
Transloader v3.1.7 🔗
Transloader lets you start and manage downloads on your Macs, remotely from your iPhone, iPad, and other Macs, and continues to do so on iOS, iPadOS and macOS 26.
Tameno v1.2.1 🔗
Tameno taps you repeatedly in intervals for stretching, workouts, exercises, meditation, yoga, the 20-20-20 rule, and so much more! And now does it better on mac- , watch-, i-, iPad-, and tvOS.
My other apps (like Glimpses, Citator, Upsies, BackLog and SiriMote) will receive updates soon, too.
Links and Availability
– Yoink for Mac – Better Drag and Drop
➡️ Website + free, 28-day trial
🖥️ Mac App Store (one-time purchase)
🔁 Setapp (over 200 awesome apps with one subscription)
💡 Usage Tips
– Yoink for iPhone and iPad – Your Files and Snippets Shelf
➡️ Website
📲 App Store (one-time purchase)
💡 Usage Tips
– ScreenFloat for Mac – Your Screen Capture Companion
➡️ Website + free, 28-day trial
💳 Direct Purchase (one-time purchase)
🖥️ Mac App Store (one-time purchase)
🔁 Setapp (over 200 awesome apps with one subscription)
💡 Get to Know ScreenFloat
– DeskMat – Cover Your Messy Desktop
➡️ Website + free, 28-day trial
💳 Direct Purchase (one-time purchase)
🖥️ Mac App Store (one-time purchase)
💡 Get to Know DeskMat
– Transloader for Mac, iPhone and iPad – Manage Downloads Remotely
➡️ Website + free, 28-day trial
🖥️ Mac App Store (one-time purchase) / 🔁 Setapp (over 200 awesome apps with one subscription)
📲 iOS App Store (free)
💡 Get to Know Transloader
– Tameno – Timers on Auto-Repeat
➡️ Website
🖥️ Mac App Store / 📲 App Store (one-time universal purchase for Apple Watch, iPhone, iPad, Mac and Apple TV)
💡 Get to Know Tameno
Thank you. I hope you’ll enjoy my apps : )