Today I finally was able to release ScreenFloat 1.5.13 on the Mac App Store. It’s a free update for existing customers of the app.
A 15-day trial can be downloaded for free from the website, even if you’ve tried it before.
What Is ScreenFloat?
ScreenFloat lets you create screenshots that float on top of everything, enabling you to keep an eye on information you currently need without having to switch back and forth between windows, applications or spaces.
Customers use it in all sorts of cases – when coding for code snippets, when making wire transfers for IBAN numbers and such, when working in Photoshop to compare images, the list goes on and on.
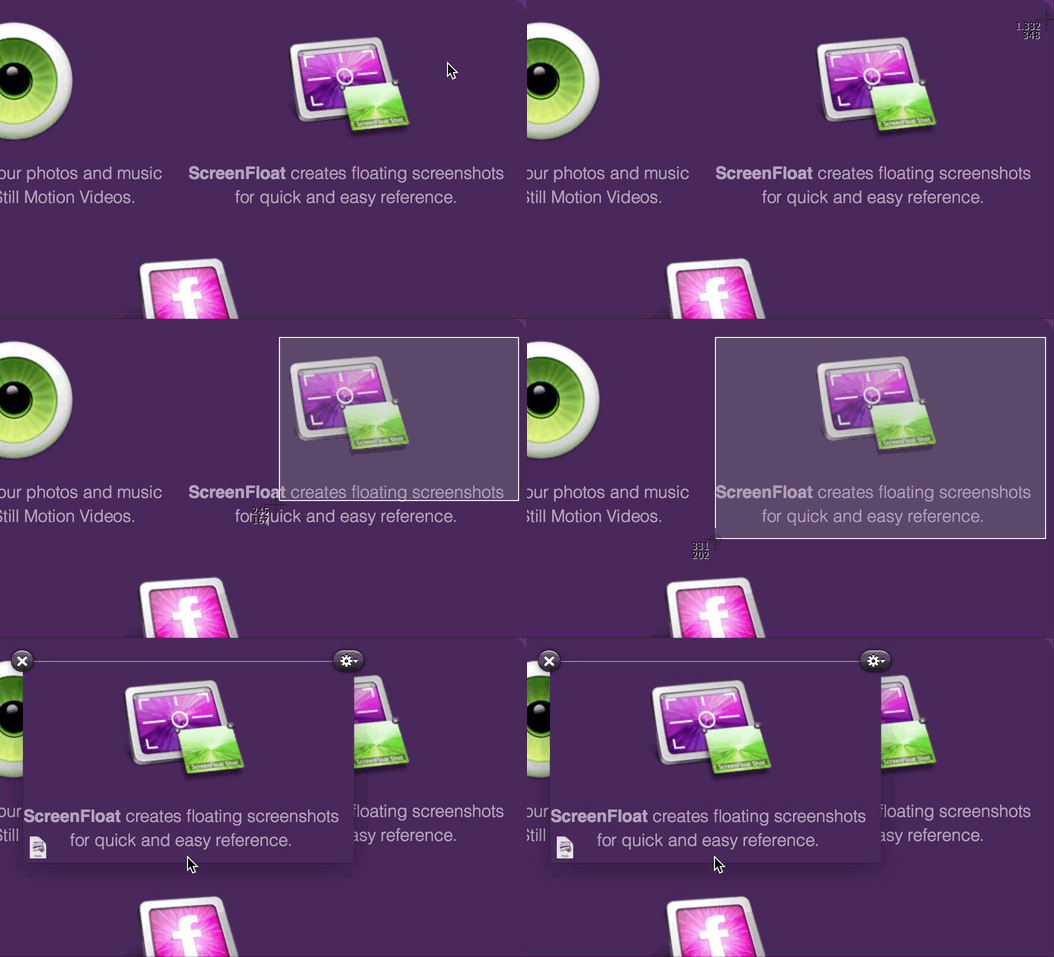
Basically, any time you need to keep something in your field of view or need to remember something on screen, ScreenFloat is there for you. The floating shots follow you around, no matter what window, app or space you are in, or you can pin them to specific spaces.
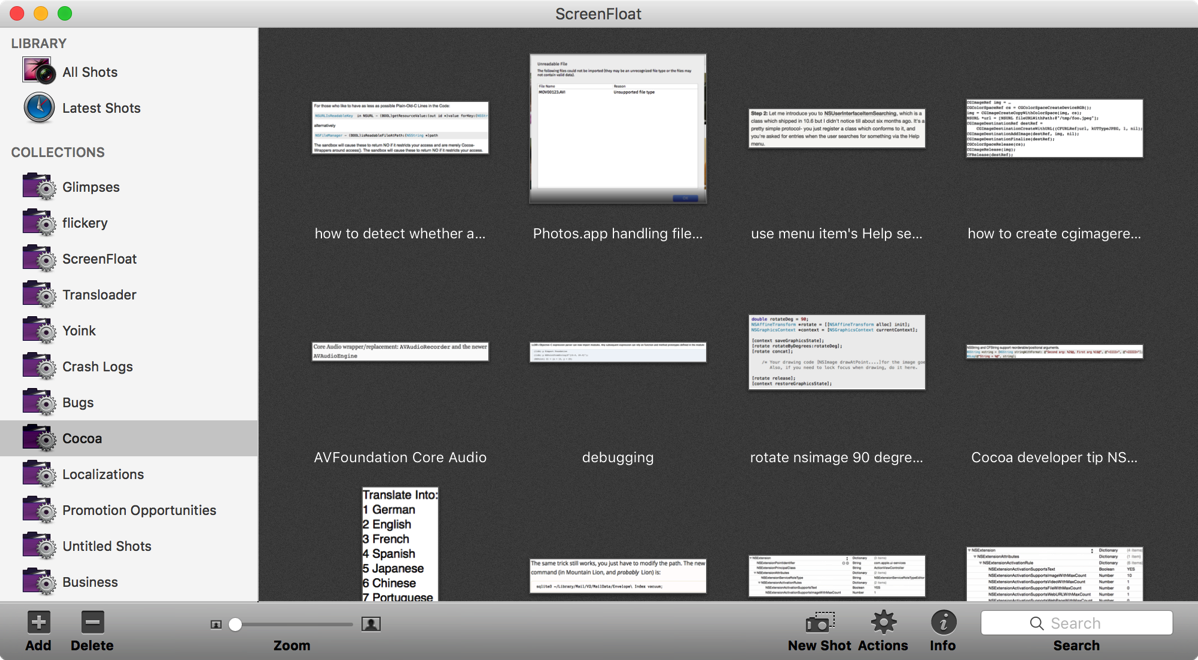
Shots you close are not deleted, but kept for you in the Shots Browser, where you can organize and categorize them:
What’s New in ScreenFloat v1.5.13?
• Most importantly, ScreenFloat now works on macOS Sierra.
As I wrote about earlier, macOS Sierra has a new sandbox entitlement that was prohibiting ScreenFloat from performing correctly, so that is fixed now.
While I was at it, I put the screenshot creation into its own XPC process, so I could isolate the new entitlement from the rest of the app, as Apple encourages doing.
• Aside from now working on macOS Sierra, it fixes two bugs and a (rare) crash, so I definitely recommend updating to version 1.5.13.
A Little Background on ScreenFloat’s App Store Review
When I first submitted this update of ScreenFloat to the Mac App Store, I included this line in is App Store description:
“Improves compatibility with macOS Sierra”
The update was rejected because of it. You are not allowed to mention Apple pre-release software in your App Store description. Instead, they suggest you use this line:
“Improves compatibility with an upcoming OS”
I think that’s rubbish. Everyone knows what the next OS is going to be called – it was publicly unveiled already under that name, so the likelihood of it changing now is virtually zero.
Secondly, they have a public beta out, for crying out loud. It’s in peoples’ hands already, but they don’t want developers to let their customers know that the app now works on Apple’s latest and greatest new system?
So I sent an appeal to the Review Board, it got rejected, I submitted the app again with the suggested line and it went through.
Still, I don’t think “an upcoming OS” is helping anyone. In fact, it’s more confusing than anything, if you ask me. “An upcoming OS” is ambiguous, whereas “macOS Sierra” lets the user know exactly what you mean.
Anyway, this will be my process from now on: Submit with my original line mentioning the OS update explicitly, getting rejected, appealing and then submitting with their suggested line. Perhaps they’ll get tired of it and let it through at some point. Probably not, though.
Pricing and Availability
ScreenFloat v1.5.13 is available for purchase on the Mac App Store for the price of $8.99 / £6.99 / €8,99. It is a free update for existing customers of the app.
A 15-day trial can be downloaded for free from the website, even if you’ve already tried the app.
ScreenFloat runs on Macs with OS X Lion 10.7.3 or newer.
If you’re interested in writing about ScreenFloat, you can download its press kit here, which contains screenshots, icons, a short sample video and further information.
A limited amount of promotional codes are available to members of the press at press(at)eternalstorms(dot)at.
Links
ScreenFloat Website
http://eternalstorms.at/ScreenFloat
ScreenFloat on the Mac App Store
https://itunes.apple.com/app/screenfloat/id414528154?mt=12&at=1001l8pT&ct=blog
ScreenFloat Demo Download
http://eternalstorms.at/ScreenFloat/ScreenFloat.zip
ScreenFloat Press Kit
http://eternalstorms.at/press/ScreenFloat-1-Press-Kit.zip
ScreenFloat Video Preview on YouTube
https://youtu.be/MYtEzOP41Os
I’m looking forward to hearing from you and to see what you think about ScreenFloat 1.5.13. If you like the app, please consider leaving a little review on the Mac App Store, it would help me out a lot! Should you have any feedback or questions, please be sure to get in touch, I’d love to hear from you! Thank you.

– – – Do you enjoy my blog and/or my software? – – –
Stay up-to-date on all things Eternal Storms Software and join my low-frequency newsletter (one mail a month at most).
Thank you 🙂


