A Blast from the Past: Reckless Drivin’
A bit of personal news:
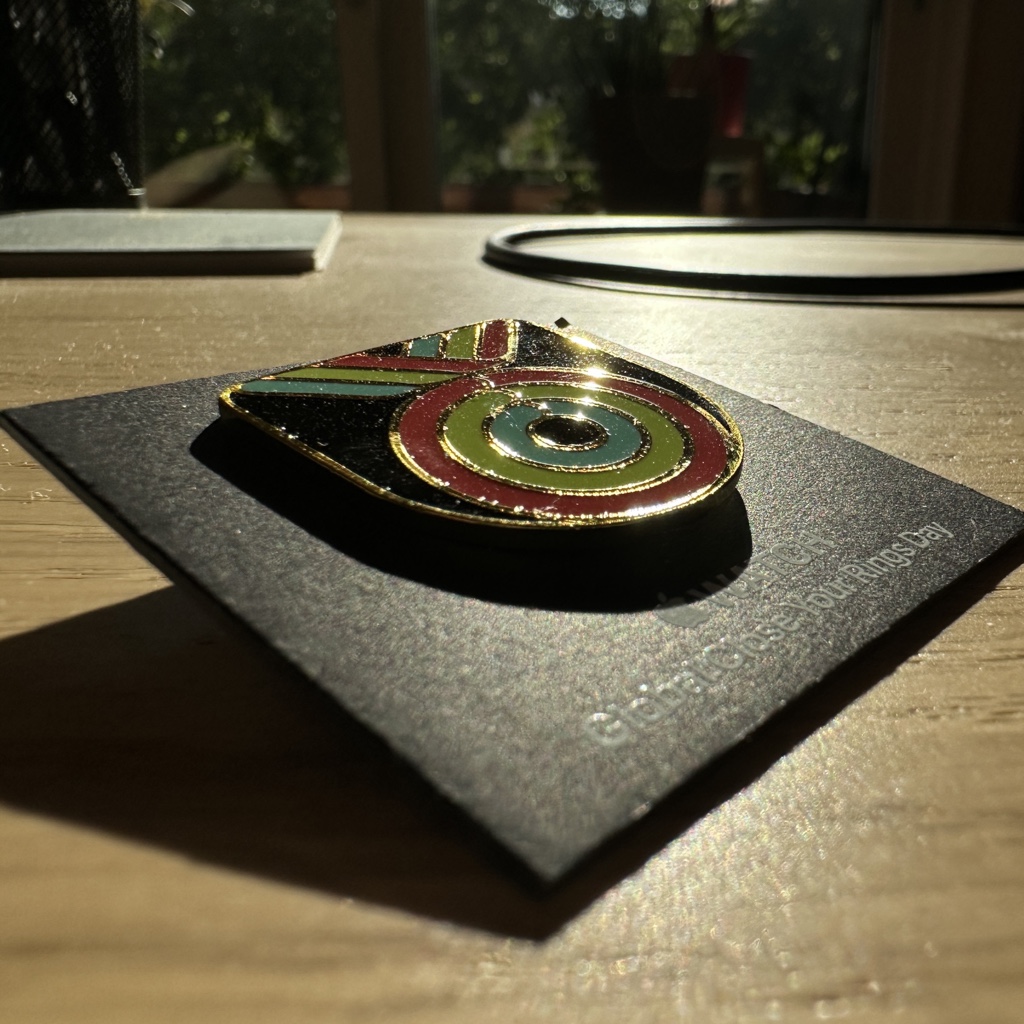
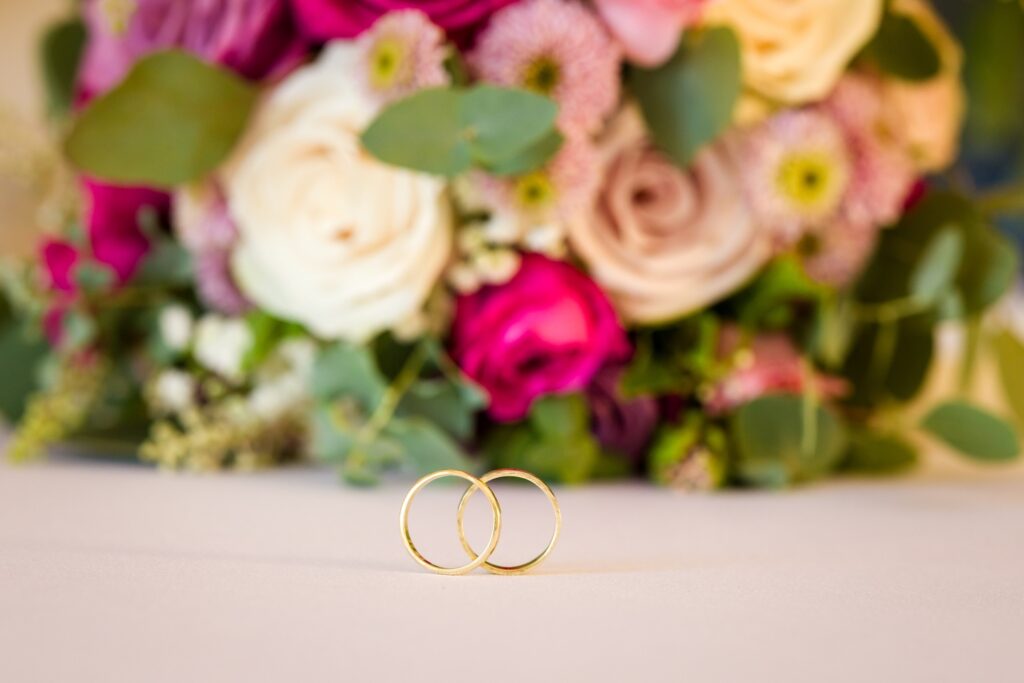
We’ve been enjoying each other’s company for over twelve years now, and after getting engaged last year, my lovely fiancée Britta and I finally got married on Saturday 5th, 2025.
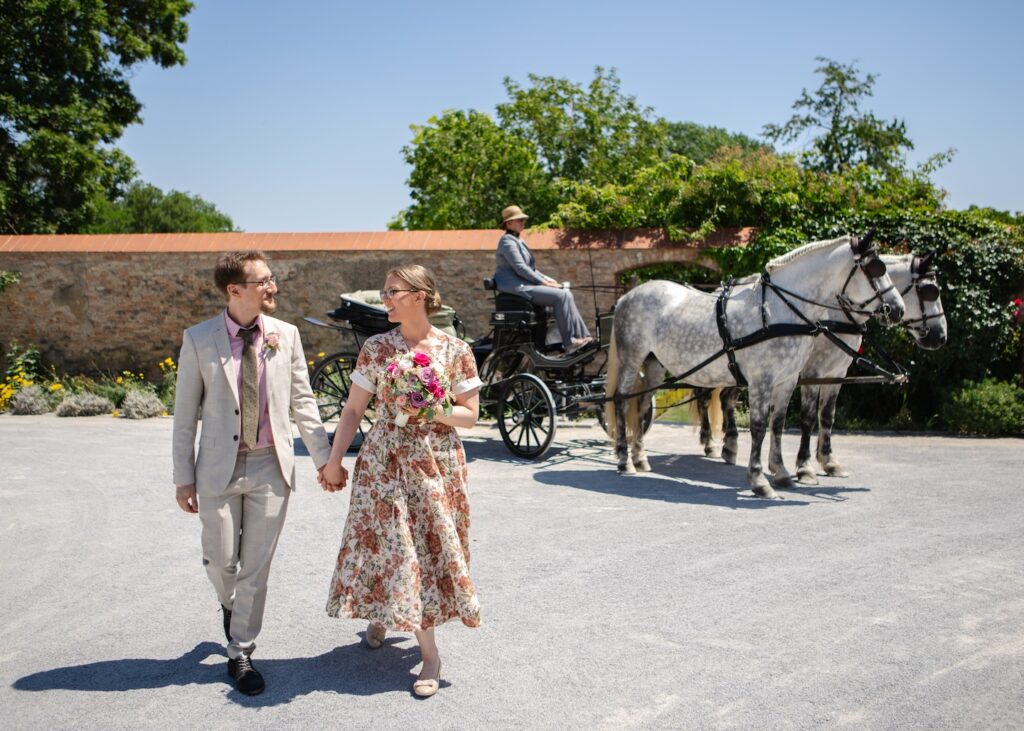
What a lovely day among family.
I couldn’t be happier. I’m very lucky to have her by my side.