Citator is your personal quotes library. Save quotes and cherish them within the app, on your lock screen or on your home screen with widgets.
Version 1.1.1 adds more localizations and a new icon.
Simply the best
honestyisnotunderrated – App Store
What is Citator?

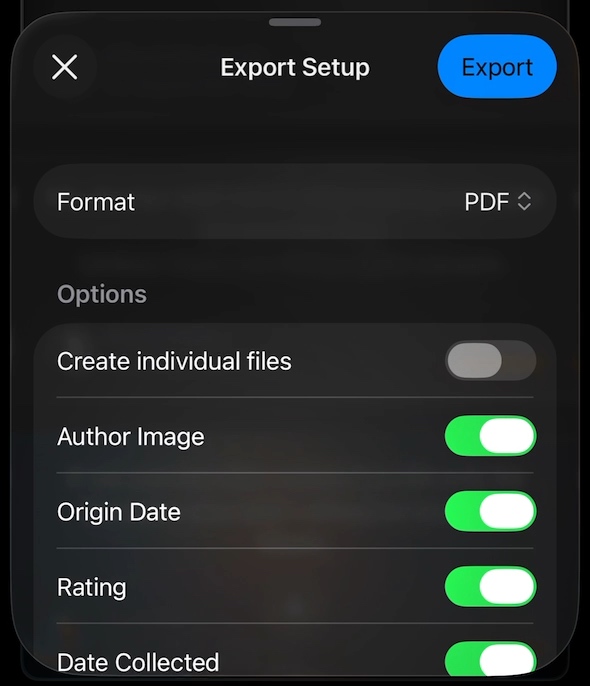
Citator makes it easy to store quotes you come across. Type them in manually, or scan them with your camera. Author’s images are automatically loaded from Wikipedia; add metadata like the source of the quote, a location, and rate and favorite them.
Display them on your lock screen or home screen with widgets, which let you cycle through them randomly, or pick specific quotes.
The only app I could find that lets me collect quotes and show them as cycling widgets on the home screen.
TextdamitdasPopupverschwindet – App Store
What’s New in Citator v1.1.1?
- Citator is now localized into English, German, French, Italian, Spanish, Portuguese, Swedish, Dutch, Simplified Chinese, Japanese and Korean
- A new icon
- Fixes a bug where the “Add Quote” quick action from the app’s icon on the home screen didn’t work on first launch
👉 For the full release notes, please click here 👈
I love this app and its simplicity.
pchristoph – App Store
Links and Availability
➡️ Website
👉 Citator is a free app.
The app requires iOS 15 or newer and is currently localized into English and German.
Literally everything I was looking for in a quotations app
mwmwmwong – App Store
If you have any feedback or questions, please don’t hesitate to use the contact link above, or below : )
Have a great day, and thank you for stopping by.