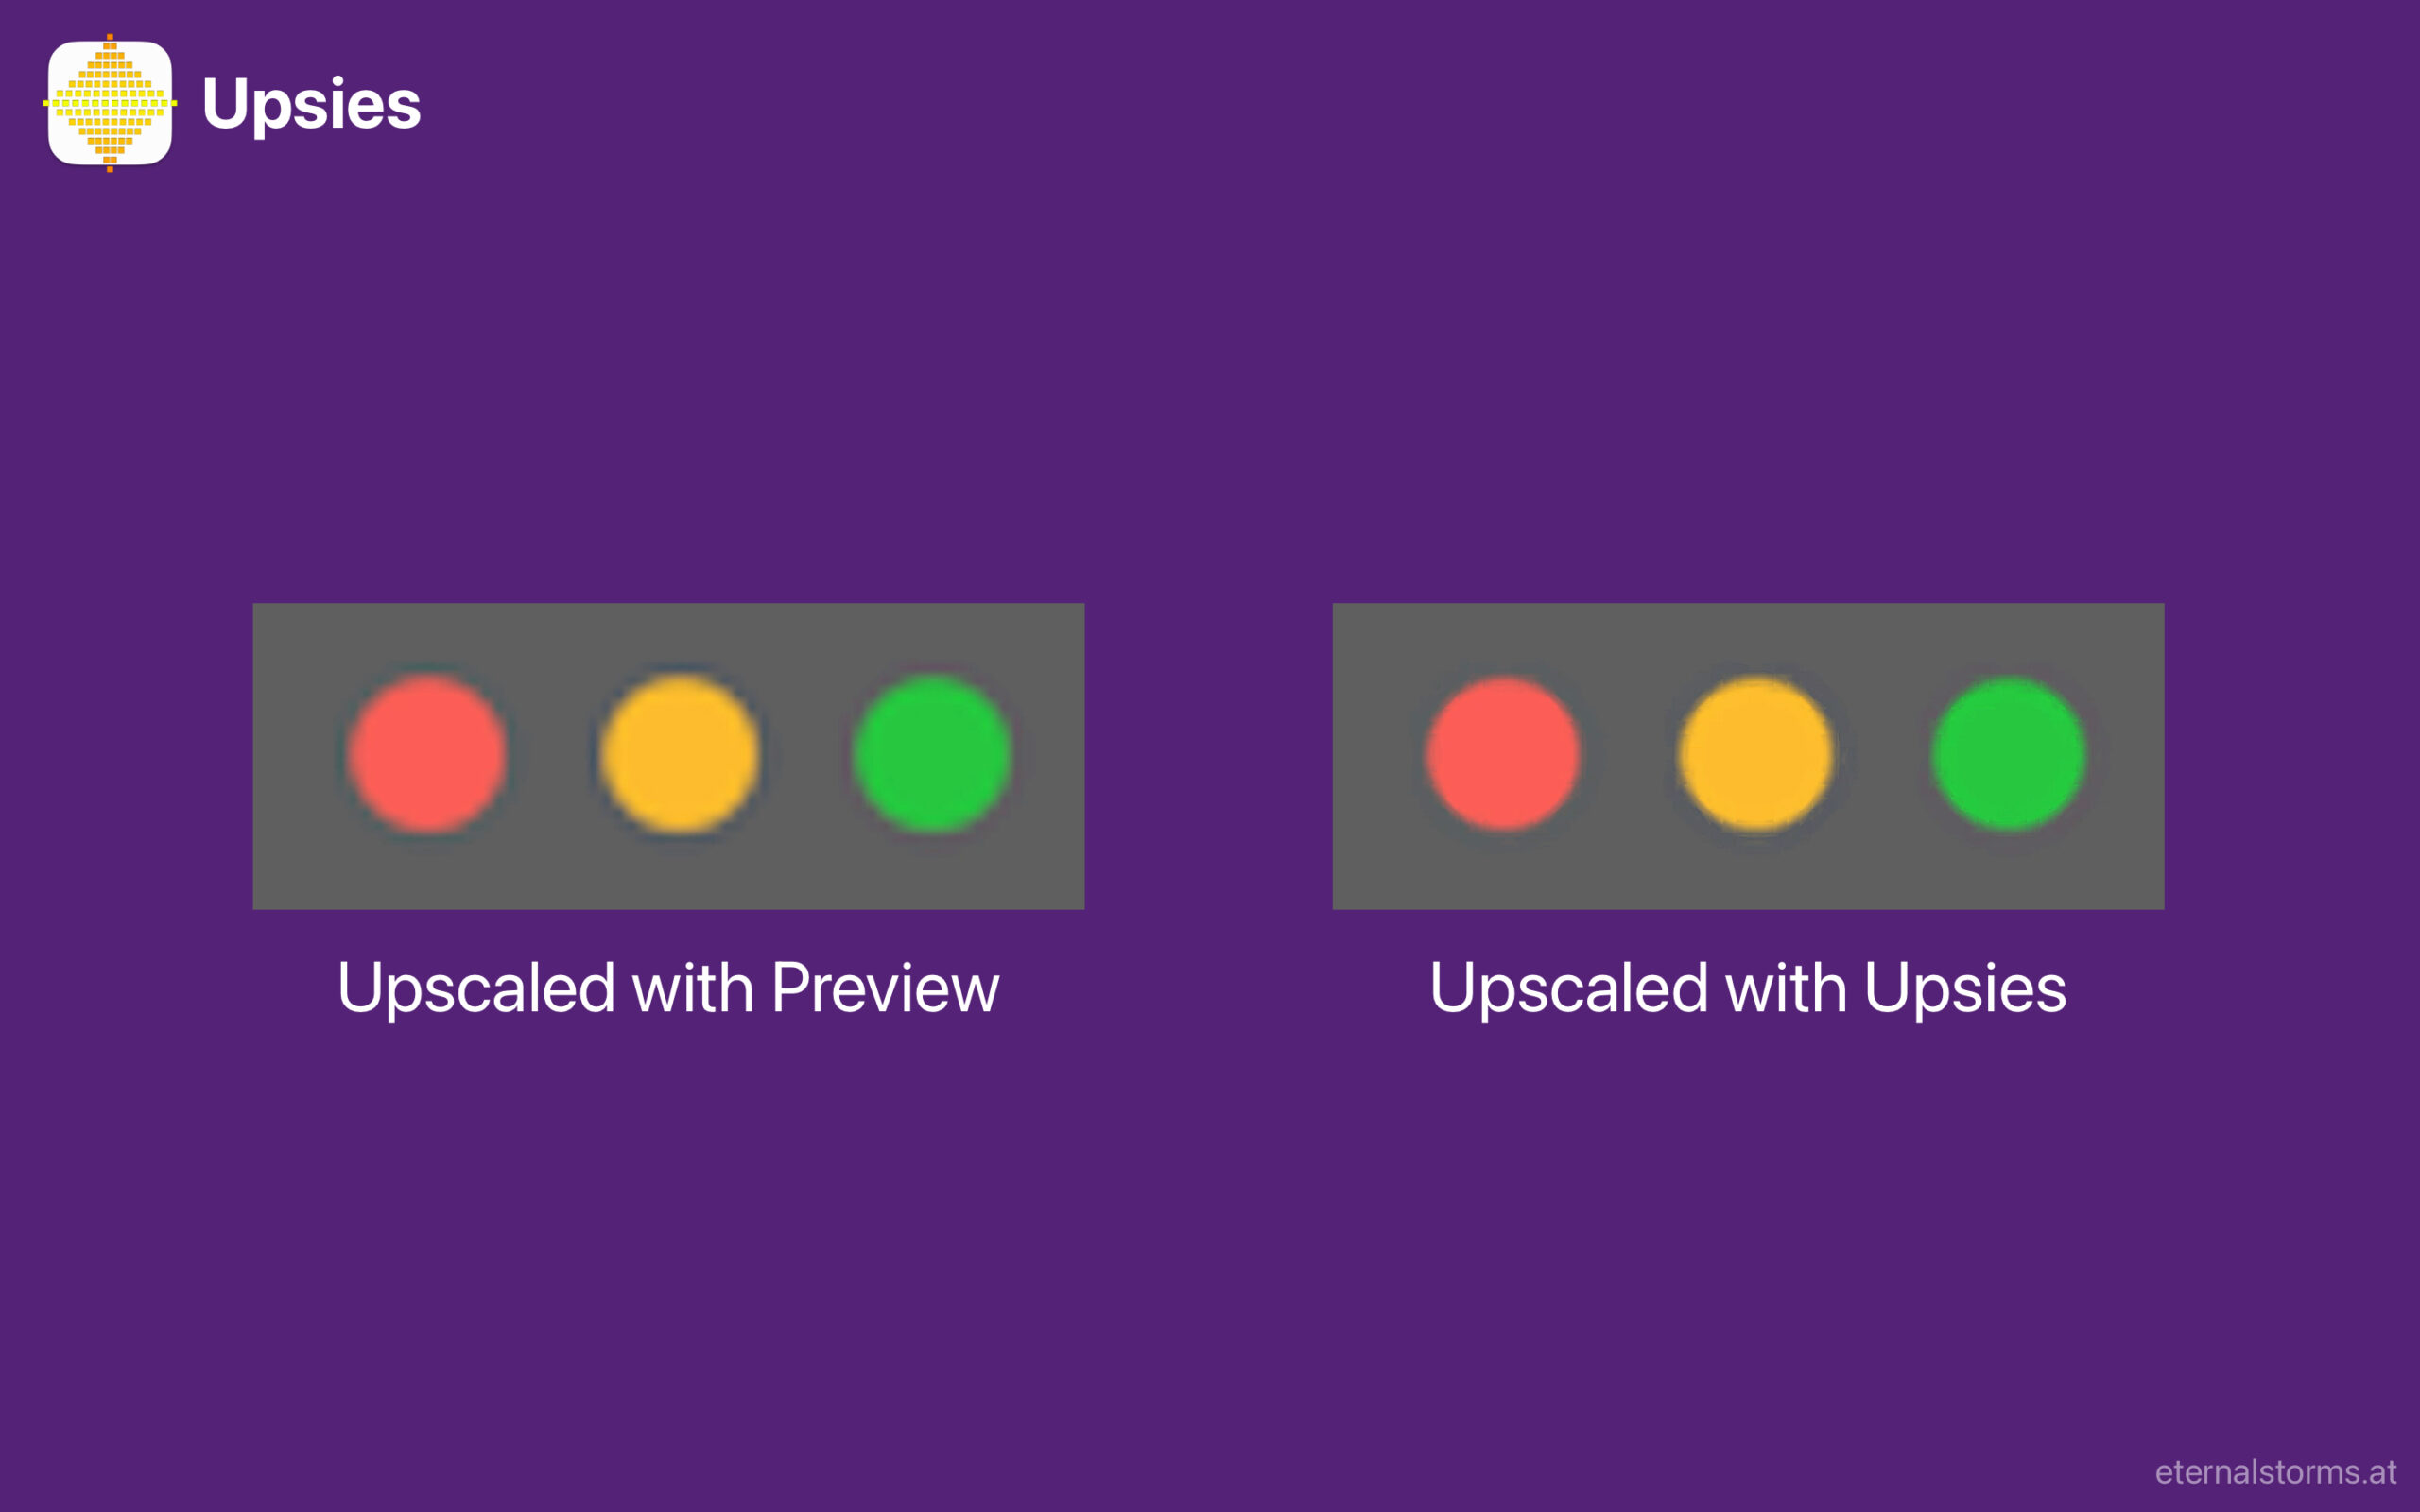
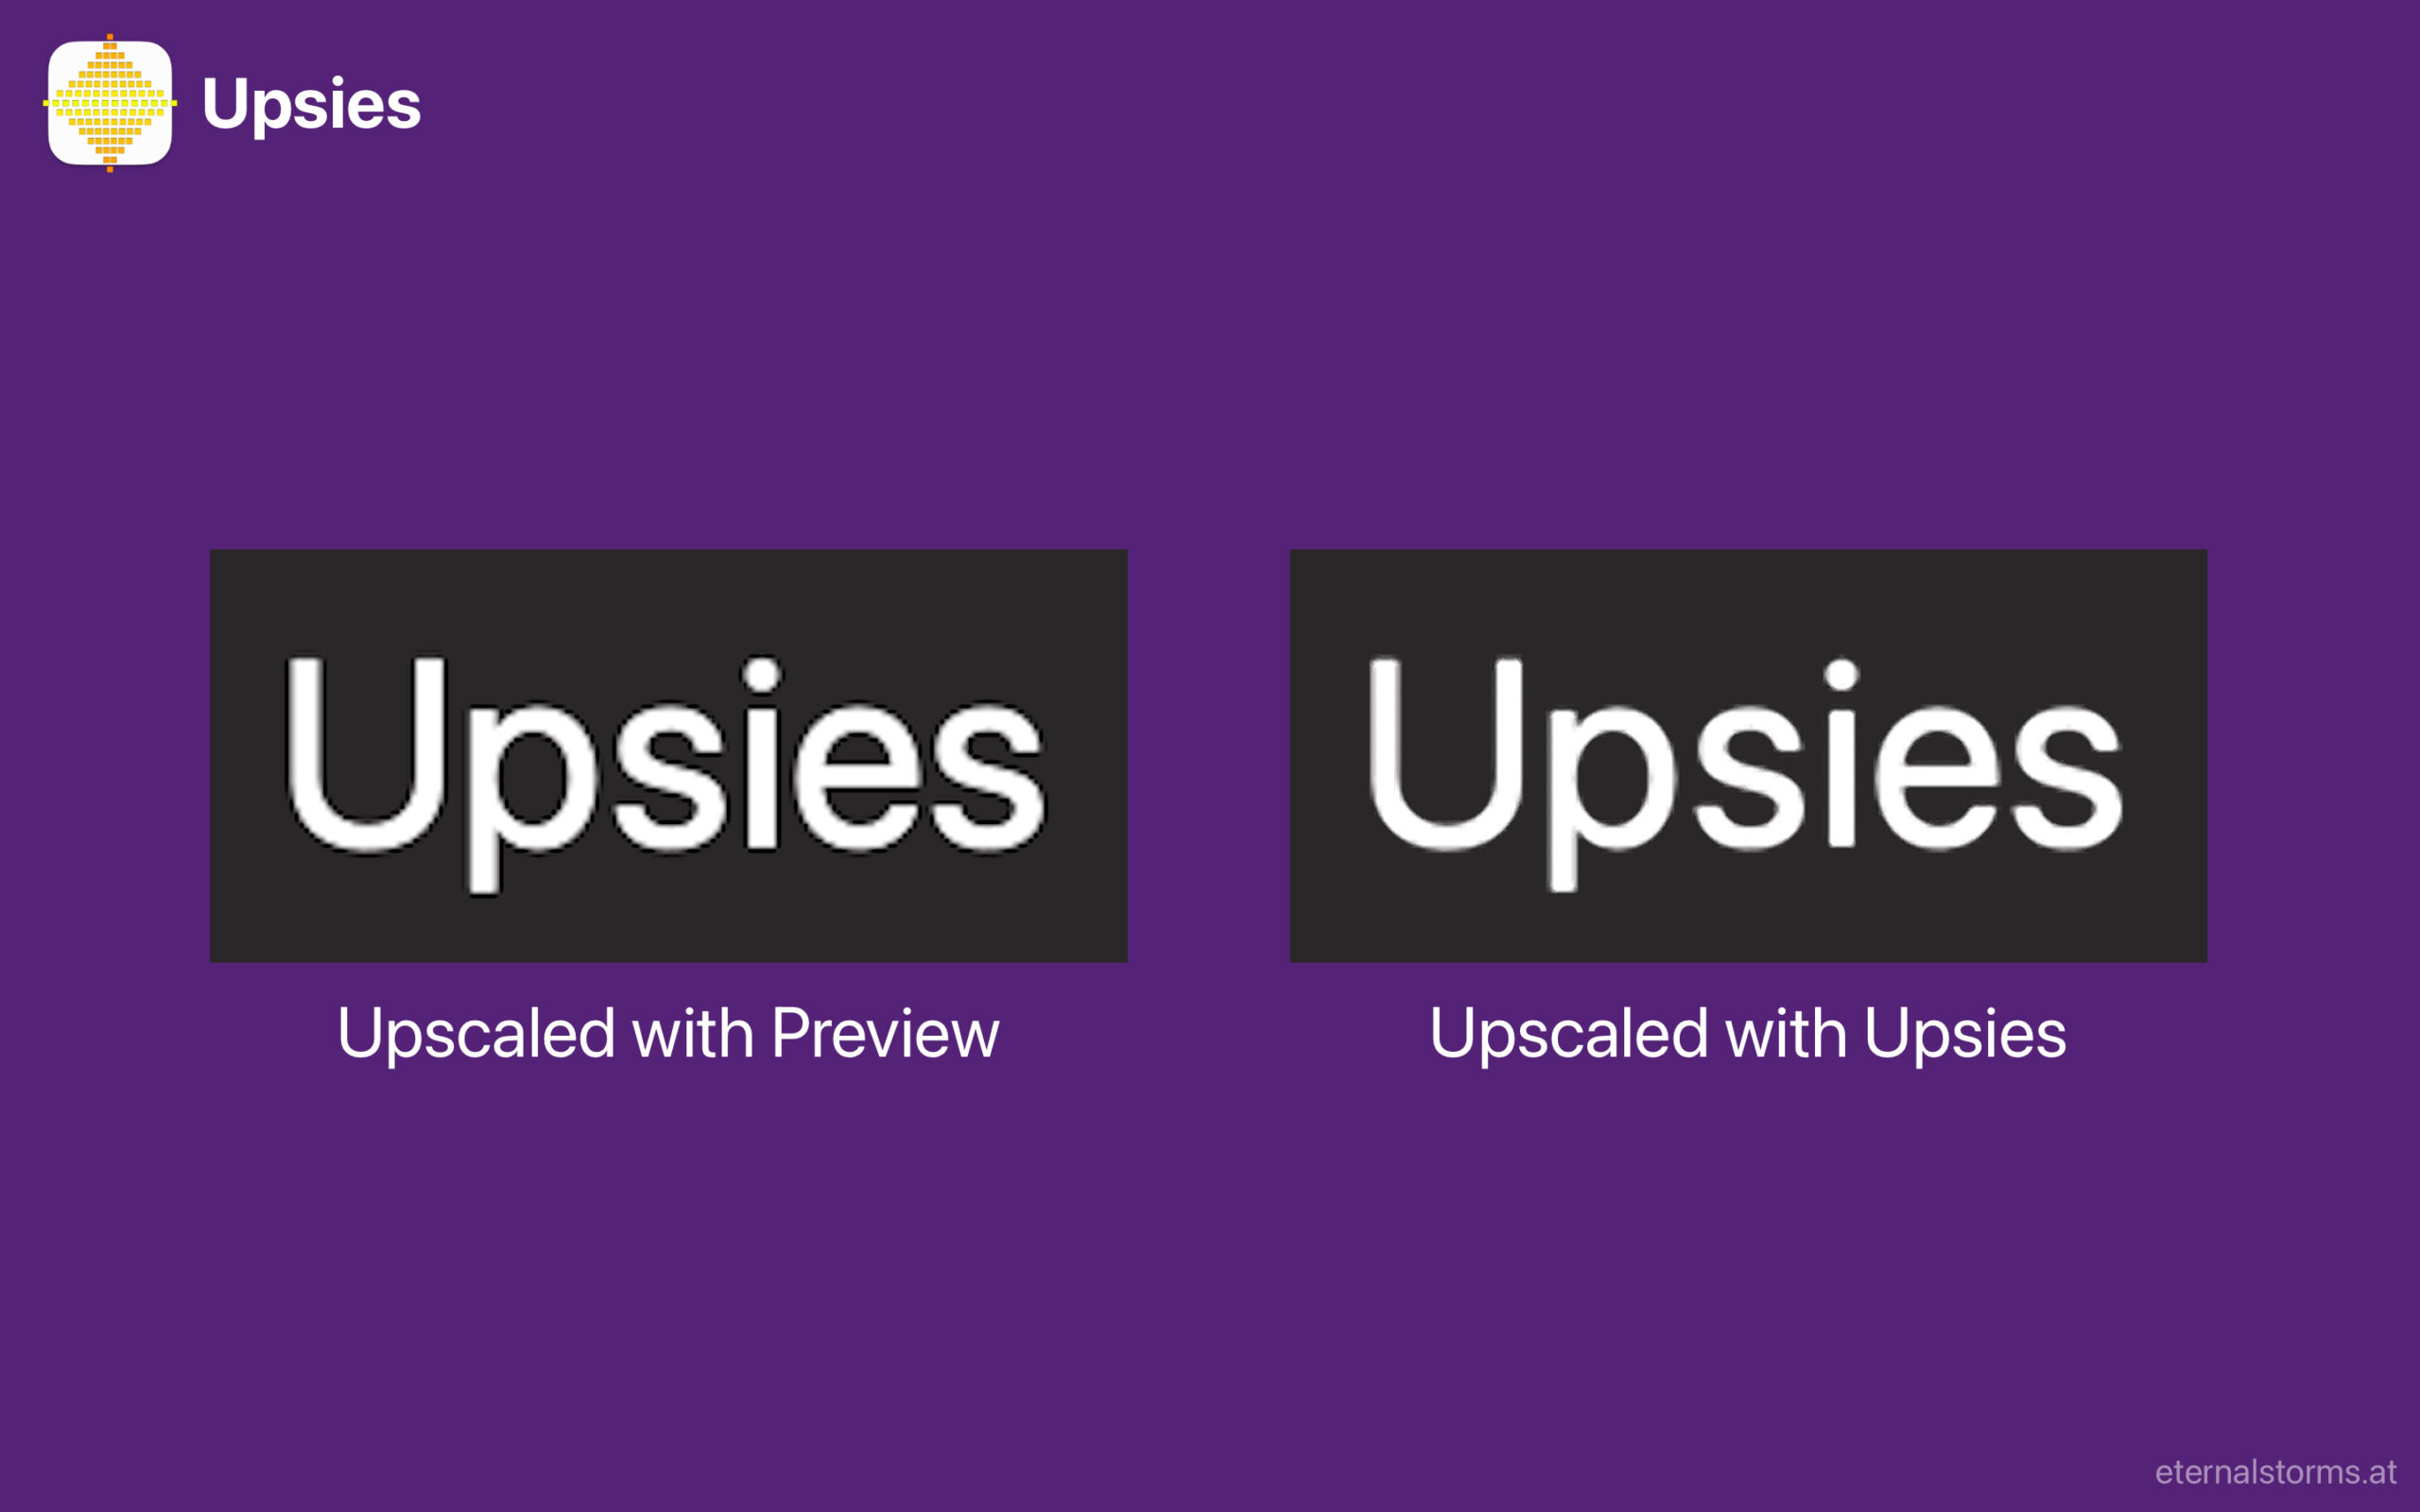
Upsies is something I wrote on a whim, just out of curiosity if it worked – using the MetalFX Spatial Upscaler to upscale photos and images. And lo and behold, it does work, and produces arguably nicer results than, say, resizing an image up with Preview.app.
It’s a freeware app, available for download on the Mac App Store(with optional tipping). It requires macOS 14 Sonoma, and a MetalFX Spatial Upscaler-capable Mac.
It’s been over a year and a half in the making (and so much longer since the last substantial update to the app), and now it is finally here. I’m so very happy to announce the release of ScreenFloat 2, available now!
Re-written completely from the ground up in Swift and based on Core Data, ScreenFloat 2 keeps true to its roots – floating screenshots, and the Shots Browser – and builds upon them in multiple, very useful ways.
If you’d like to skip all the details and just download the trial or get the app from the Mac App Store, please feel free to scroll all the way down.
What is ScreenFloat?
At its core, ScreenFloat creates floating screenshots. Think of it as Picture-in-Picture for your screenshots and recordings: it keeps information always in sight, no matter what window, (fullscreen-) app or Space you’re in. It’s useful in so many ways: you want to remember something, you want to transfer information from one app to another, you want to keep a visual reference to something on screen – anything you can screenshot, you can float with ScreenFloat.
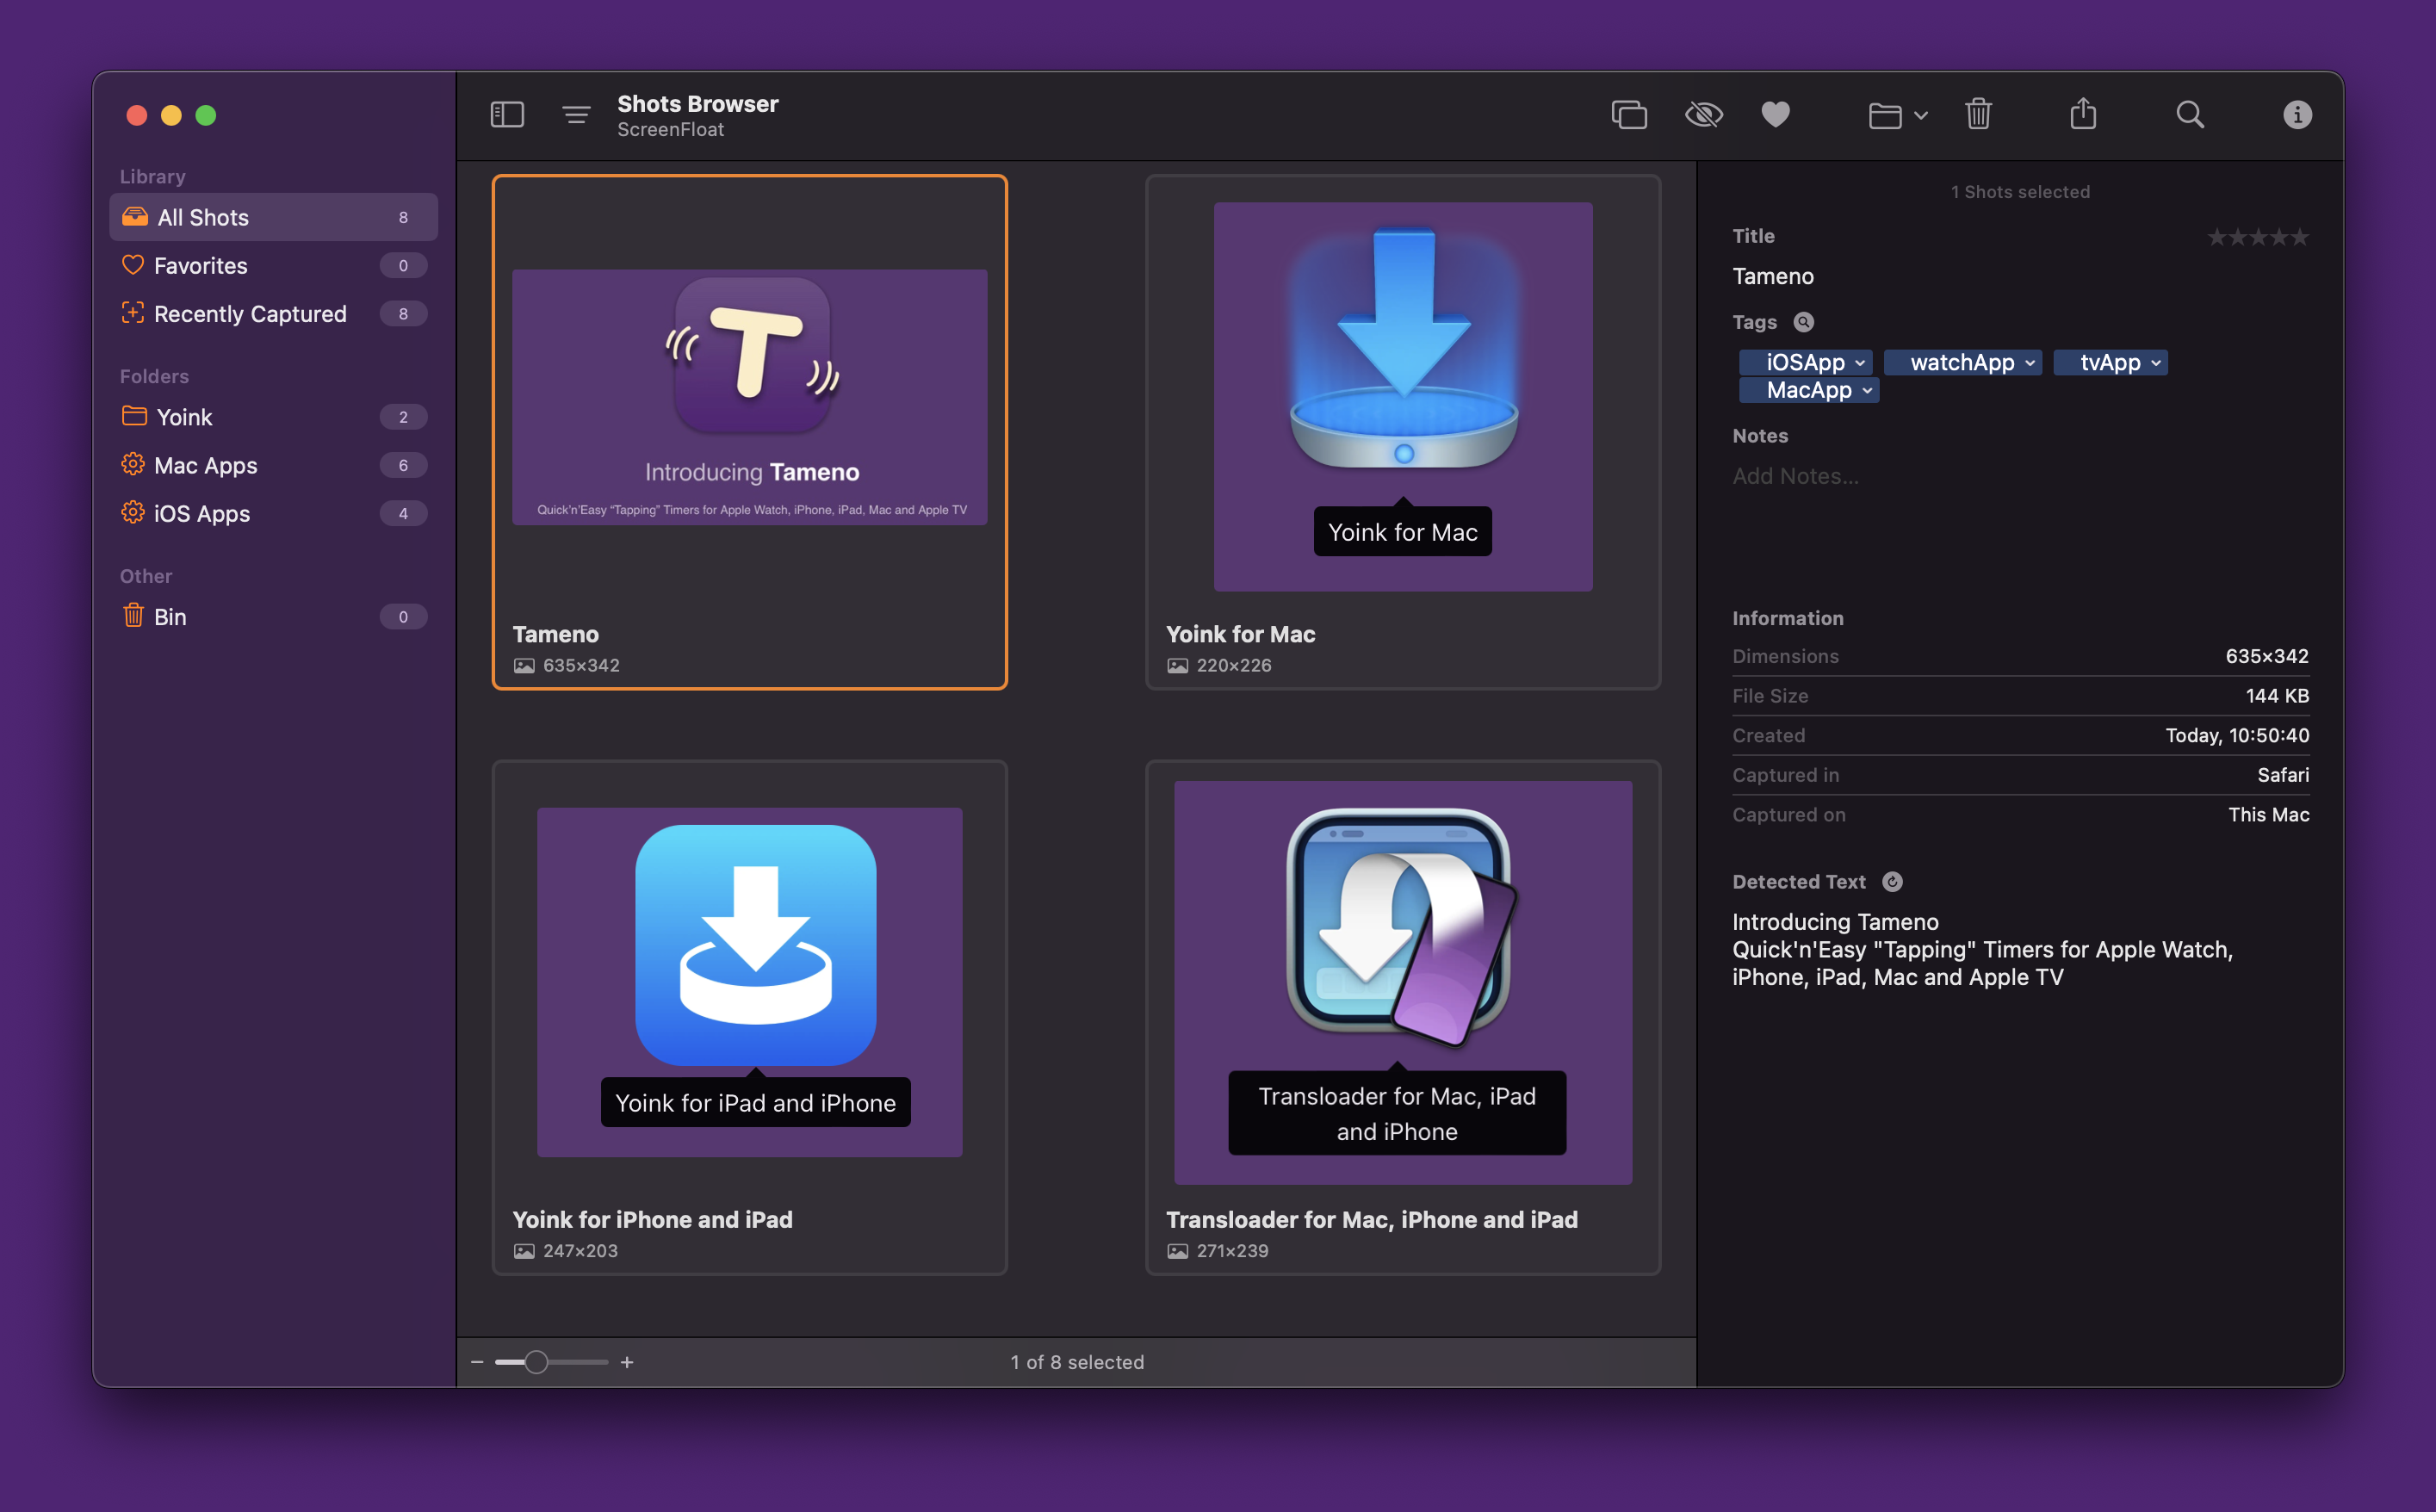
In the Shots Browser, your shots are stored and organized. It keeps your desktop clutter-free and your shots always at your disposal.
What’s New with ScreenFloat 2’s Floating Shots?
ScreenFloat 2 brings a lot of changes to floating shots, so here are the most important ones.
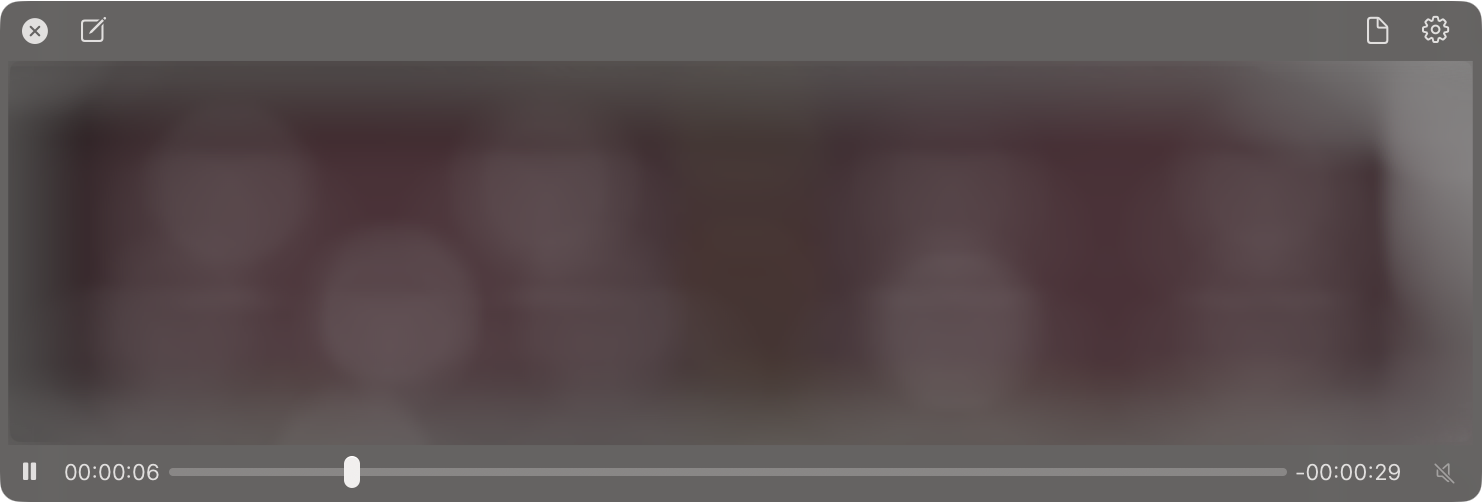
+ Screen Recordings
A floating screen recording
Not only can ScreenFloat 2 take screenshots, it can also record your screen, together with (optional) microphone- and system audio. Of course, these recordings can be floated and interacted with, like you would any other screenshot. They can be trimmed, rotated, cropped and muted. Still-images can be easily extracted.
+ Text-, Face- and Barcode Detection
Copying text detected in a Shot, quick-redacting faces and text, and viewing a QR code’s contents is easily done.
Every shot you take is analyzed for text, faces and barcodes. It’s so easy to view the contents of a QR Code (supported are urls, calendar events, vCards and more), or quickly redact information, with a simple right-click.
+ Annotation, Markup and Redaction (non-destructive)
Annotations, Markup and Redactions in action
You can add annotations and markup to shots: freedraw, rectangles, ovals, lines, arrows, stars, checkmarks, x-marks, text, smart enumerated lists, highlights and redactions. All of this is non-destructive. That means you can always come back and make changes, or delete them all and revert to the original image. Double-click a tool or an annotation to edit its properties, like line weight, font, or color.
+ Crop, Rotate, “Fold”, Resize, “De-Retinize”
By “folding” a shot, you can remove a middle section of it, and the remaining two parts get stitched together.
Crop shots, rotate them, “fold” them(see video above), and resize them effortlessly. Reduce a shot’s resolution from its “retina” dpi of >= 144 to 72 dpi when you want to save some space, or know you won’t need the higher resolution going forward.
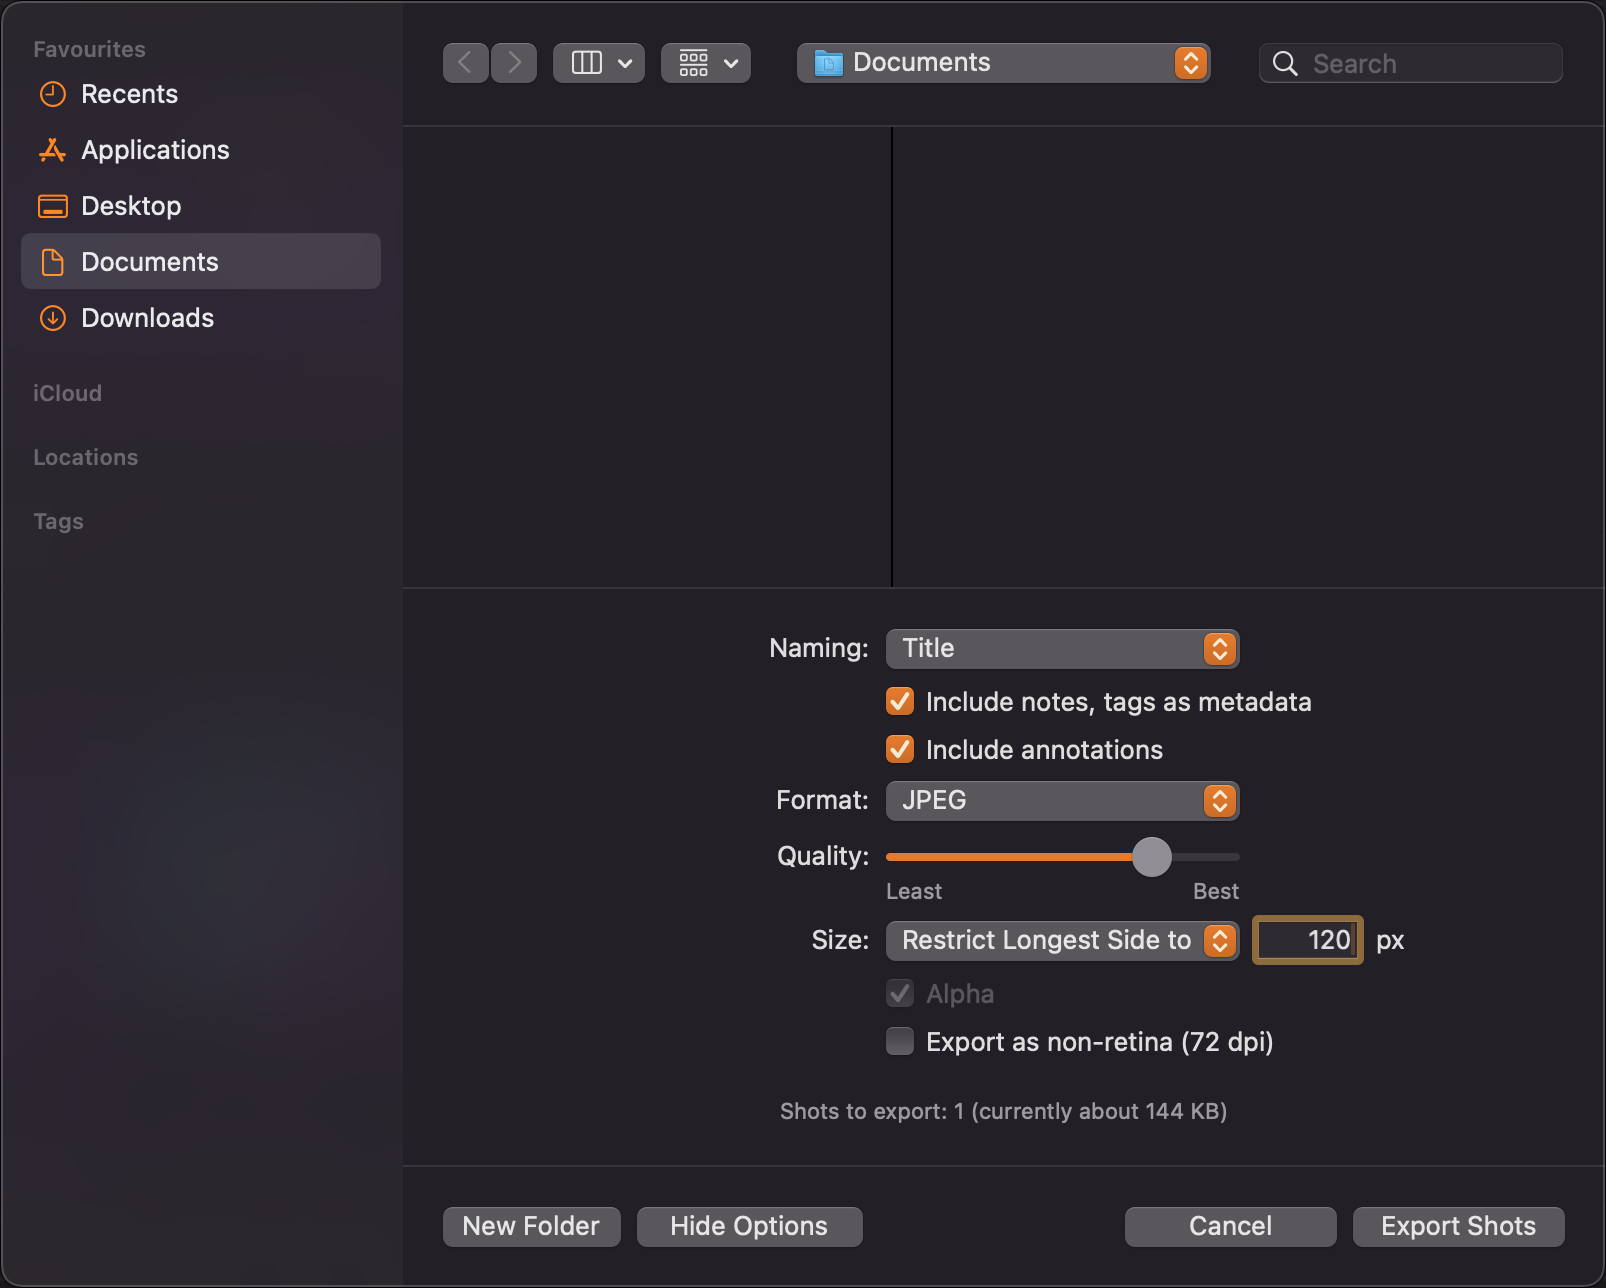
+ Quick Drag
Dragging from floating shots has become much more useful
Drag a floating shot’s document icon to any app to share the image as you see it via drag and drop. Or click the document icon, and get access to quick export options so you’re able to drag out a different format, at a different quality, “de-retinized”, at a different size, and with or without annotations/markup.
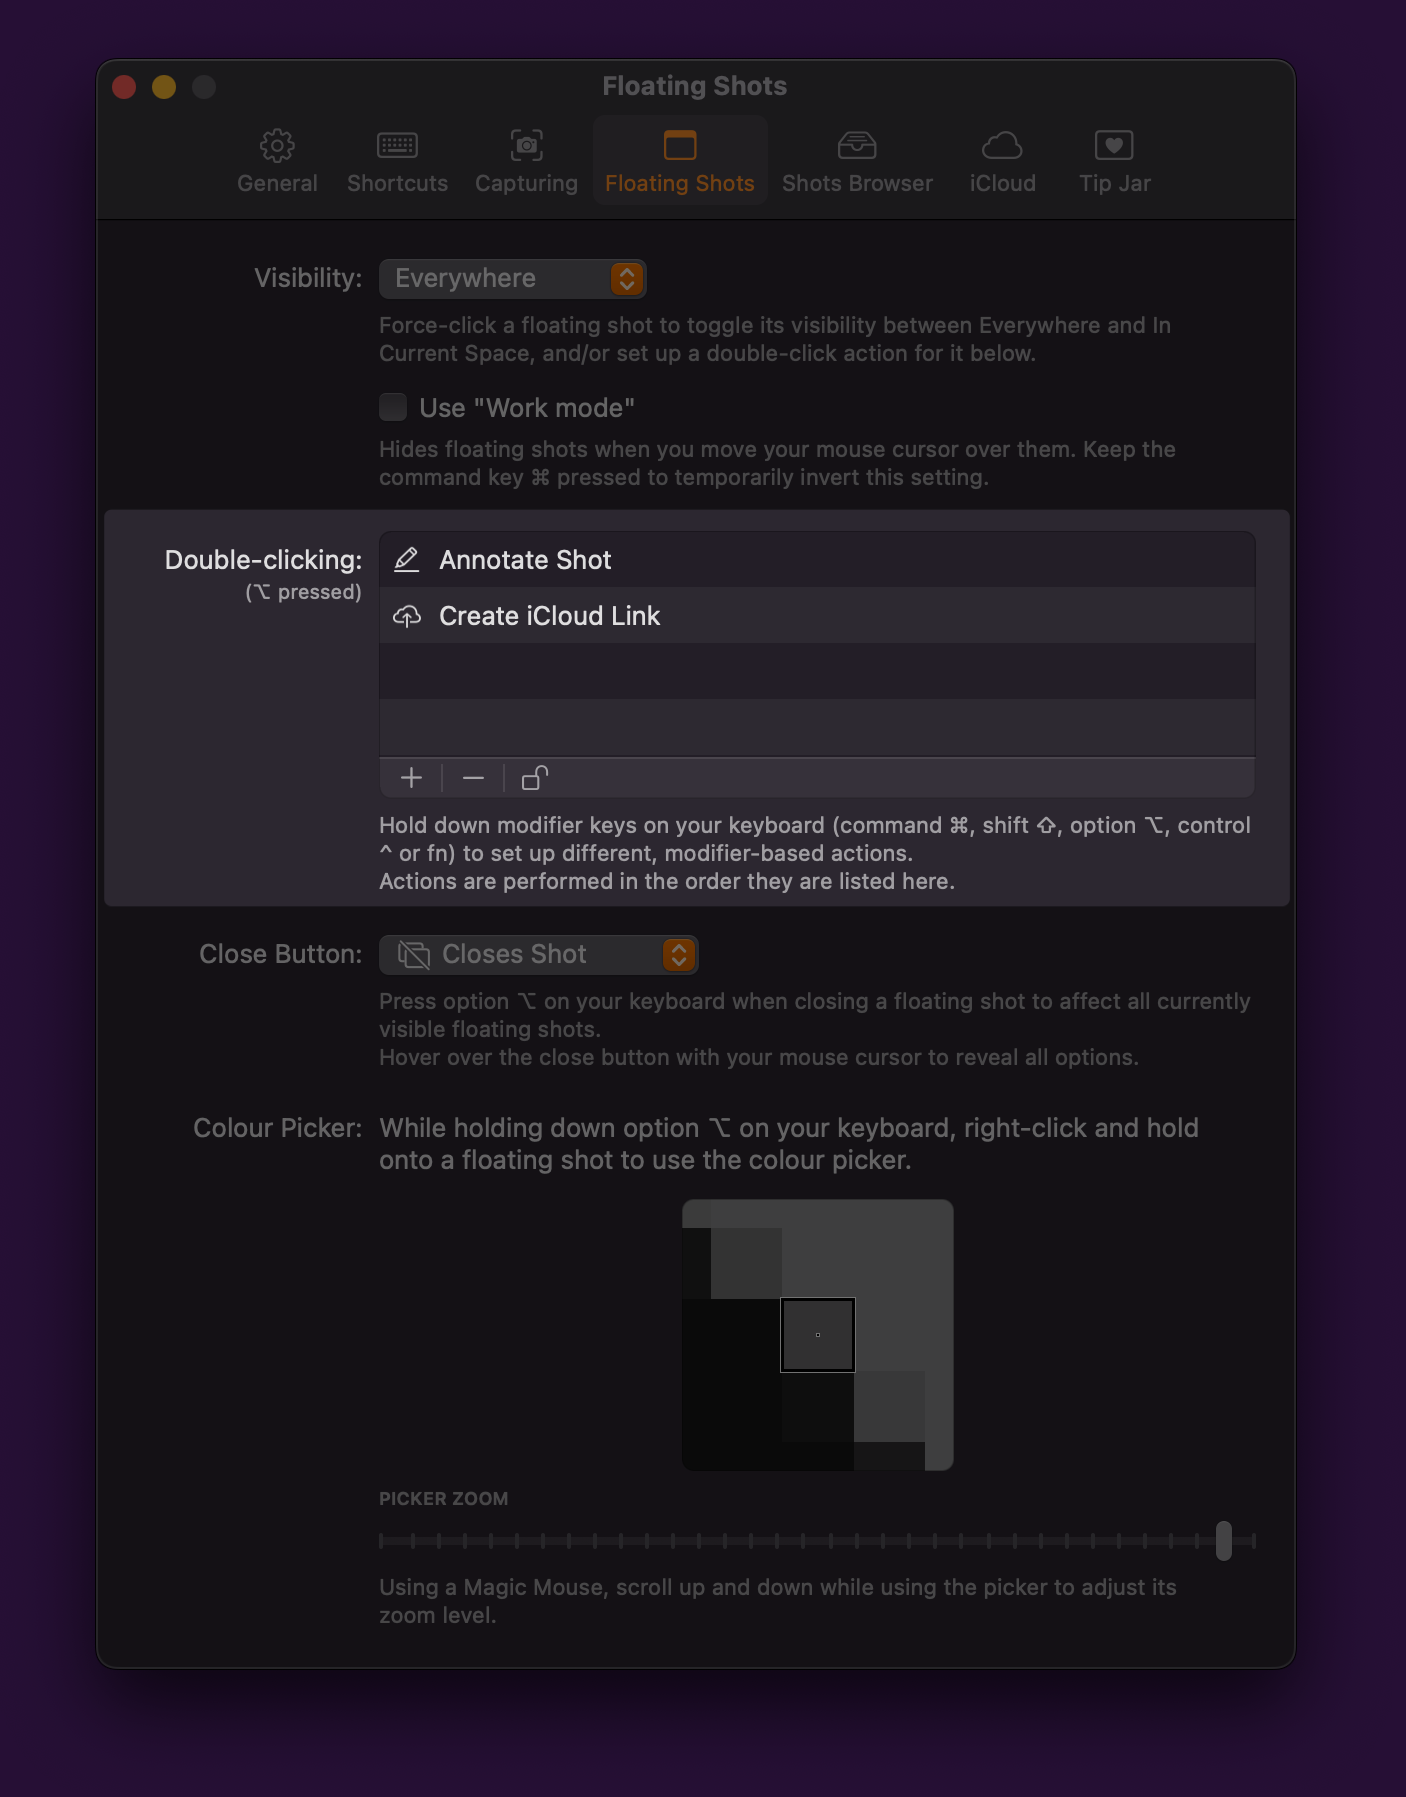
+ Color Picker
Pick colors from floating screenshots and -recordings.
When you option(⌥)-click-drag on a floating shot, the color picker will appear. When you release the mouse button over a pixel, you’ll be able to copy that pixel’s color’s values, a color sample image, and even drag out the color onto a target in another app.
+ Double-click Action Workflows
Set up custom, keyboard-modifier-key-based double-click workflows, like: – Reduce the floating shot’s opacity to 40% and make it ignore mouse clicks or – Edit the shot with annotations, and when I’m done, upload it to iCloud(see above)
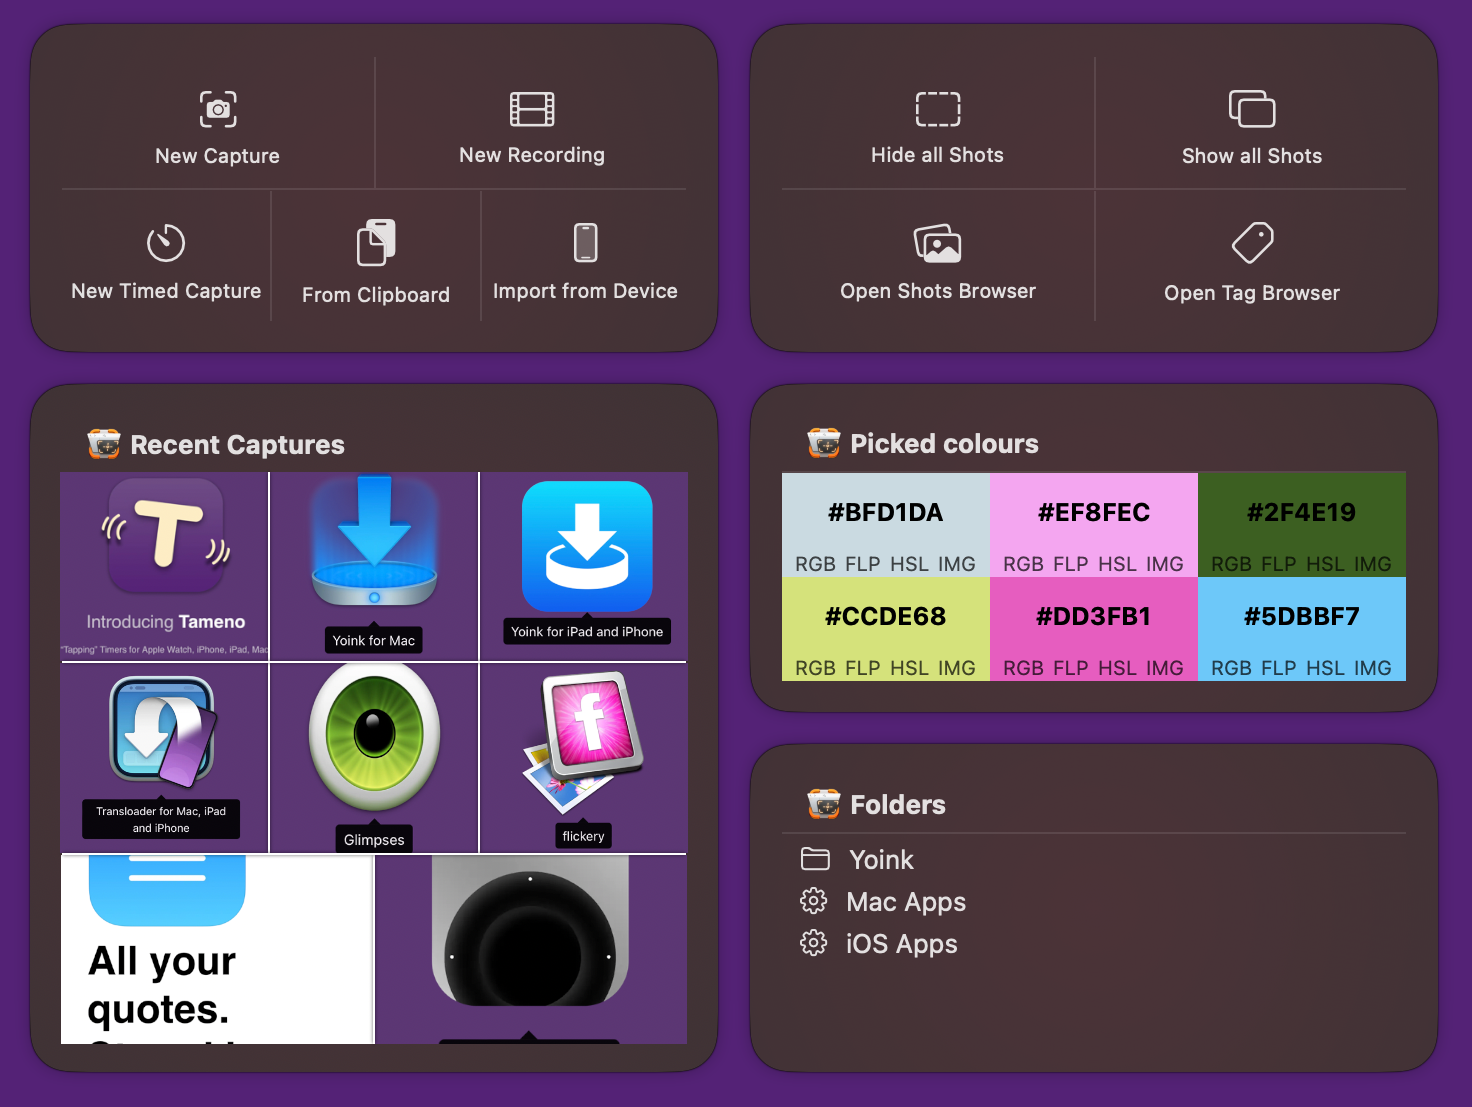
What’s New in the Shots Browser?
Apart from adding the ability to rate and favorite shots, here are the most important new features in the Shots Browser.
+ iCloud Sync
Your shots, tags, annotations/markup and metadata are synced over iCloud across your devices. You have the last say over what gets synced, though: all shots, only image or video shots, or only shots up to a certain file size.
+ Privacy
With Privacy enabled, your Trash and any folder that may contain hidden shots require authorization before you can access their contents.
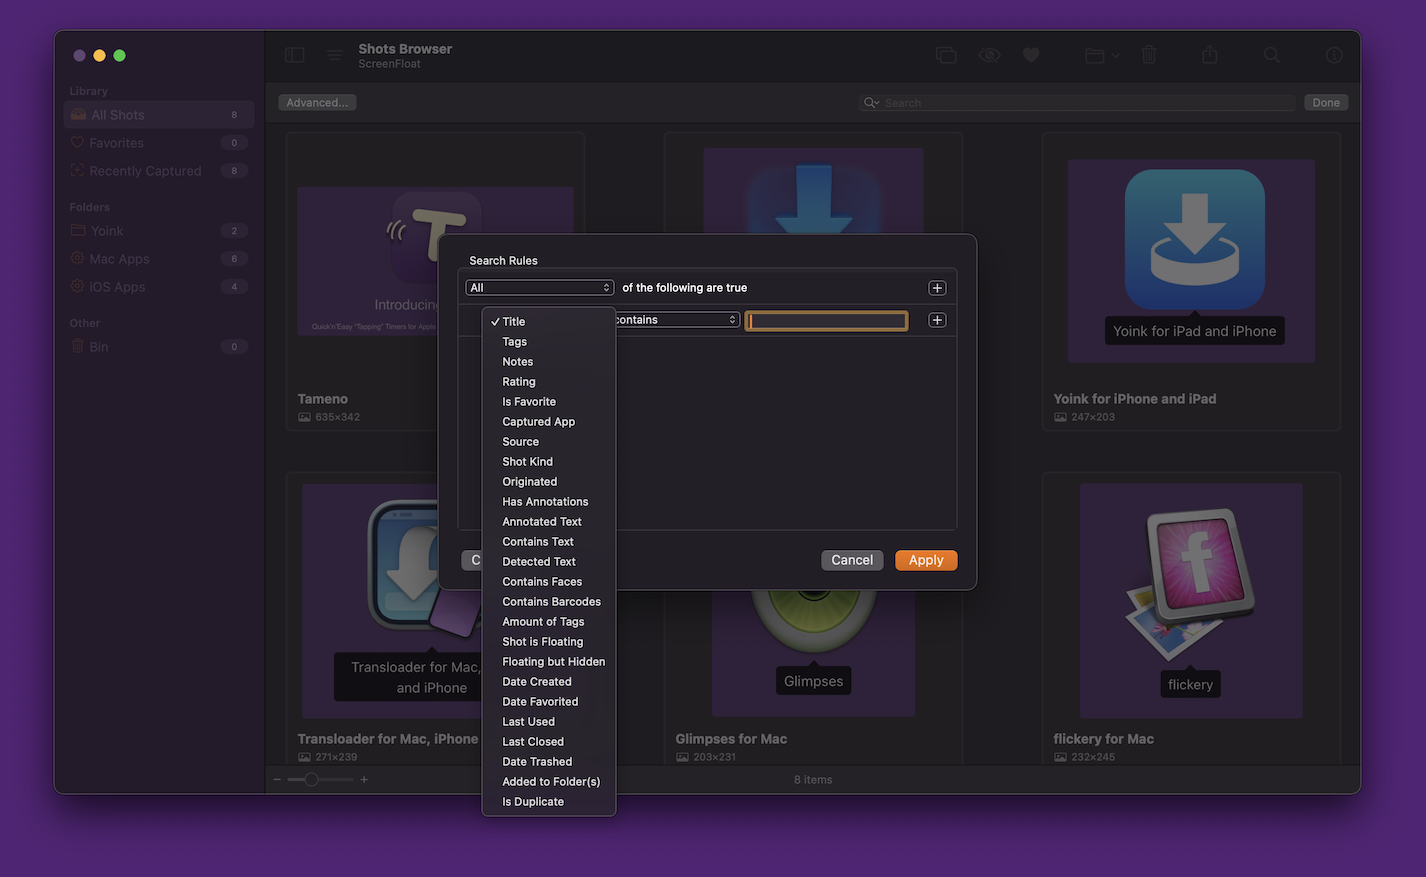
Smart Folders come with a lot of new criteria for you to find just the shots you’re looking for. These are also available in the Shots Browser’s search. Shots are (optionally) indexed with Spotlight, so you can find them system-wide.
(Spotlight) Search and Smart Folder criteria not only find attributes you give your shots (like filenames or tags), but also what’s in a shot, like texts, or barcode contents.
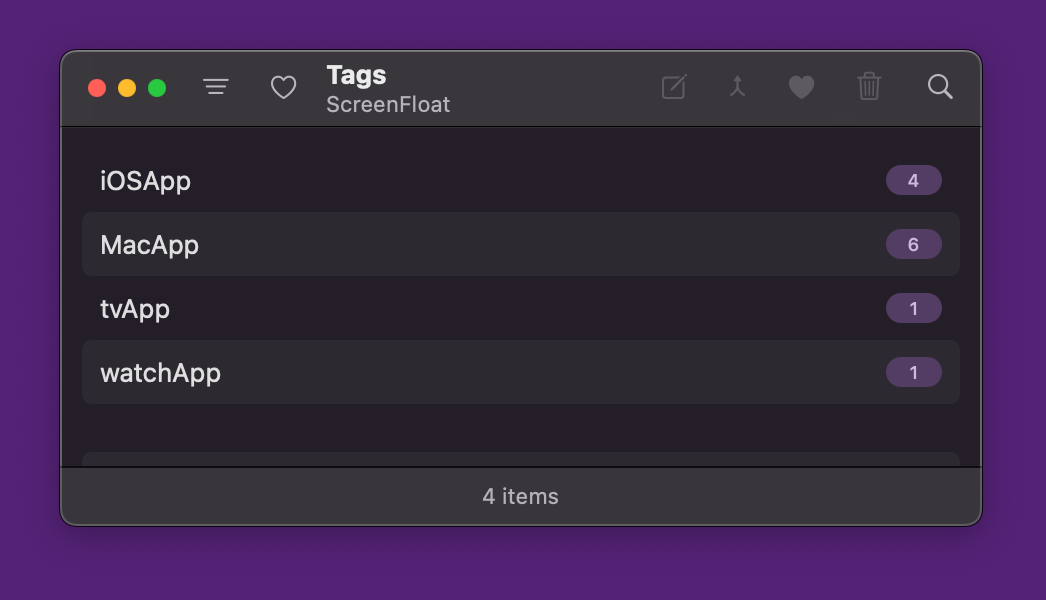
+ Tag Browser
With the Tag Browser, you rename, favorite, merge and delete tags, so you can keep things clean, neat and organized.
+ Exporting, Sharing
Export shots in the format, quality, size and resolution you need. With or without annotations and metadata. Upload multiple or large shots to iCloud and share a link to that, instead of attaching a large file.
What else is New in ScreenFloat 2?
+ Siri Shortcuts
Automate taking screenshots, timed screenshots and recordings with Siri Shortcuts. Add a title, notes, tags, and move them into folders, all in one go.
+ Widgets
Access your shots, folders, picked colors and more with ScreenFloat’s widgets.
Availability and Pricing
Alright, let’s get down to the nitty-gritty.
– ScreenFloat 2 requires macOS 12 Monterey or newer.macOS 13 Ventura or newer required for recording your microphone/system audio alongside screen recordings. – A (free) iCloud account is required if you wish to have ScreenFloat synchronize your library across your devices.
ScreenFloat 2 is a free upgrade for existing customers of the app.If you’d like to support my work beyond its one-time purchase price, there’s a completely voluntary and optional tipping mechanism (in-app-purchase) available in ScreenFloat 2’s settings.
There’s a free, 28-day trial for you to download here (direct download link) You can purchase ScreenFloat exclusively on the Mac App Store at USD 6.99 / EUR 7,99 / GBP 6.99 for a limited time, then the price will go up to USD 14.99 / EUR 15,99 / GBP 14.99. It is at this time localized into English, German and Chinese (Simplified).
If you have any questions or feedback, please do not hesitate to write me. If you’d like to review ScreenFloat 2 in a publication of some sort (blog, news site, podcast, etc), you’re more than welcome to write me and I’ll get you the information you need. I do look forward to hearing from you.
I hope you’ll enjoy ScreenFloat 2. I couldn’t be happier it’s finally out!
My Mac- and iOS app Transloader, which lets you start downloads on your Macs remotely from your iPhones, iPads, and other Macs, is now available in version 3.1.5.
It implements a temporary workaround for iCloud push notifications not working in a timely manner on macOS 14 Sonoma.
Curiously, the very same push notifications work perfectly fine on iOS 🤷♂️ .
I’m in contact with Apple about it and see where it leads. (Most likely to a request for more logs…)