I decided to split ScreenFloat‘s upcoming v2.3 update in two.
The new features need just a little bit more polish, but the bug fixes and improvements contained are looong overdue, so there’ll be a quality-of-life improvements and bugfix release soon (v2.2.9), and the feature-release v2.3 soon after that.v2.2.9 is “In Review” on the Mac App Store as I write this (with the Setapp version having already been approved and waiting for release), so it should be available shortly.
I should have released this a few weeks ago, but got into the mindset of “just one more change”, and that just never ends. I’m sorry about the delay in fixes I know some of you have been waiting for.
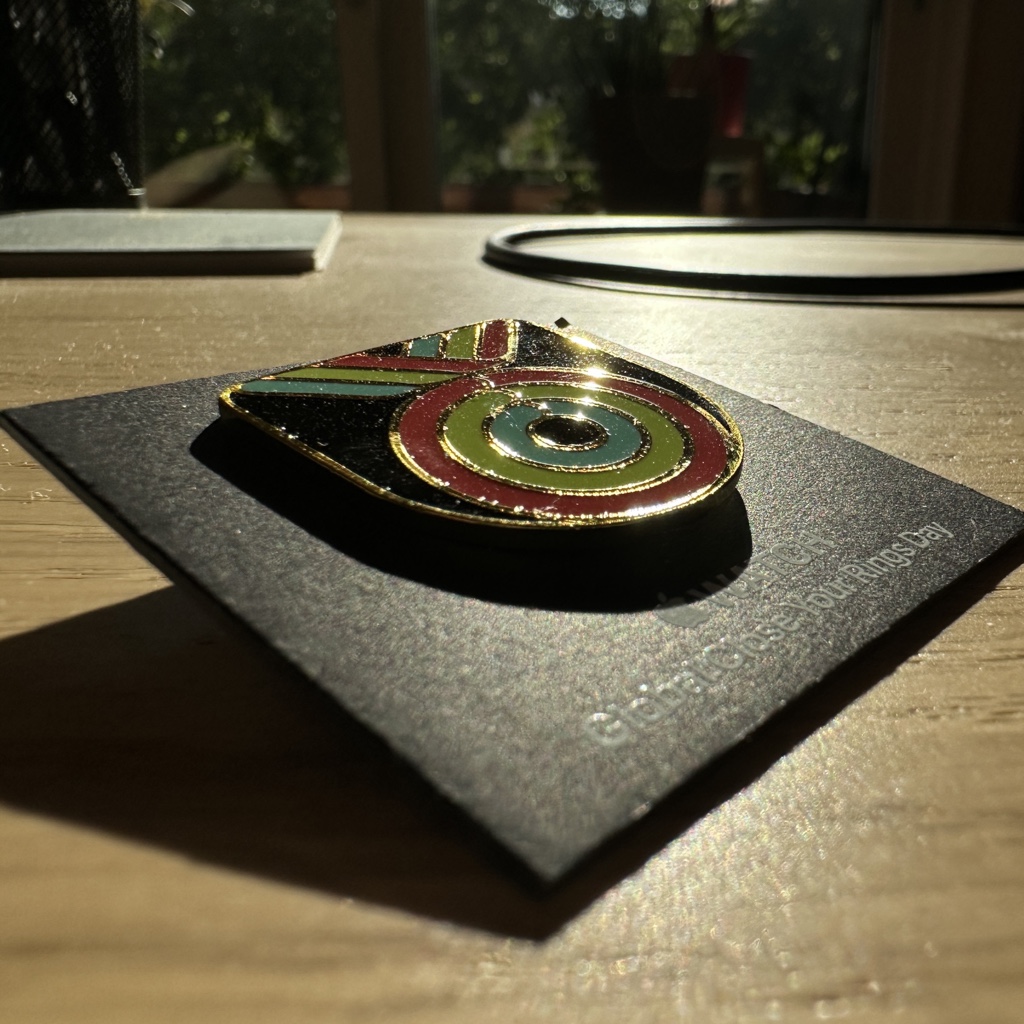
Got that “Global Close Your Rings Day” Pin
Yoink for Mac Giveaway

Image credit: bretterpstra.com
DeskMat v1.1 for Mac Supports Dynamic/Live Wallpapers and Focus Modes [Update: v1.1.5 now available]
DeskMat v1.1 – the biggest upgrade to the app since it’s initial release a month ago – is now available on the Mac App Store and my website and brings a couple of cool new features I think you’ll like!
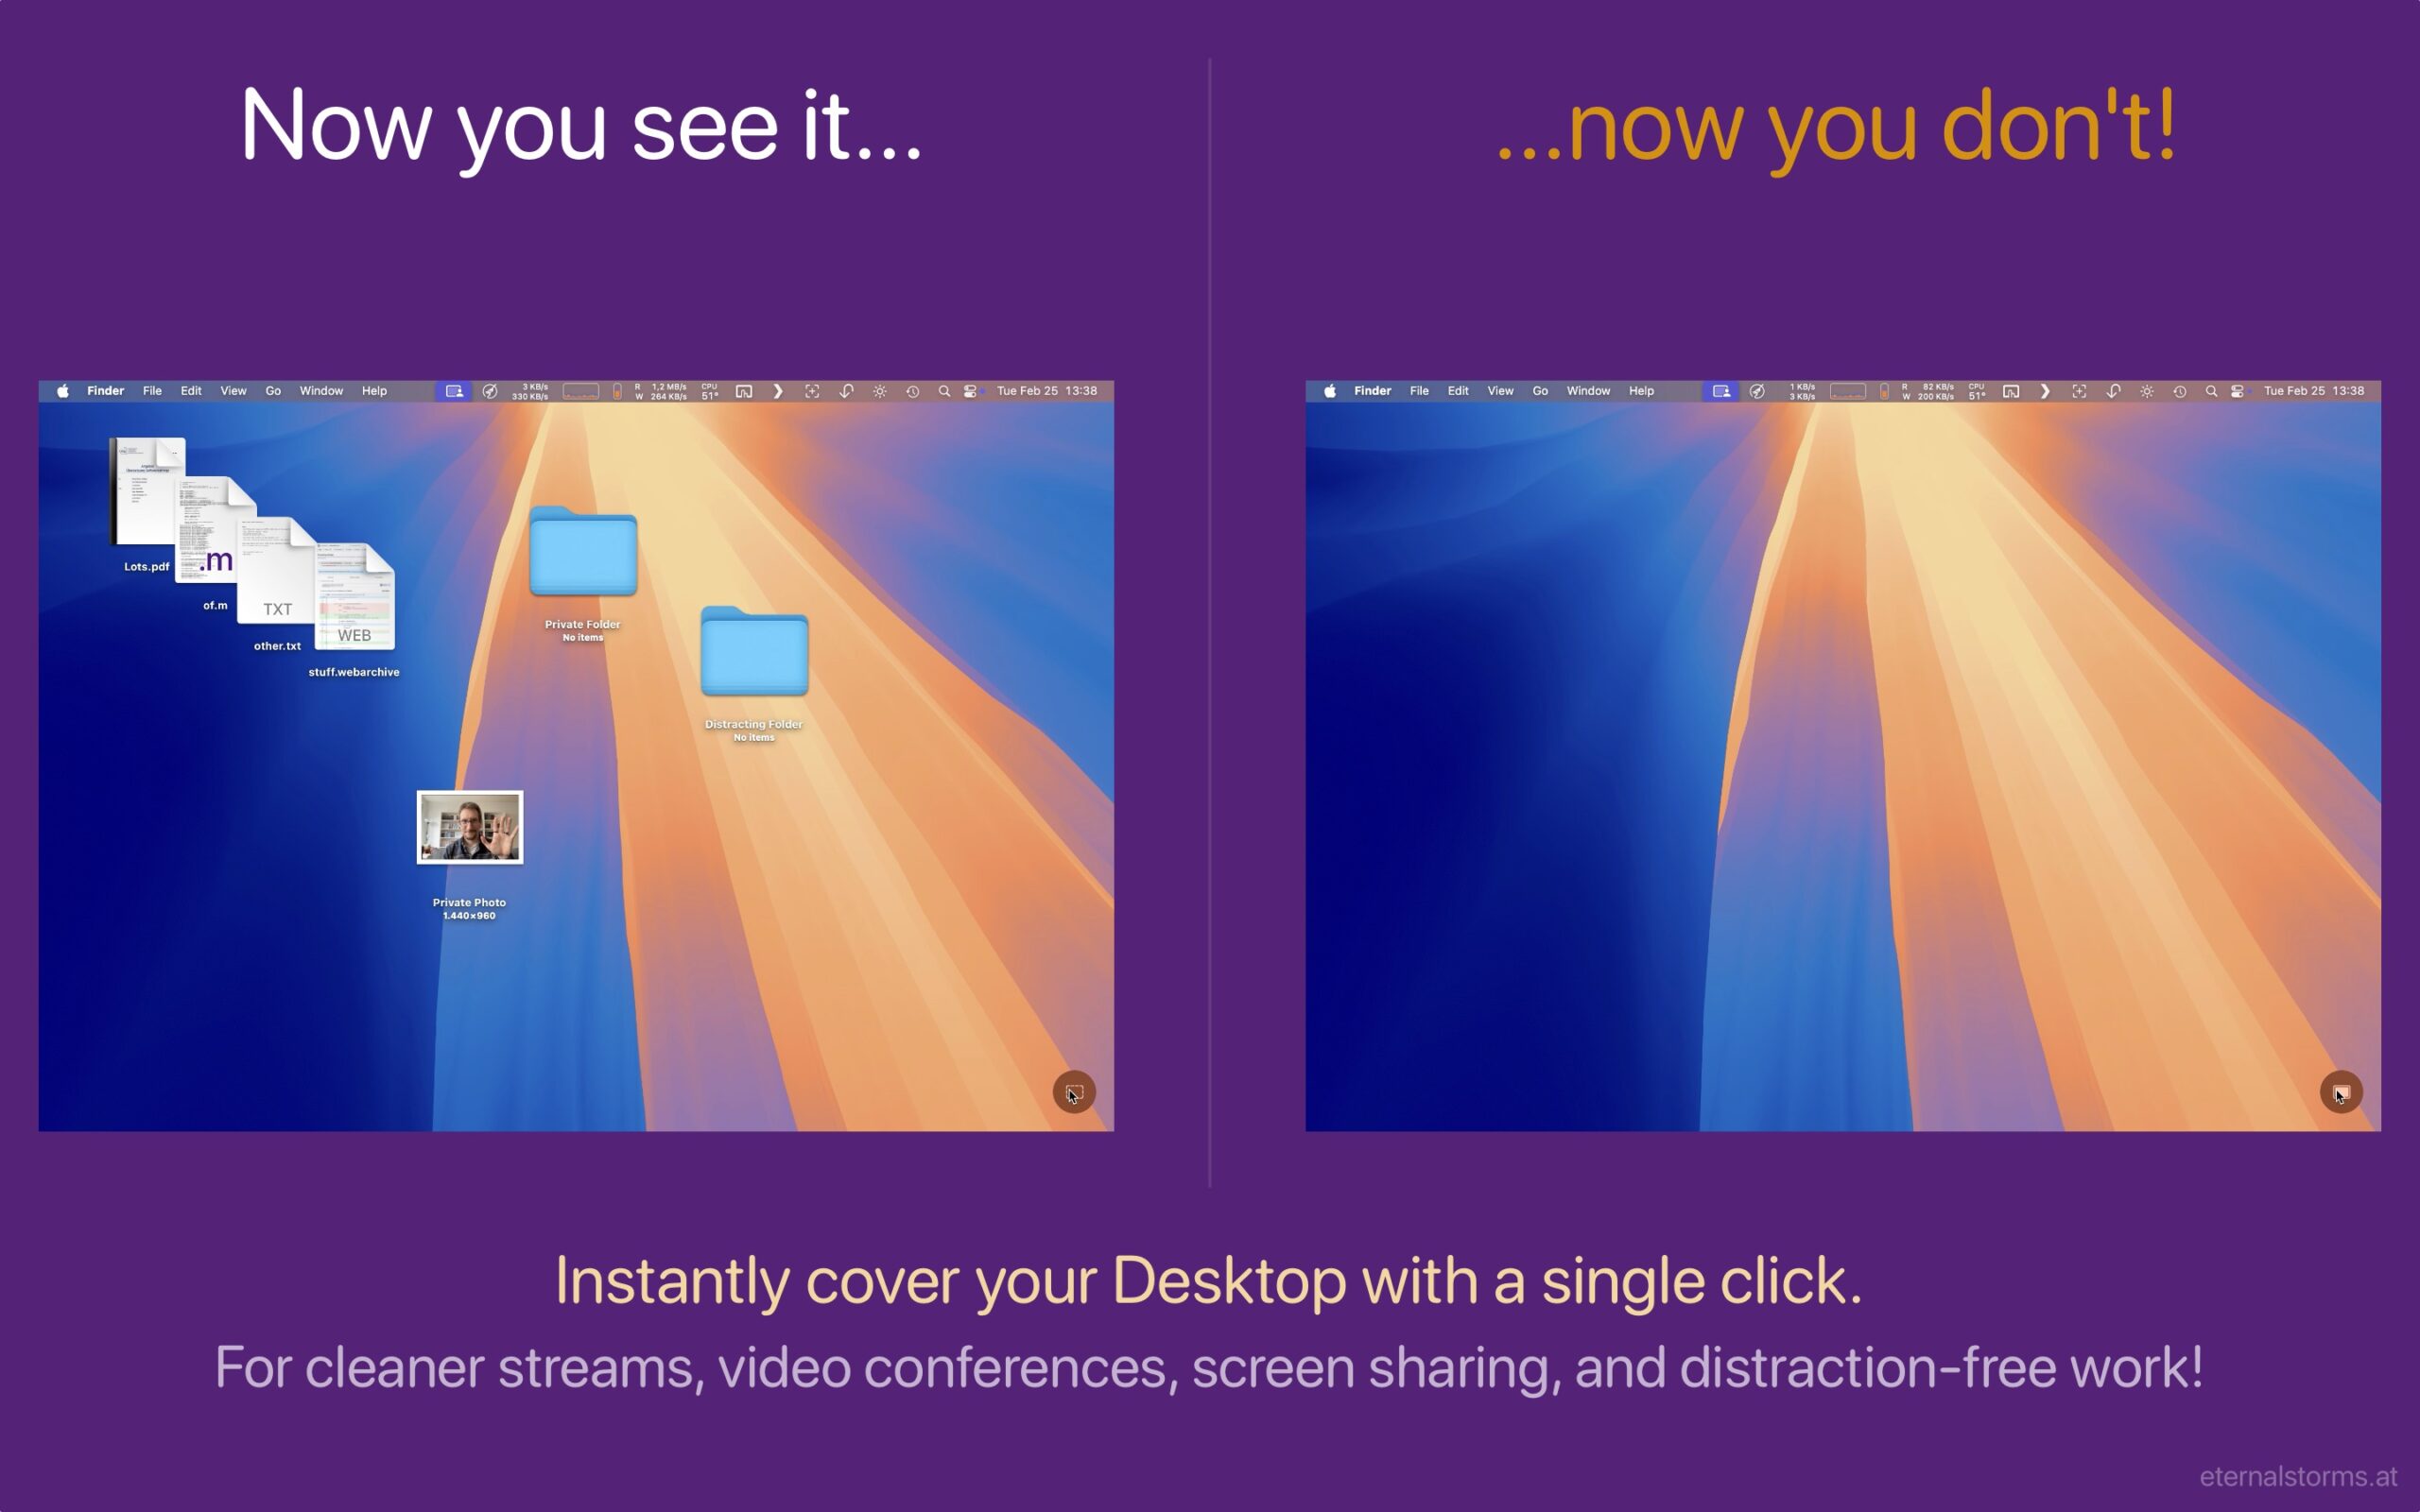
With DeskMat, you cover the mess of files and folders on your Desktop with a single click – and show them again in just the same way.
It makes for cleaner streams, screen sharing, video conferencing, and distraction-free work!
DeskMat Functionality
- Cover your Desktop with the push of a button
– If you have multiple screens, you can hide all or individual Desktops - Cover your Desktops with a keyboard shortcut
- Cover your Desktops automatically
– Specify apps that should trigger DeskMat automatically when you launch them or make them frontmost - The wallpaper of your choice
– Use your current wallpapers as the cover, a solid color, custom images, or just blur the Desktop using various shades and appearances
What’s New in DeskMat v1.1?
- Support for Live/Dynamic Wallpapers
You can now make DeskMat mirror your wallpaper live – perfect if you use a dynamic wallpaper that changes throughout the day, or if you have your Desktop shuffle through different wallpapers in an interval.
- Support for Focus modes
In addition to Auto-Triggers for apps, where DeskMat automatically covers your Desktop when apps you specify launch, or come to the foreground, you can now set up DeskMat to cover your Desktop when you activate a Focus mode.
Media

Links and Availability
DeskMat is available as a one-time purchase directly from my website, and on the Mac App Store.
It is currently available in English and German and requires macOS 13 Ventura or newer.
DeskMat is available at €3,99 / USD 3.99 / GBP 3.99
A free, 28-day trial is available on the website.
DeskMat Website + Trial + Direct Purchase
DeskMat on the Mac App Store
DeskMat Trial Download
Get to Know DeskMat (User Guide)
Update April 25th, 2025: v1.1.1 now available!
DeskMat v1.1.1 now brings down the system requirements to macOS 13 Ventura and improves the support for individual wallpapers in different Spaces, along with a couple of other minor fixes!
Update April 30th, 2025: v1.1.2 now available!
DeskMat v1.1.2 is now localized in English, German, French, Italian, Spanish, Dutch, Japanese and Chinese (Simplified). It also fixes a couple of minor annoyances: It fixes a bug where sometimes a cover was transparent or showing a wrong image. And it can now cover your Desktops right away upon launch.
Update May 6th, 2025: v1.1.3 now available!
DeskMat v1.1.3 fixes a bug where sometimes a cover would fail to be created, and now activates the Finder when you click on a covered Desktop so you can immediately use the Finder’s menu bar or keyboard shortcuts.
Update May 9th, 2025: v1.1.4 now available!
DeskMat v1.1.4 fixes a bug where the menu bar item’s icon would not update correctly sometimes, and improves the reliability of covering the Desktop in a multi-monitor and Spaces environment.
Update May 20th, 2025: v1.1.5 now available!
DeskMat v1.1.5 fixes a bug where sometimes a custom-wallpaper-cover would not work correctly.
DeskMat – Cover your Desktops with Ease
If you’re interested in an NFR copy for reviews, please don’t hesitate to write me here.
If you have any feedback or questions, please do write me here.
Cheers!