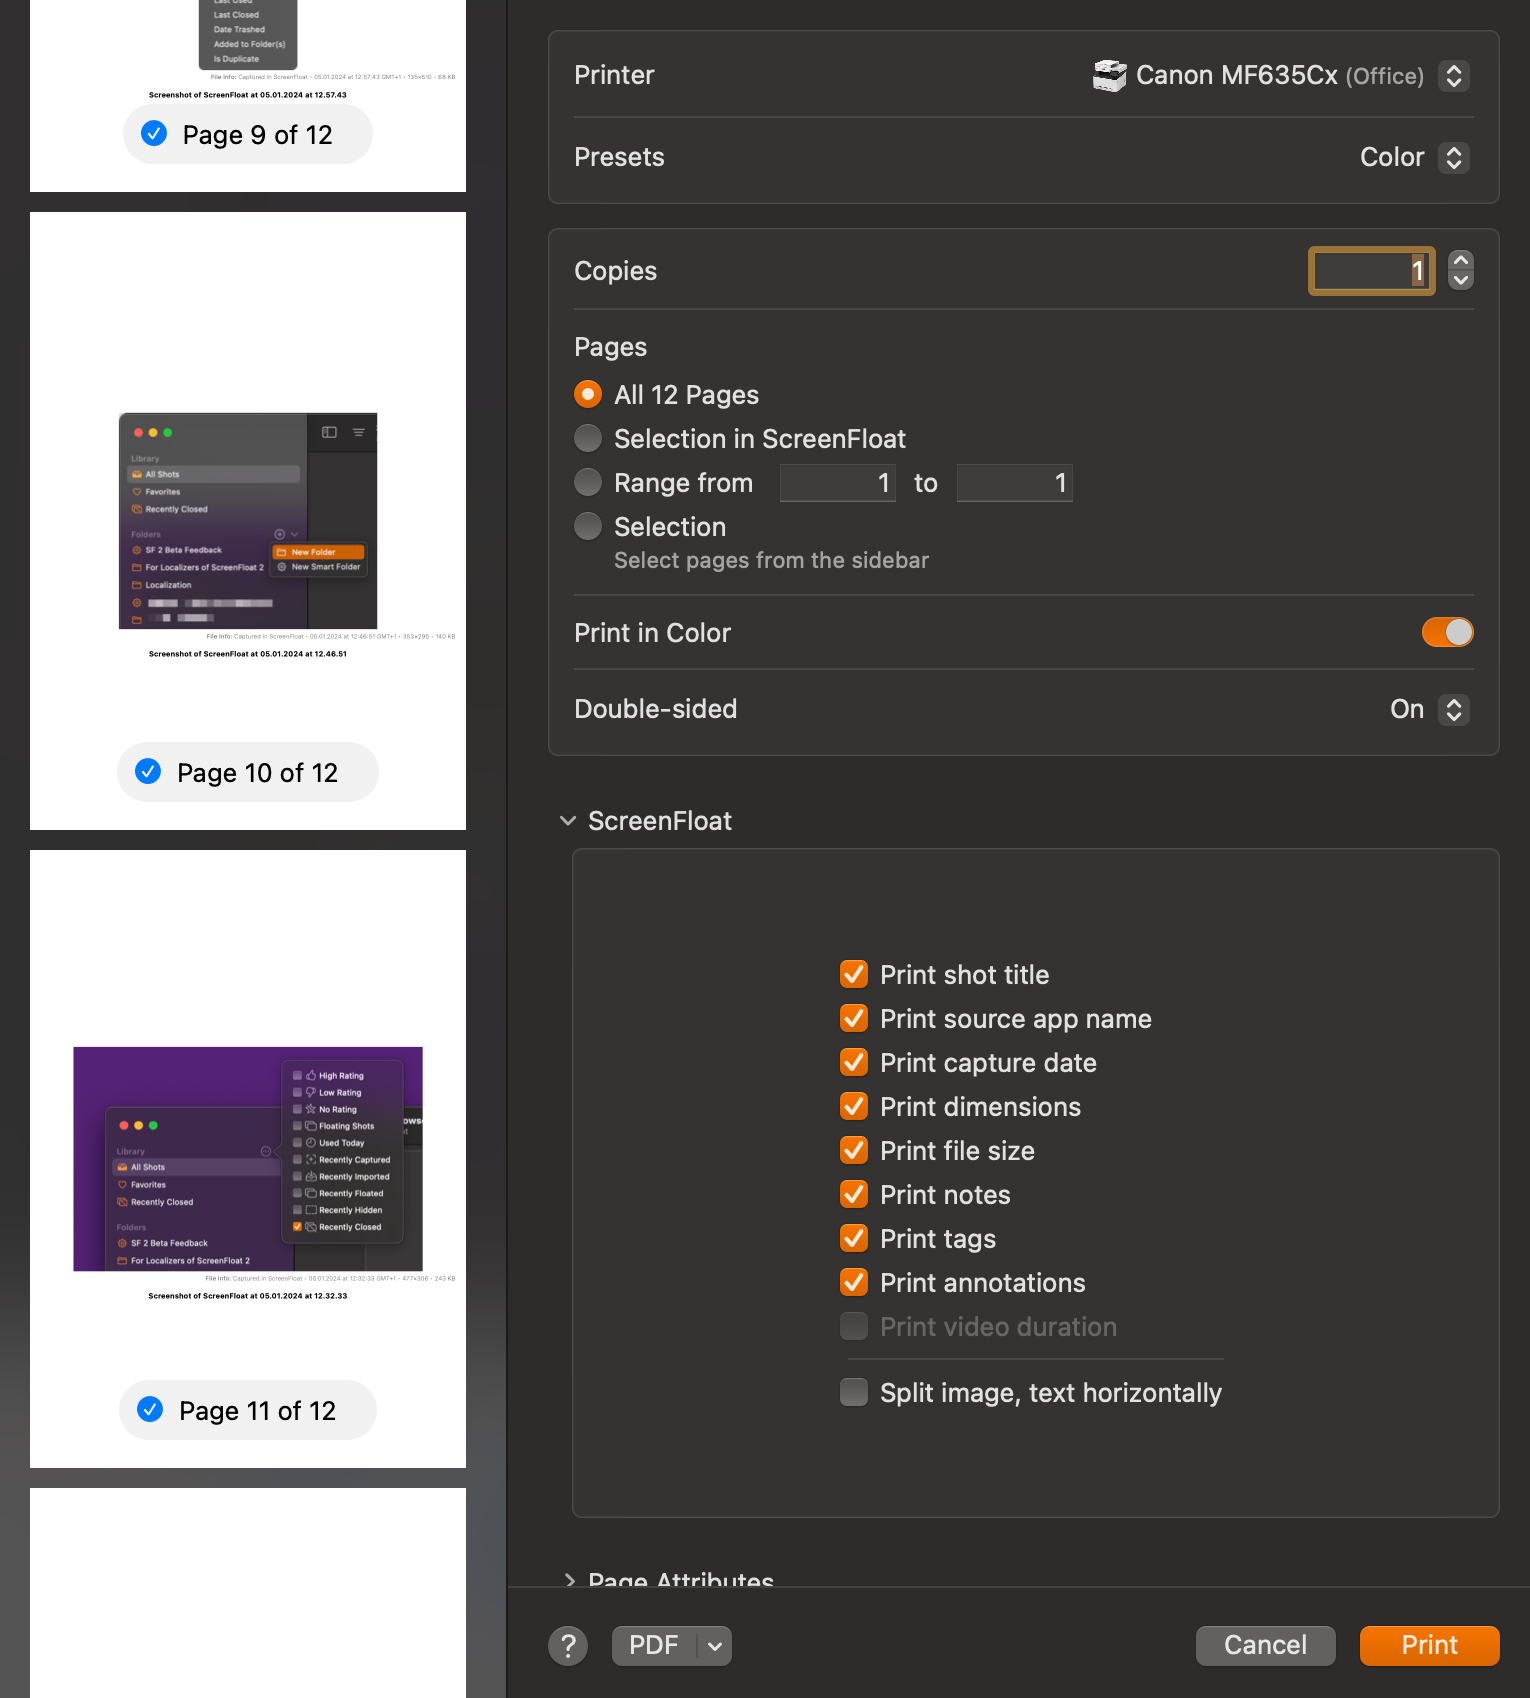
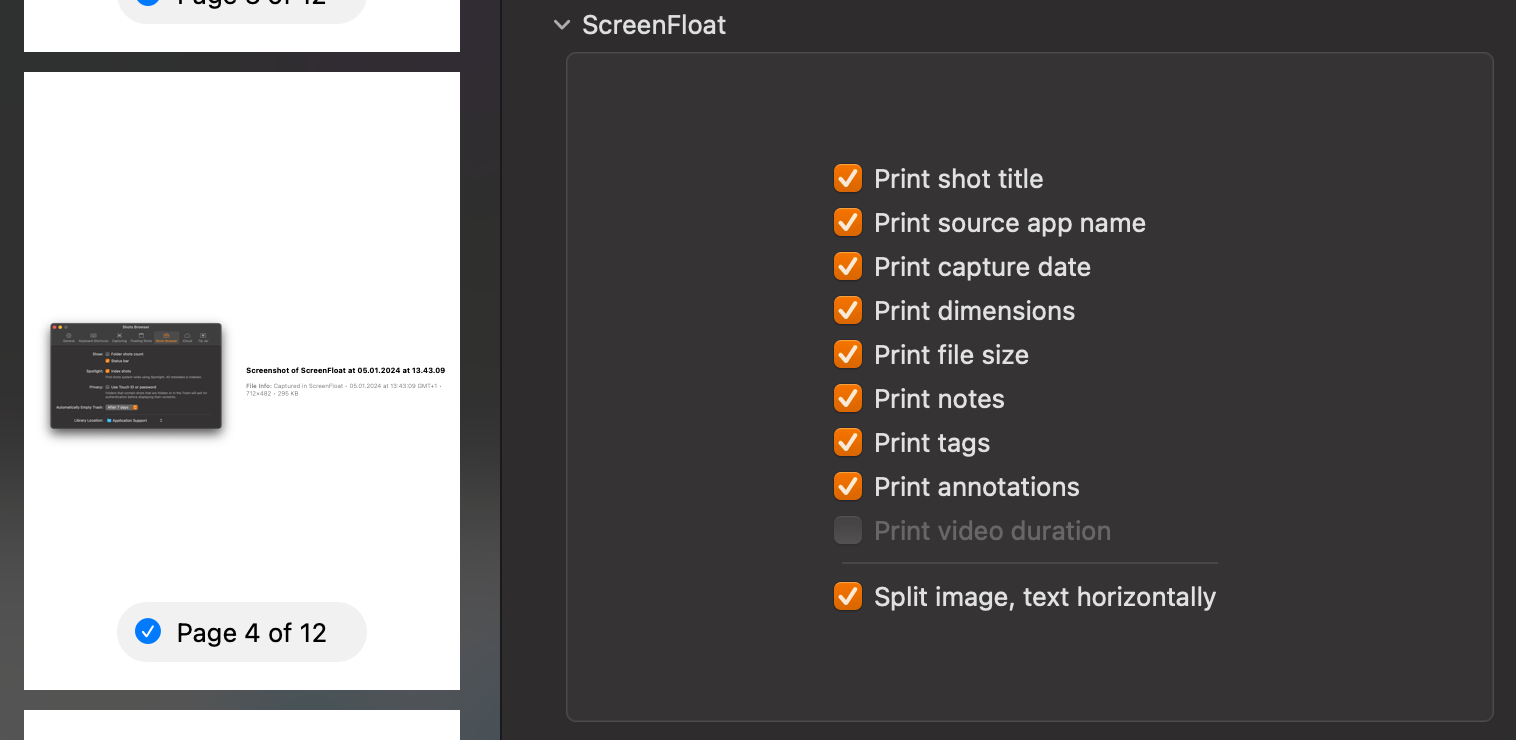
ScreenFloat v2.2, a free, feature-laden update to my screenshot and recording allrounder Mac app, is now available on the Mac App Store. You can now cut your screen recordings and individual audio-tracks, have more options for upload-and-copy-link sharing, run AppleScripts and Shortcuts with your shots, and more.
What is ScreenFloat?
With ScreenFloat, you make captured screenshots and recordings float above all other windows, so anything you can capture is always in sight for reference. Think of it like Picture-in-Picture, only for captures. And that’s only the beginning.
It keeps your Desktop clutter-free by storing shots in the Shots Browser, where you can organize, collect, tag, rate and favorite them.
It recognizes text, faces and barcodes so you can effortlessly extract, copy, share and quicksmart-redact them. It syncs your shots via iCloud across your Macs.
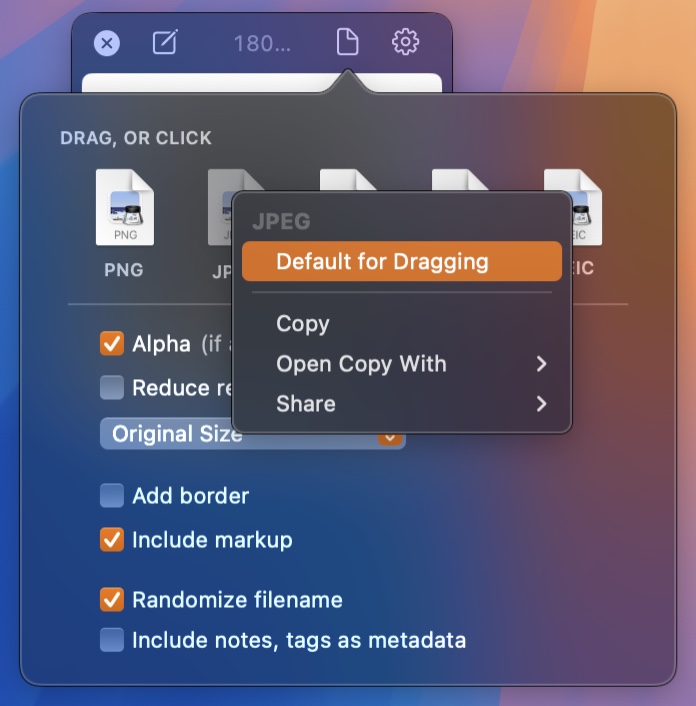
Add annotations and markup, crop, “fold“, resize, de-retinize, trim, and mute your shots, and more.
A screenshot is just a screenshot. Until you use ScreenFloat.
Tip: Check out the Get to Know ScreenFloat 2 Blog Post series for a deep-dive into its functionality and what it can do for you.
Eternal Storms Software Blog
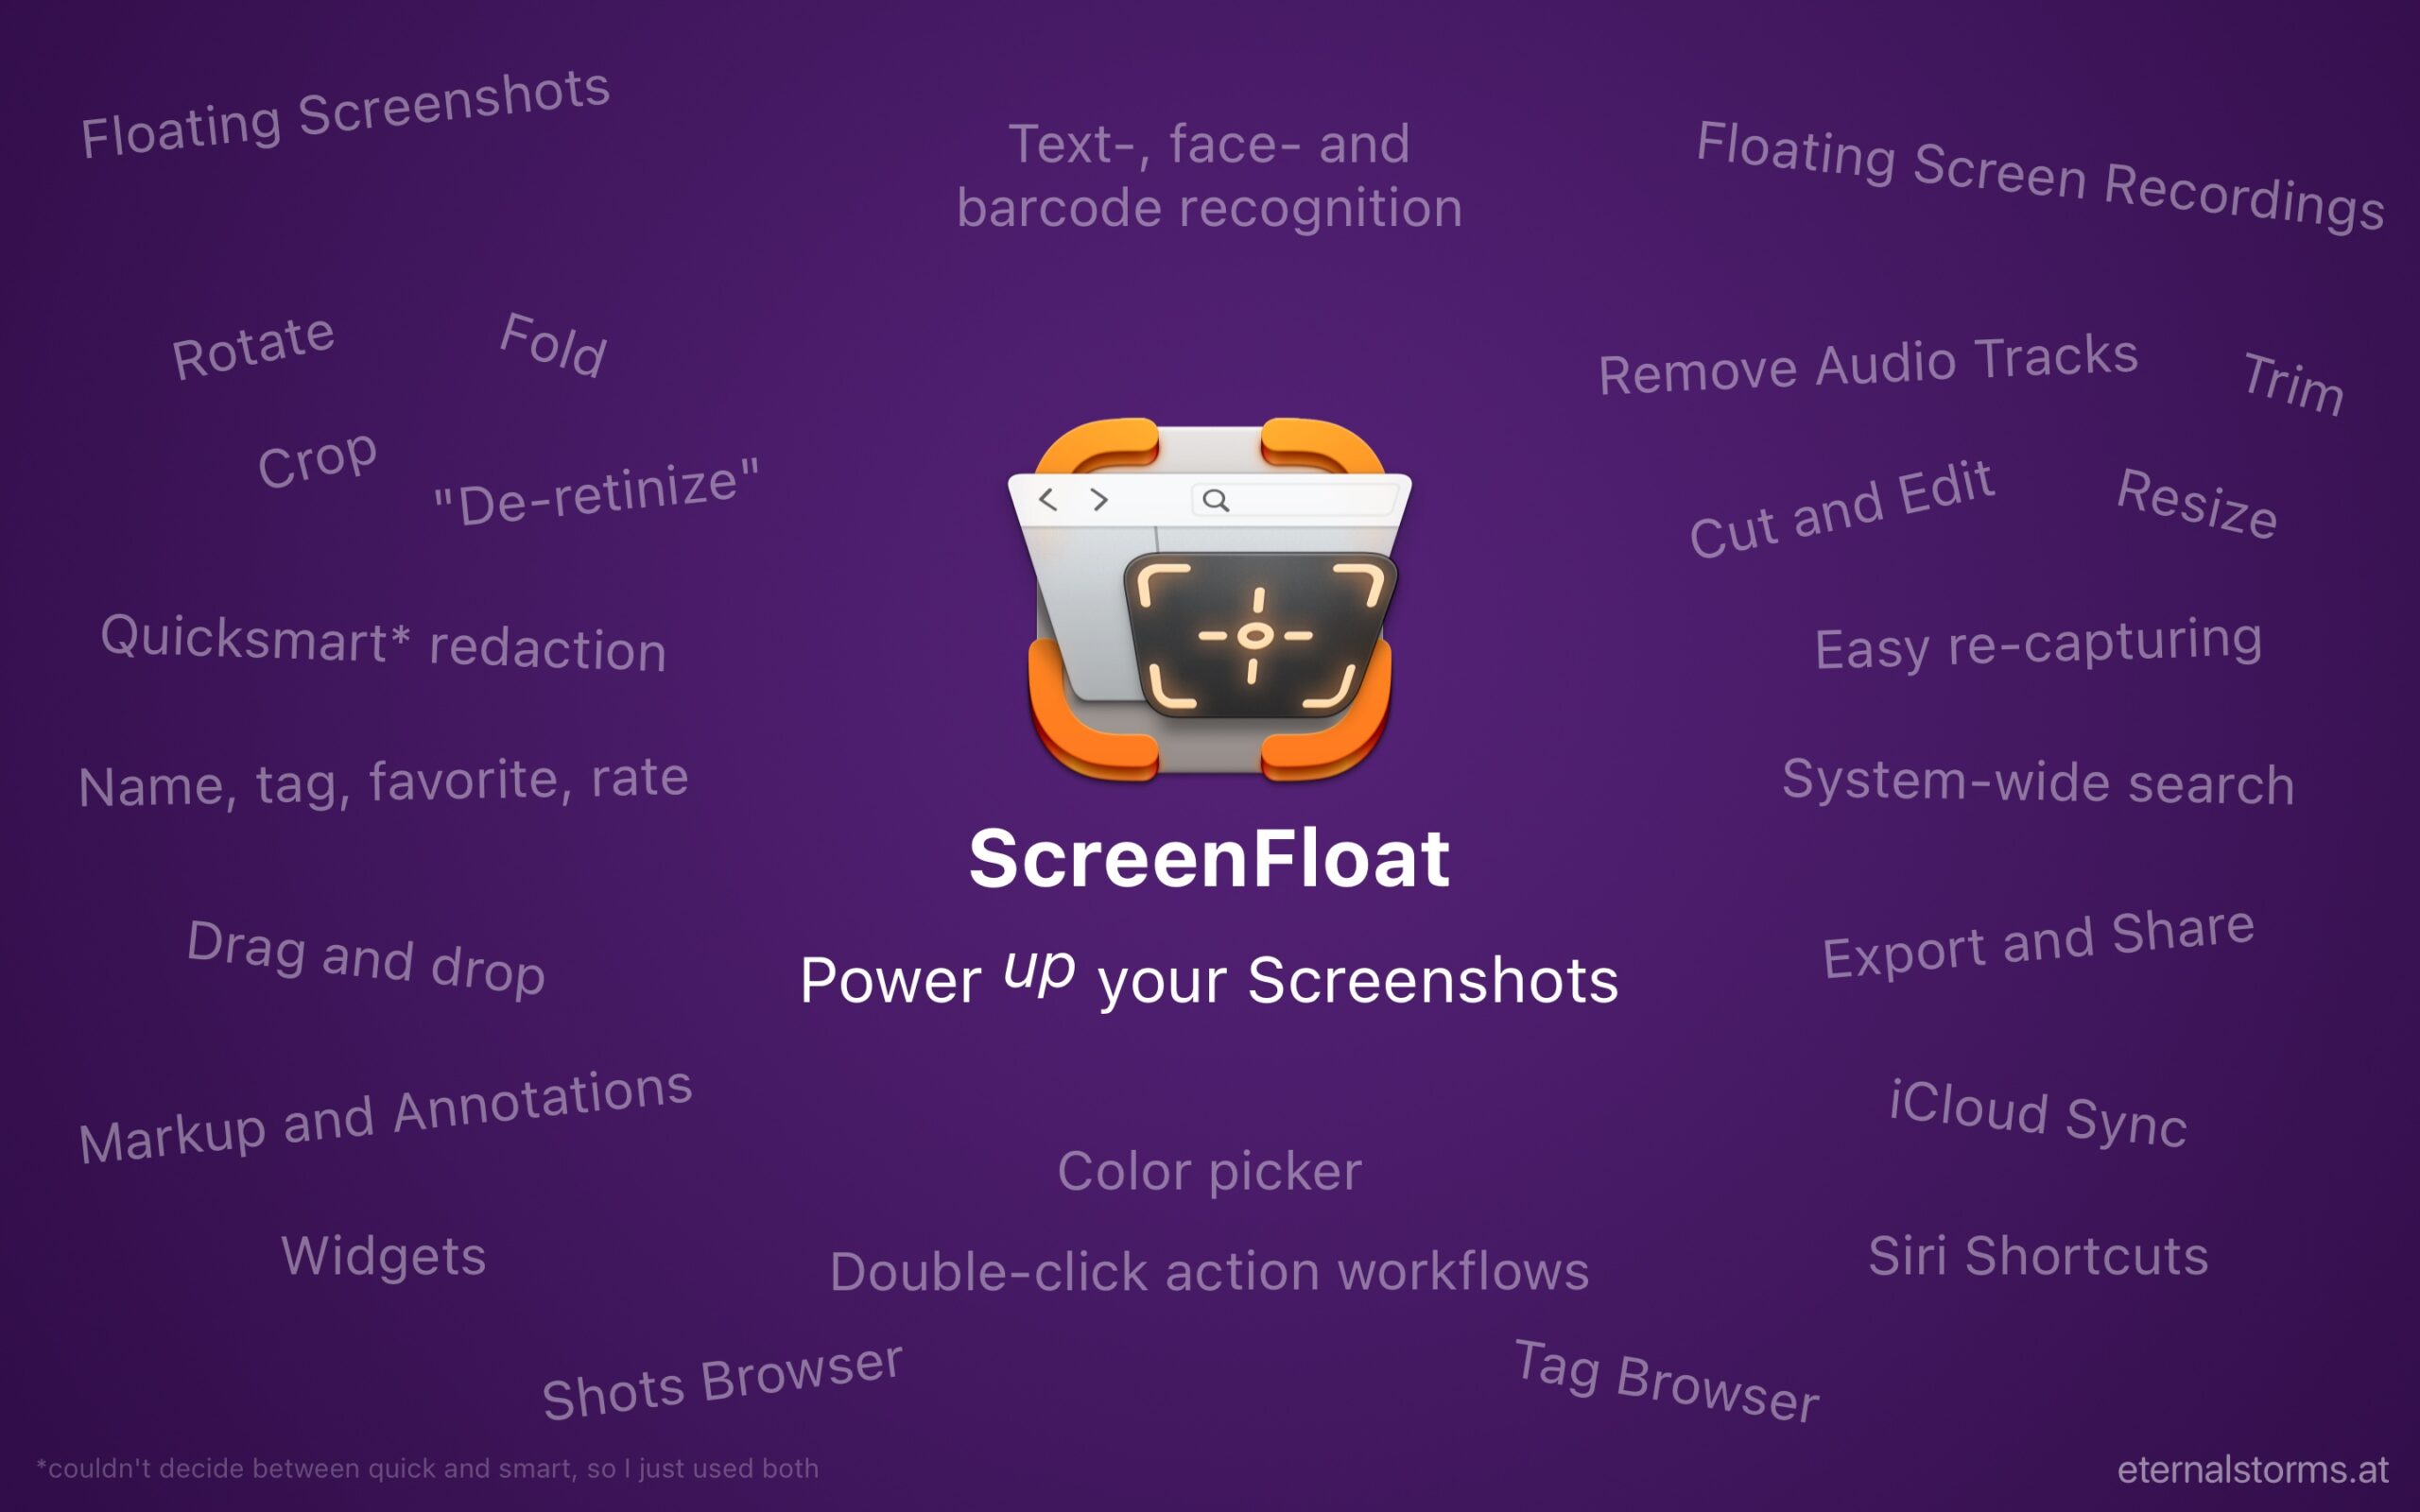
What’s New in ScreenFloat v2.2?
- Video Cutting – remove parts from your recordings, entirely, or individual tracks
- Enhanced Link Sharing – instead of large files, just share a link – or embed shots in websites/documents
- Double-Click Actions for running AppleScripts and Shortcuts on Shots – automate to your heart’s content
- URL Scheme – call up ScreenFloat’s capture functionality any way you like
- Interactive Release Notes – release notes have never been this helpful
- and more – PopClip extension, improved Siri Shortcuts, more Search and Smart Folder options
Video Cutting
You can now cut individual sections out of your screen recordings. And even better, you can select individual audio tracks you’d like to cut, so if you accidentally cough during a recording, you’ll be able to cut that out (but keep the system sound), or if a system sound is going off you don’t want in the recording, you can remove that (but keep your mic sound).
Quite a lot of users of ScreenFloat (myself included) have been waiting for this, and I’m happy it’s finally here.
Read more about cutting videos in Part IV of my “Get to Know ScreenFloat 2” Blog Post series: Edit – OCR, Annotate, Crop, Fold, Resize, Rotate, Trim, Cut and Mute.
Enhanced Link Sharing
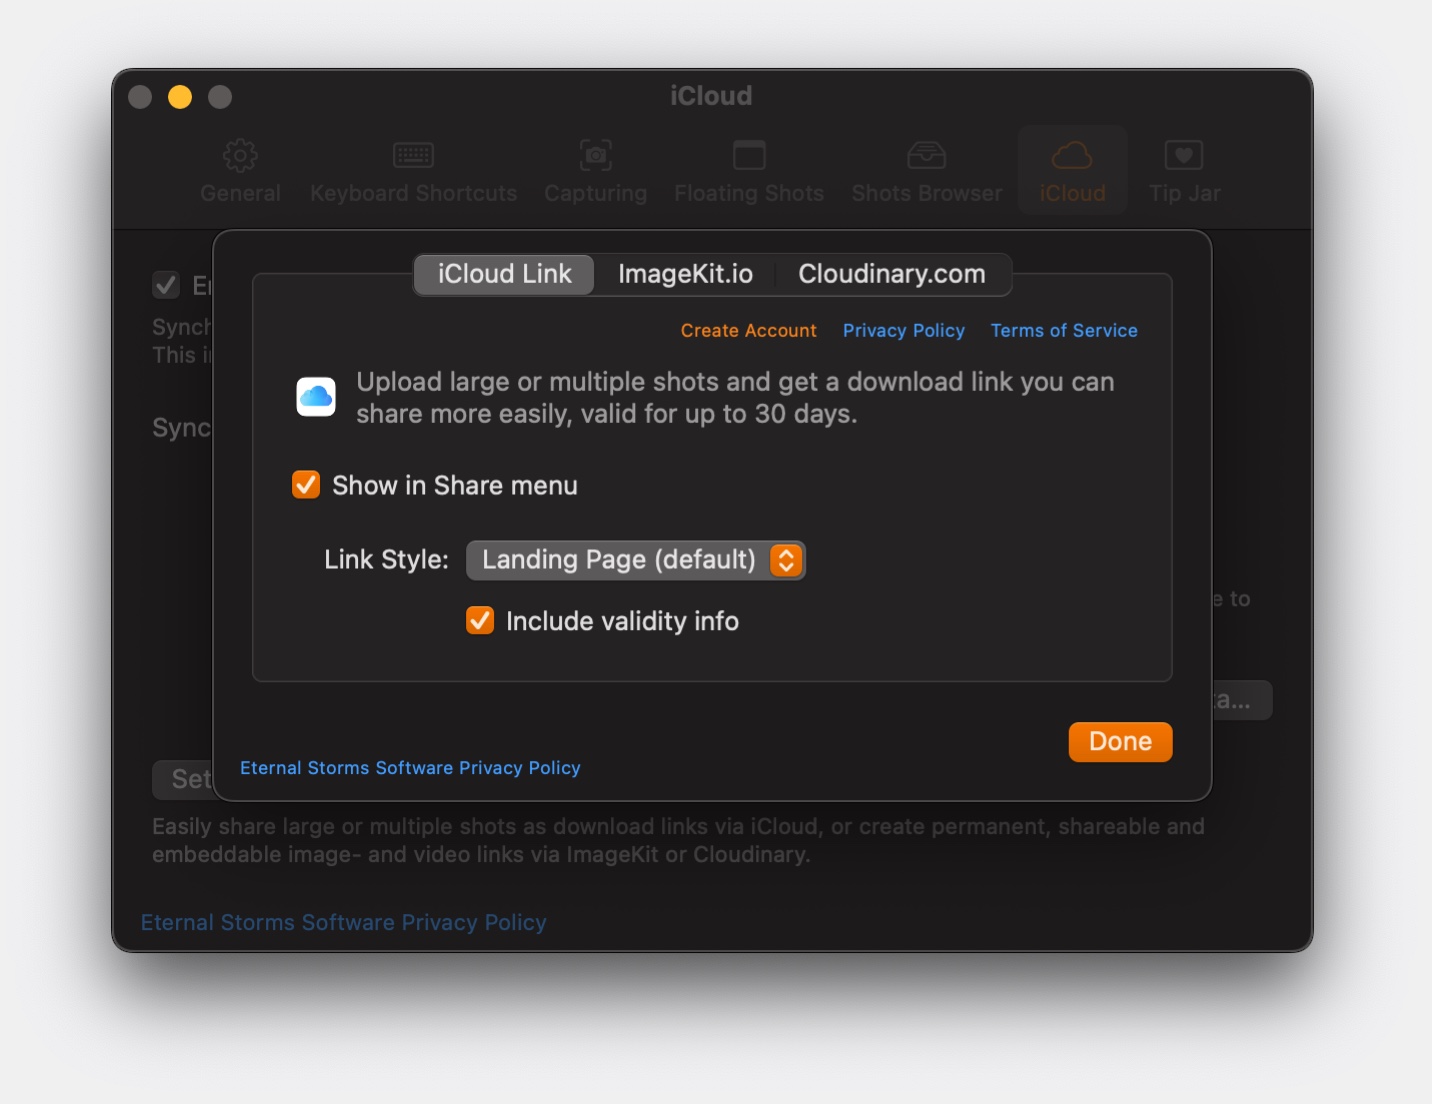
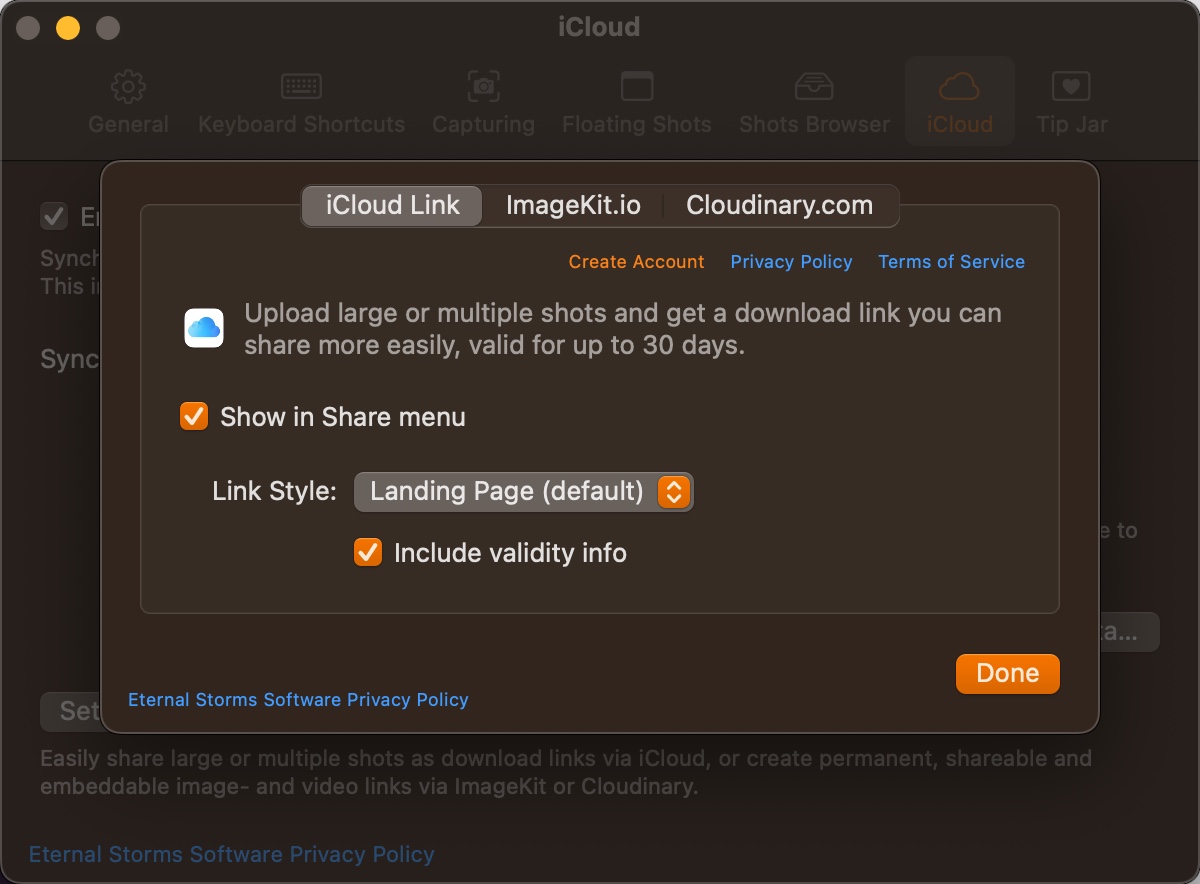
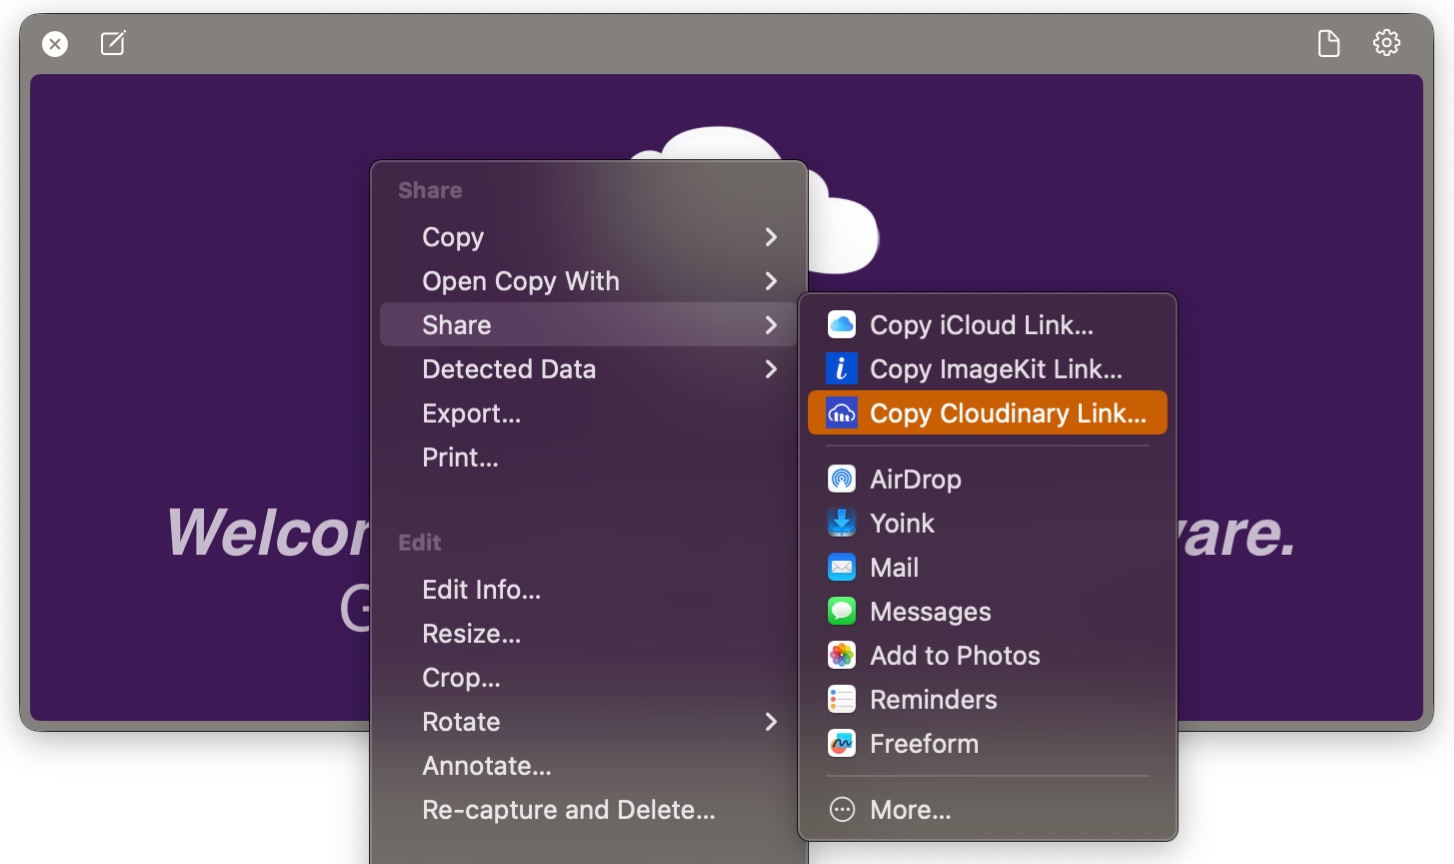
With Link Sharing, you share a link to a shot instead of the actual shot, making it easier to share large or multiple files. Expiring iCloud Links have been available since ScreenFloat 2.0.
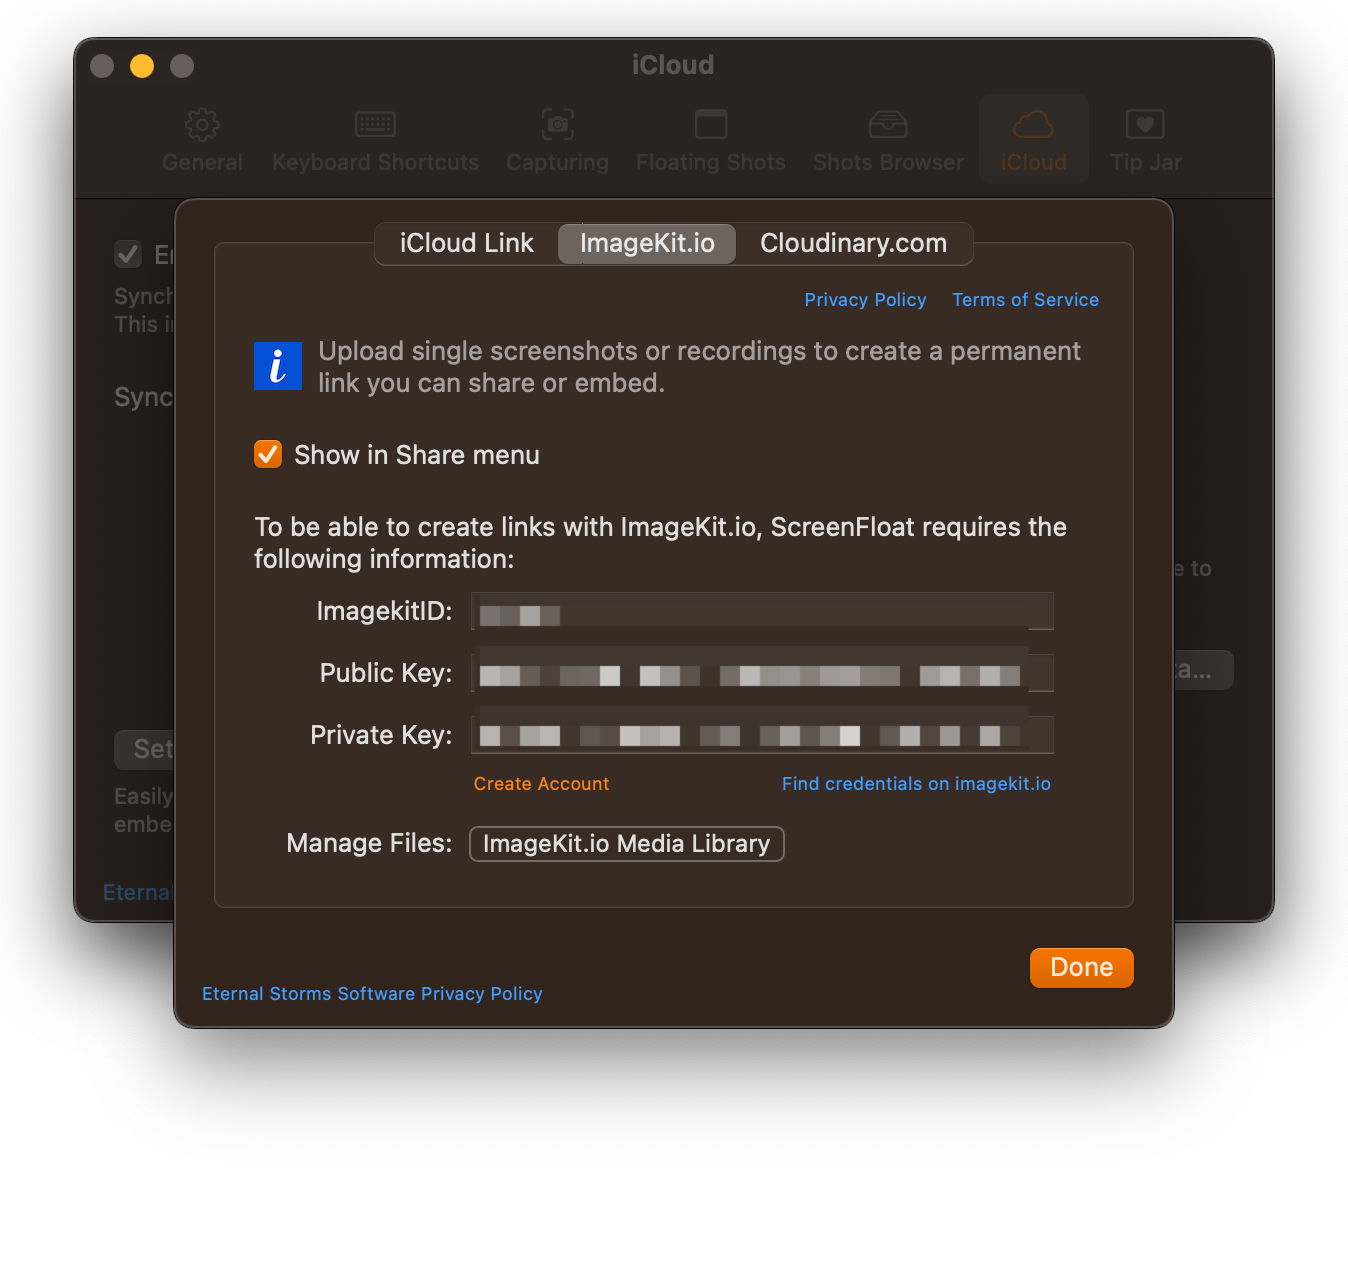
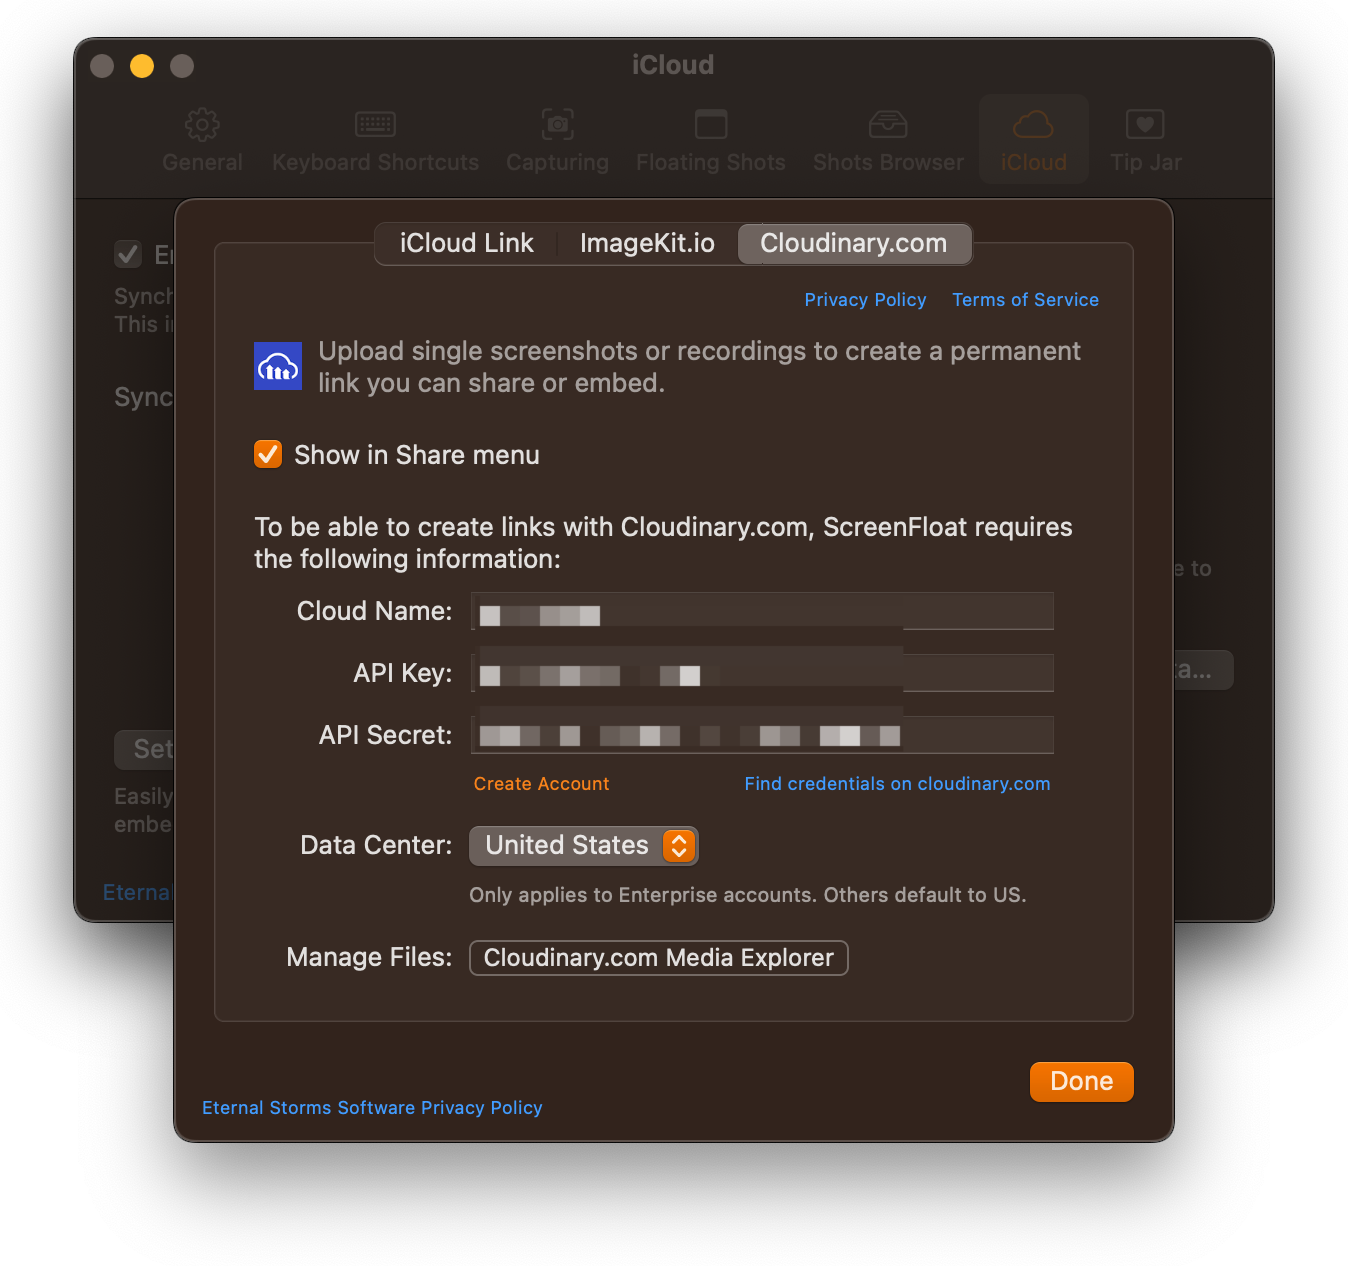
ScreenFloat v2.2 now supports ImageKit.io and Cloudinary.com as alternatives, allowing you to create non-expiring, shareable and embeddable links to your shots. Just like with iCloud link sharing, these can be created in a double-click workflow, making uploading and sharing links an absolute breeze.
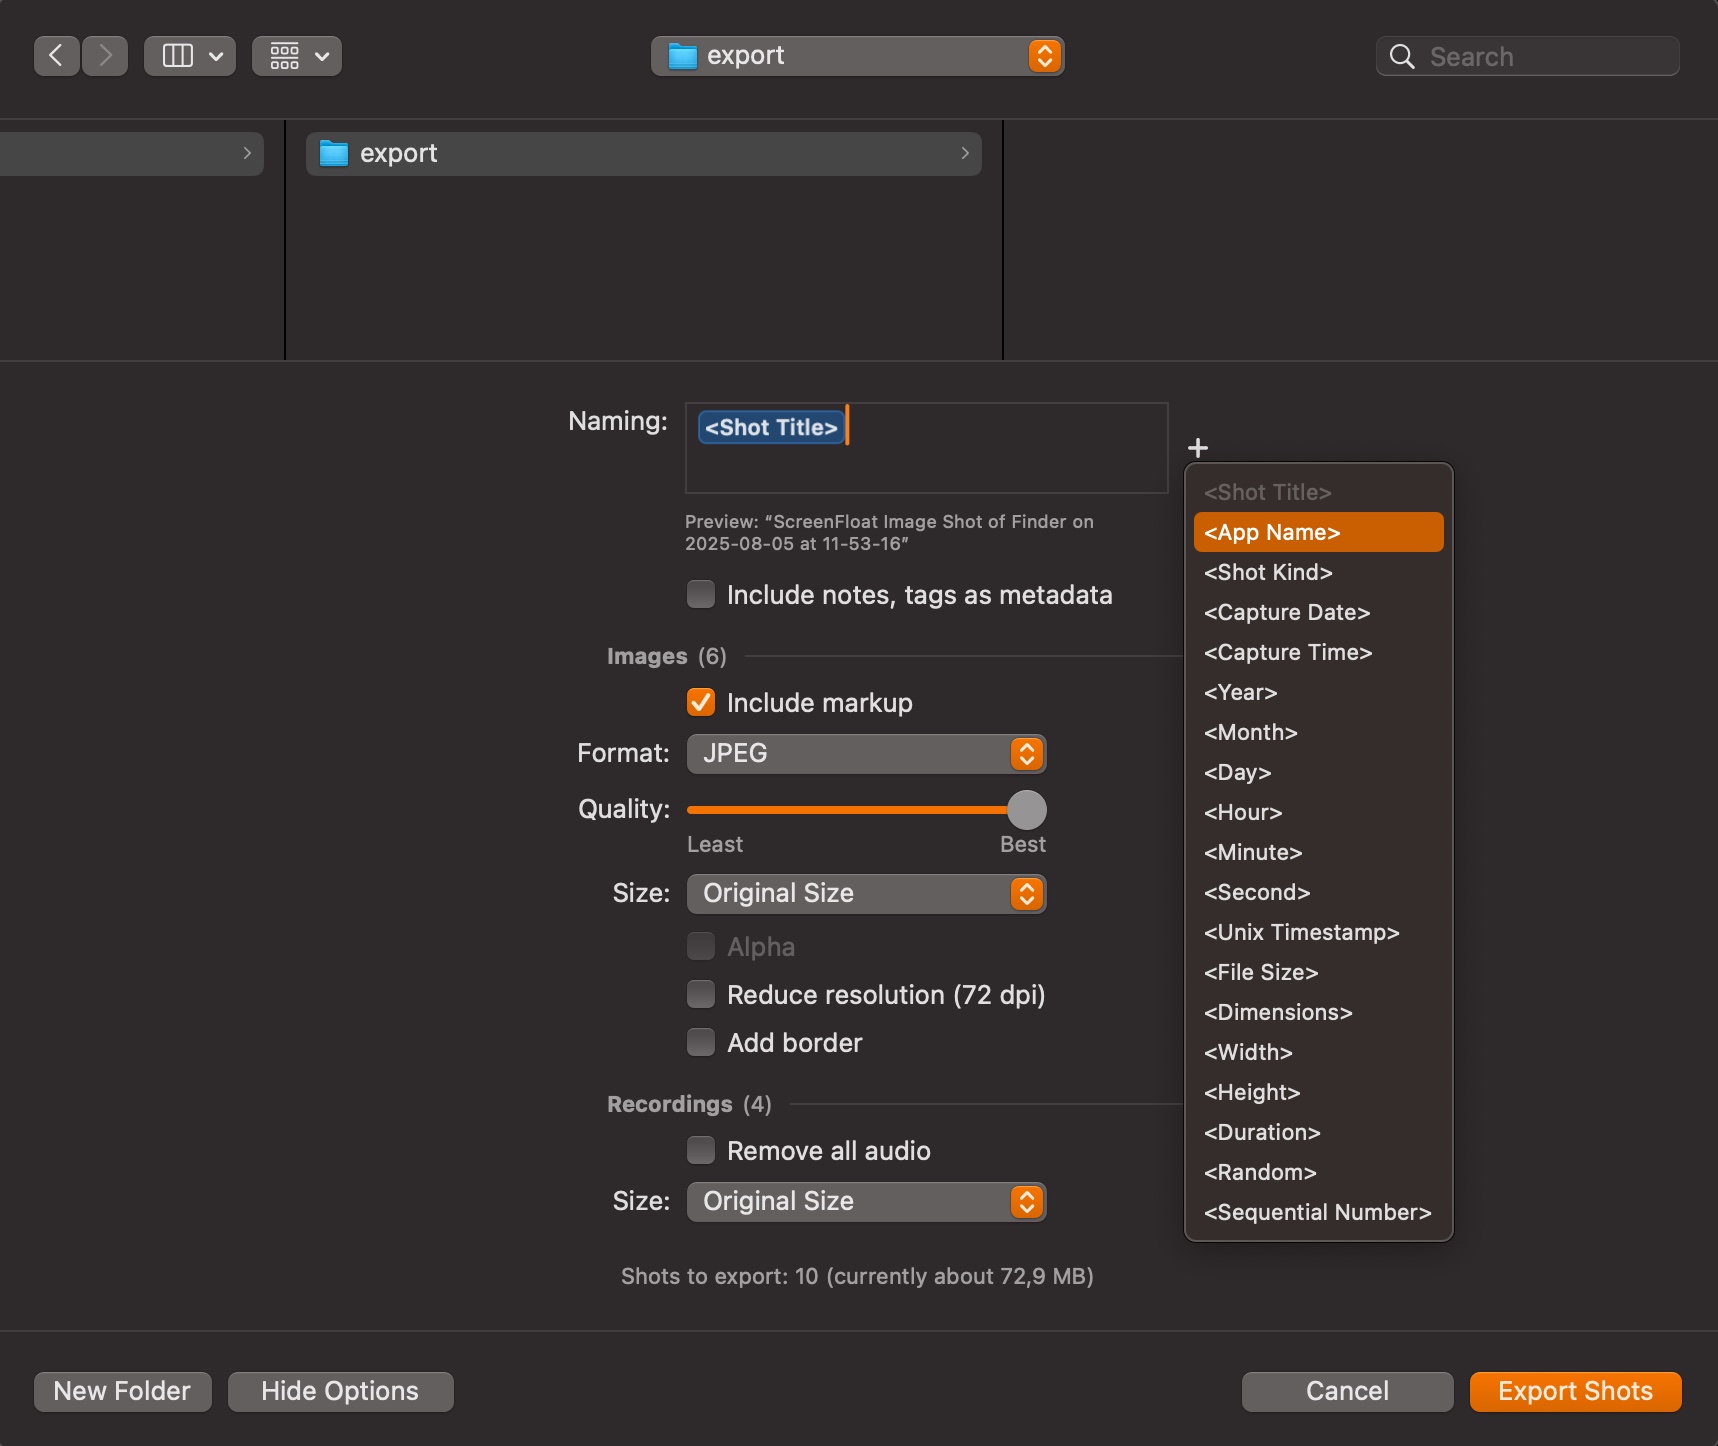
Read more about Link Sharing in Part V of my “Get to Know ScreenFloat 2” Blog Post series: Share – Drag and Drop, Link Sharing, Export.
Double-Click Actions for AppleScript and Shortcuts
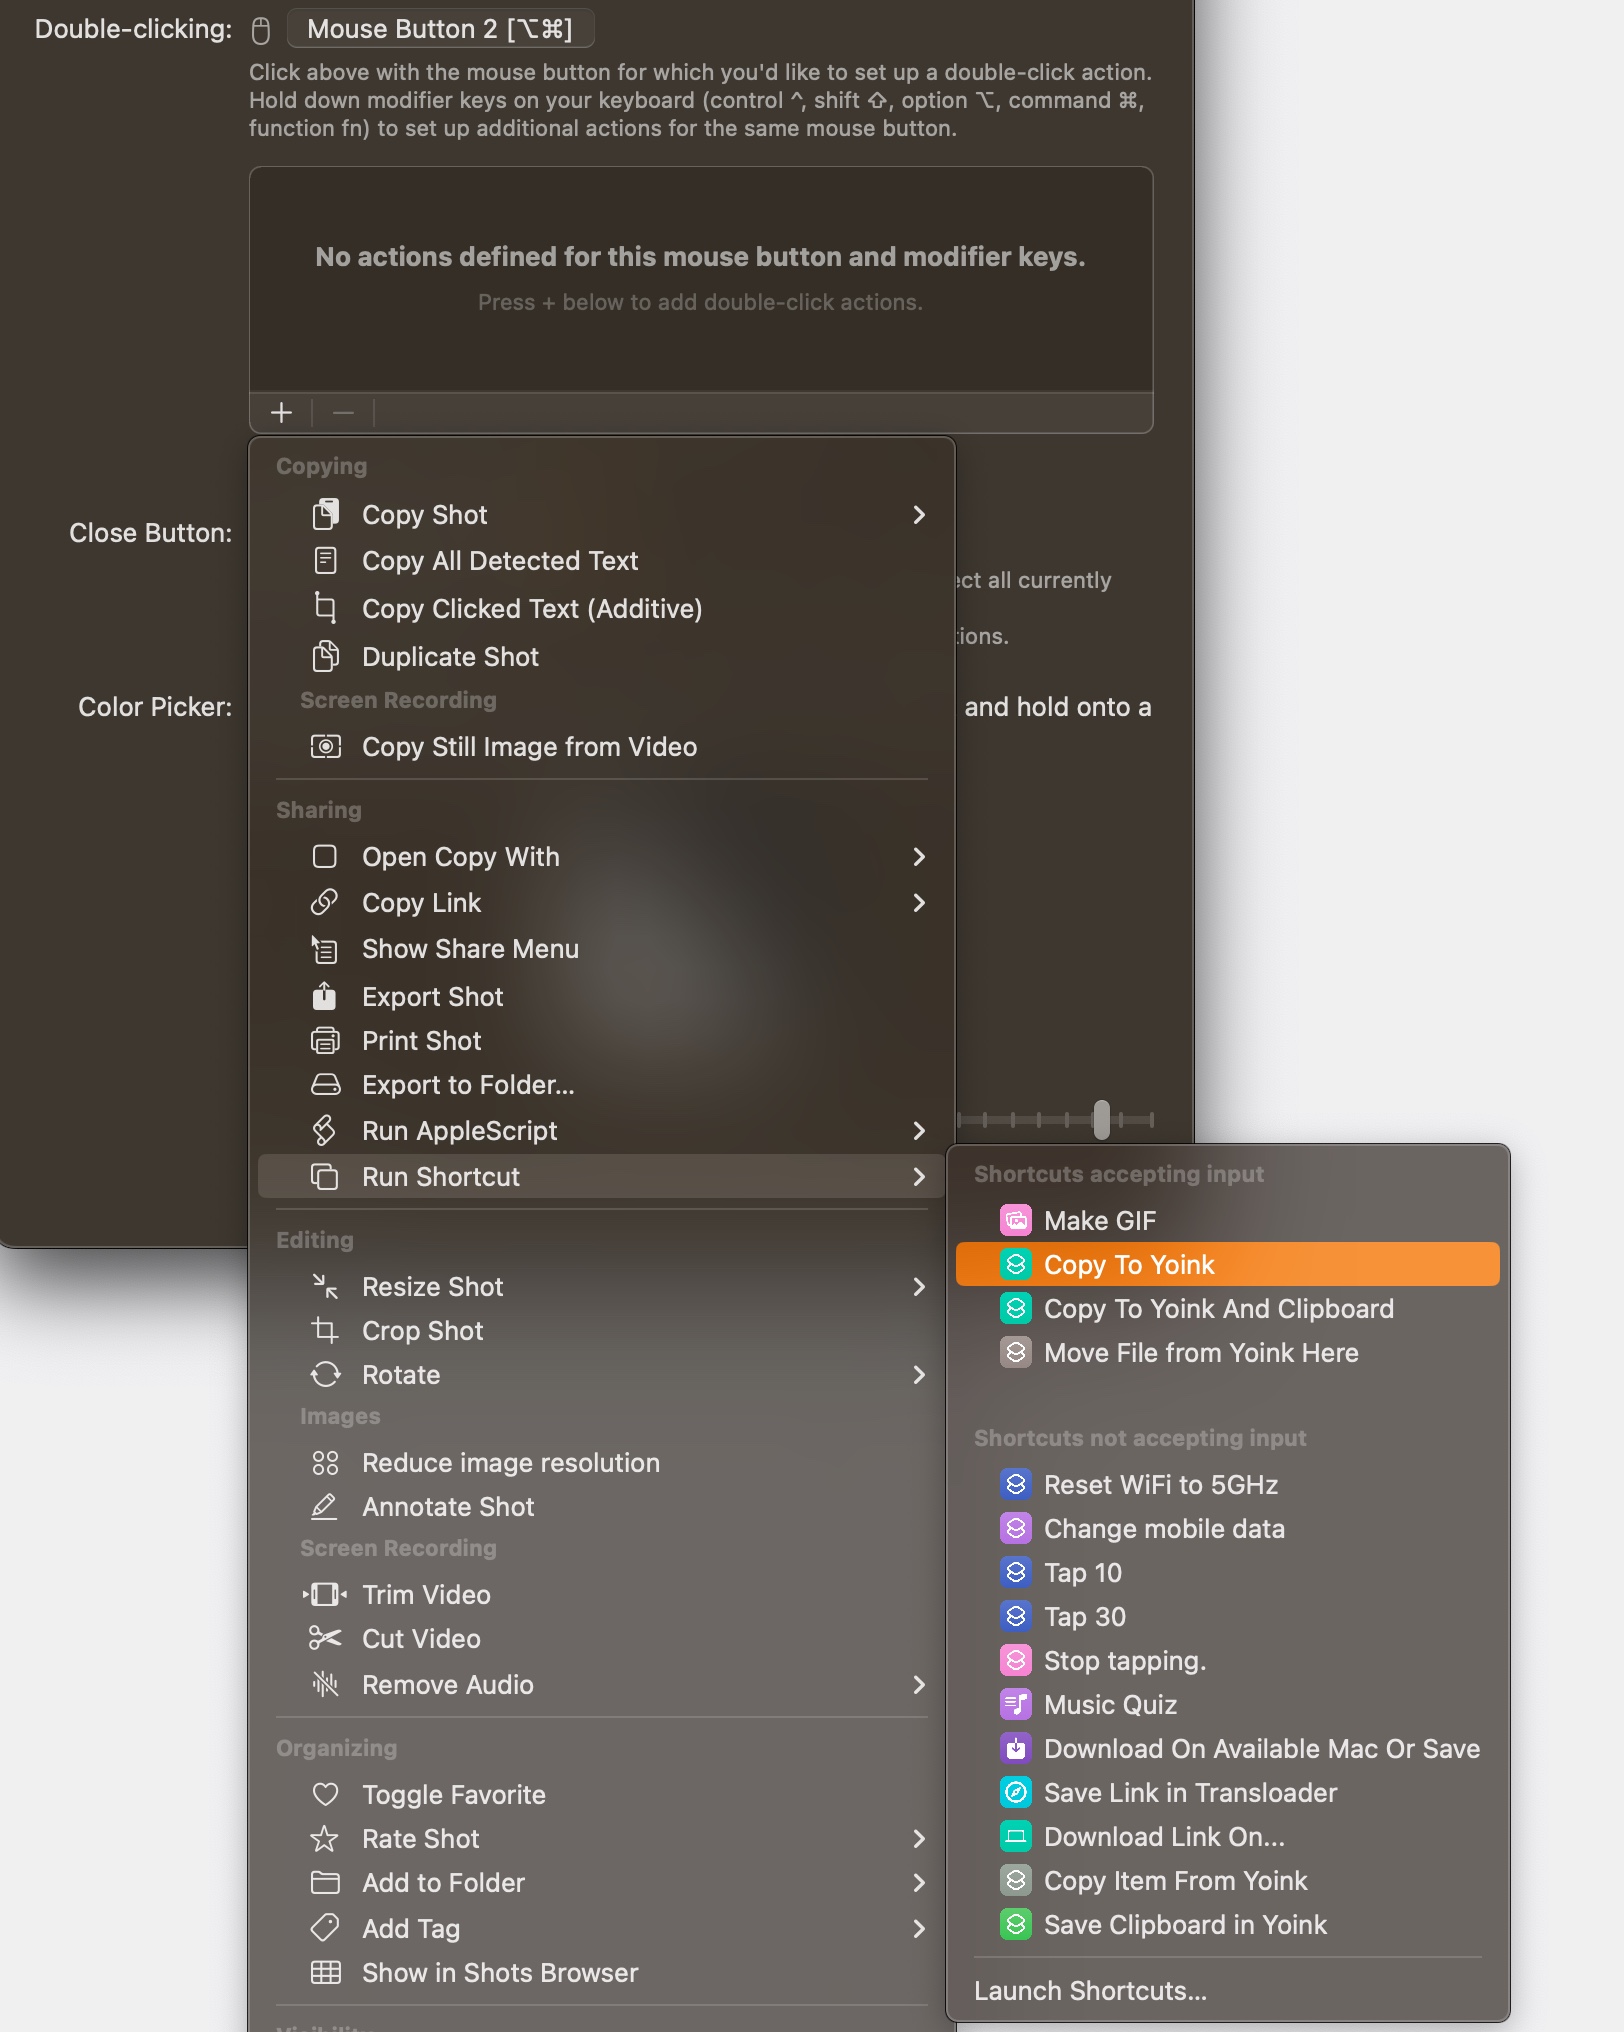
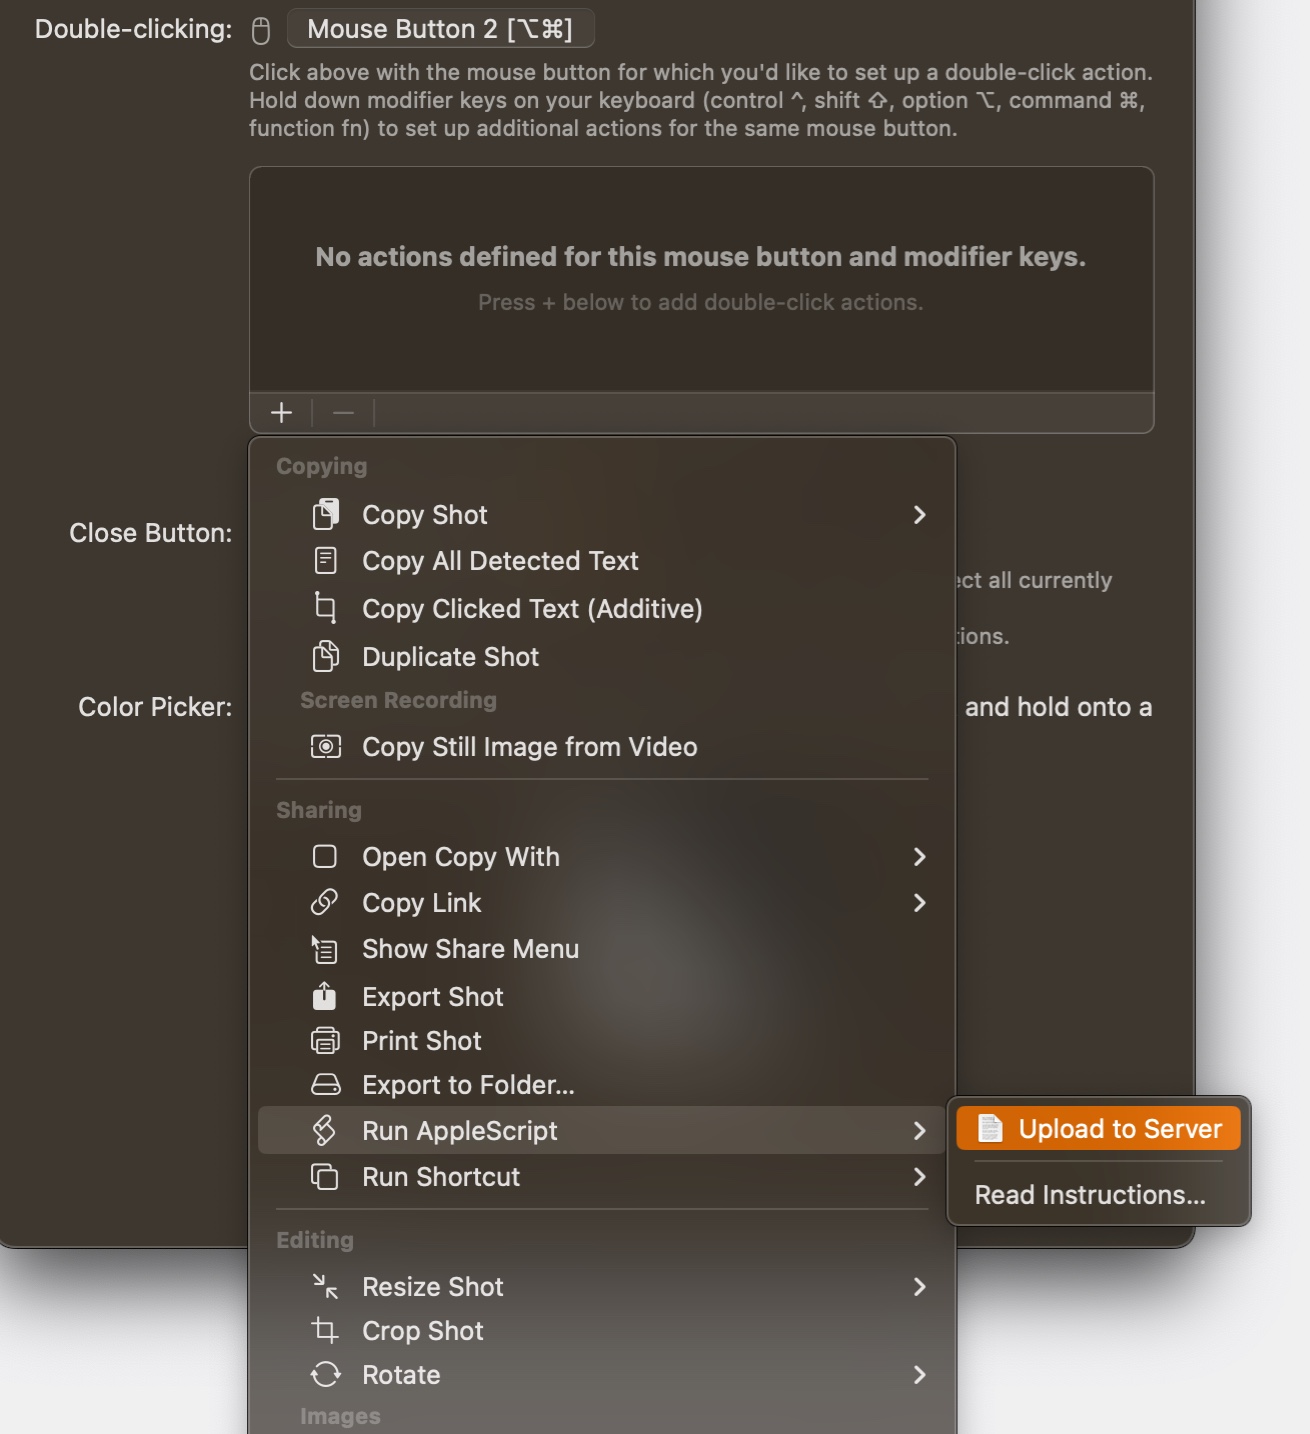
Automation is one of the things that make the Mac so great. With ScreenFloat 2.2, you can now send your screenshots or recordings off to an AppleScript, or a Shortcut, with a double-click workflow.
I’m already using this myself to upload shots to my server using an AppleScript, and then copy a link to it to my clipboard (like Link Sharing offers, just with my own server). It’s very neat, if I may say so myself!
You can find the instructions here.
For more information about double-click workflows, see Part VII of my “Get to Know ScreenFloat 2” Blog Post series: Integrate – Widgets, Siri Shortcuts, AppleScript, Workflows, Spotlight.
URL Scheme
In that same automation-vein, you can now call ScreenFloat’s capturing abilities (and more) using its url scheme, “esssf2“. Capture screenshots, timed screenshots, screen recordings, or content on your clipboard, and start “after capture” actions, like instant annotation, cropping, or cutting.
You can find more information here.
Interactive Release Notes
Showing what’s new in an app is nice and all, but what if the release notes could actually take you right to that new feature, or show instructions, or show more info for an improvement? That’s exactly what I did here. Watch a short video instruction, get directed to a feature within the app, see a screenshot for more detail, or follow a link for more instructions, right from the new “What’s New” panel.
And More!
- A PopClip Extension
- A new Siri Shortcut to create shots from the contents of your clipboard
- Smart Folders and Search now can filter for File Size
- All Capture shortcuts in Shortcuts.app now have an “After Capture” option so you can go into annotating, cropping, resizing, trimming, cutting (etc.) right away after the capture
- Minor improvements and bug fixes
Links and Availability
ScreenFloat is a one-time purchase, exclusively available on the Mac App Store for USD 15.99 / EUR 14,99 / GBP 15.99 , and a free update for existing customers.
A free, 28-day trial is available for download from the website.
It requires macOS 12 Monterey (macOS 14 Sonoma recommended for full functionality)
A (free) iCloud account is required if you want to sync your ScreenFloat library across your Macs.
ScreenFloat is currently localized in English, German, Chinese (Simplified), and Dutch.
ScreenFloat Website + Free Trial
ScreenFloat on the Mac App Store
Eternal Storms Software Productivity Bundle on the Mac App Store (includes ScreenFloat, Yoink for Mac and Transloader at ~25% off)
Get to Know ScreenFloat 2 Blog Post Series
ScreenFloat 2 Usage Tips
I hope you enjoy ScreenFloat (and my other apps) : )
